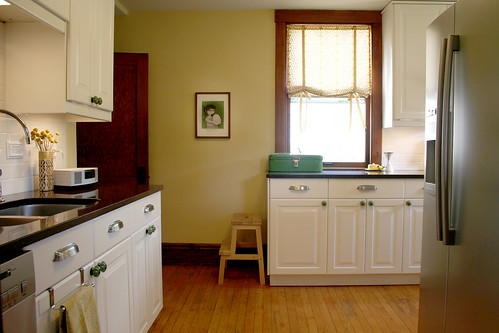
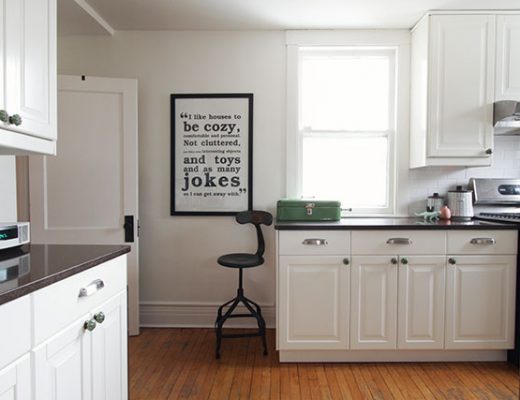
Hello there! Did you know that our kitchen is finished? Yes – I finally taught myself how to sew, which meant I could finally make shades and finish the project!
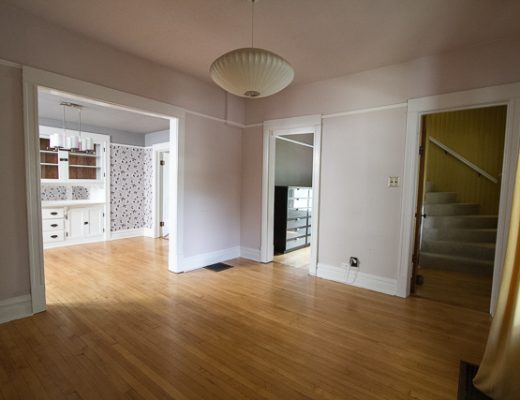
Here’s a quick reminder of what it looked like before:
It’s just a wee bit different now.
Just about everything is new. We kept the same layout (in an effort to keep the cost down), and only the wood trim and the beat-up maple floor remain (we tell people it’s “charmingly rustic”).
You may remember that we (OK, me – I’m taking 90% of the credit on this one) tiled the backsplash. I’ve had a few people asking about the process, wanting to know if it’s very difficult. I’m happy to say that it was pretty simple! Neither of us had tiled before, but I’ve seen it on TV. If people on Trading Spaces could do it, I was pretty sure I could handle it. ;) The tile store gave us a sheet of paper with instructions, the tools we needed, and we were set.
We used a manual tile cutter (a little device that scores each tile), and a handheld tile saw. A clamp is helpful too (check out our fancy tools). Our arms were pretty tired by the end of the project, so I’d recommend spending the extra money and renting a wet saw. The most difficult part of the process was applying the silicone caulk between the tile and the countertop. Dang, that was tricky! I’m not bad with caulk, but silicone is goopy. Oh, it also has the added benefit of smelling terrible. We kept wiping it off and starting over until I finally figured out the trick… Pushing the caulk gun instead of pulling it made a much cleaner line, which you can then smooth with your finger (dip it in water first). Lastly (and this is the important part), you come back the next day with a razor and spend four hours cleaning up the scraggly bits. Ugh.
Back to sewing…
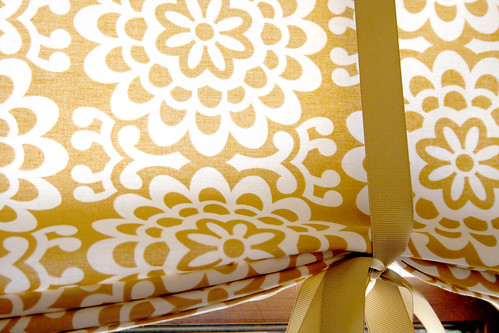
Originally, I had wanted Roman shades for the kitchen windows. I quickly abandoned that idea when I remembered that I’ve never sewn before, so I decided to try my hand at something easier. I made pole pocket panels that were the same size as each window, and hung them with tension rods. I gathered the fabric, making soft folds (you could hold them in place with binder clips, which I only realized after making Brandon hold the first two panels for me). Then I looped ribbon over the top and tied into bows along the bottom. Easy peasy!
I feel like I should have something profound to say about remodeling a kitchen, but I don’t. I’m just glad that we’re done.

