This post on photography tips is brought to you by your fellow photo lovers at Shutterfly. They encourage you to capture your memories and share your amazing pictures the way you want with their new Custom Path photo books.
I’ve learned a lot about photographing my home over the last several years. I look back at some of my early shots of the house (like the photos in this post featuring my library), and I cringe at how bad they are. Today I’m going to share all of my tips and tricks with you so that you don’t make the same mistakes I did! You can make just one of these adjustments to improve your shots, or you can combine several changes to really make a difference.
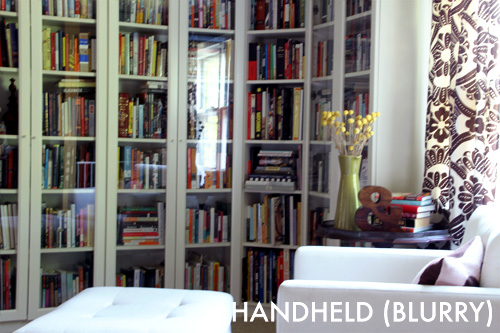
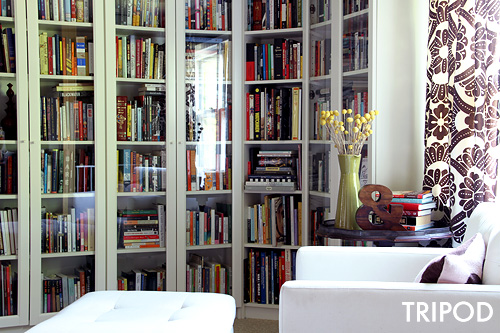
Tripod vs. Handheld
Use a tripod. Always. That’s rule number one, because it’s that important. Rule number two should be to turn off your flash.
Don’t Just Stand There
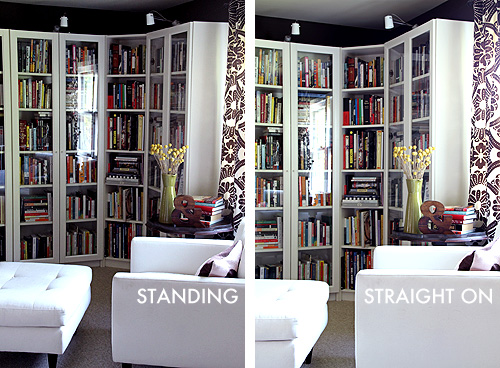
A lot of people make the mistake of taking pictures from a standing position. It looks amateurish. It’s far better to crouch down just a bit and lower your tripod. (You are using a tripod, right? Rule number one!) Photographing a room from a lower angle makes the ceilings look higher and eliminates weird perspectives from above.
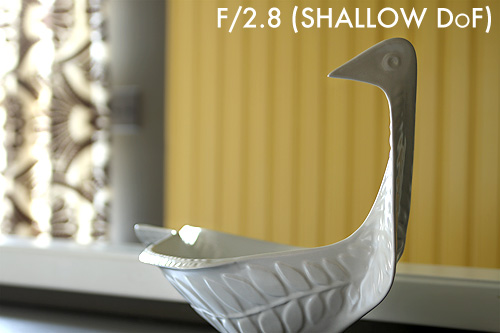
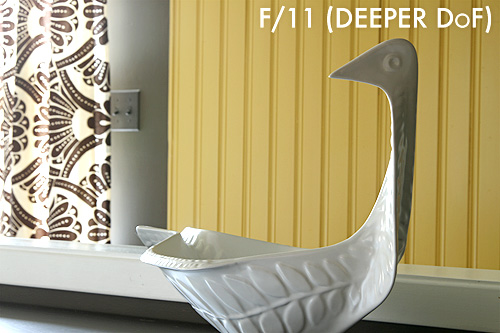
Depth of Field
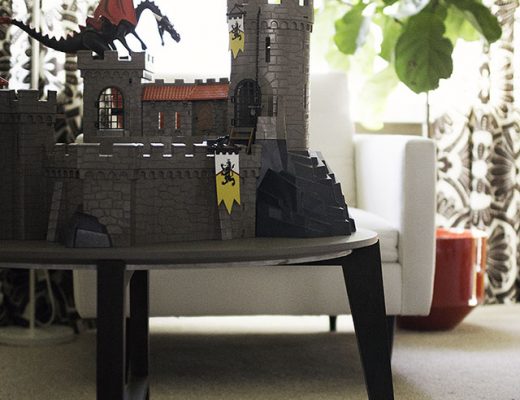
Want that pretty effect where the subject is in focus and the background is nice and soft? You want shallow depth of field. You use a wide aperture (small F-stop number) to get it. Want everything in focus and sharp? Use a higher number F-stop for deeper depth of field.
Lights On, Lights Off
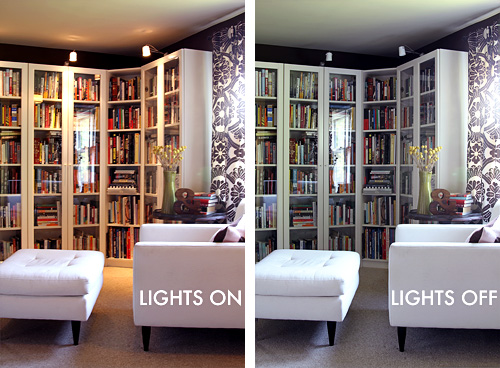
This comes down to personal preference. My library has been photographed a couple of times by professionals (here and here), and one photographer turned off every light while the other turned them all on (and brought in a few more). I like the look of the photo above with the lights on, but the one with the lights off has truer colors. (Yes, the ceiling is a soft green.)
Proper Exposure
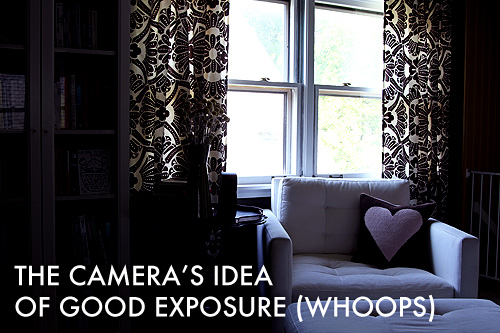
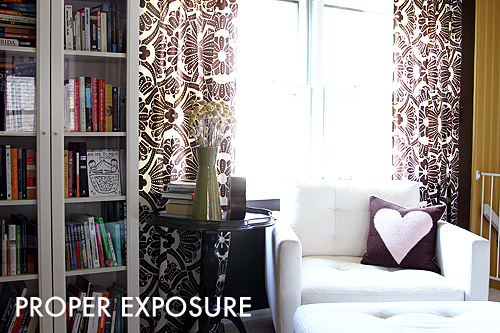
I was focusing on the same spot (the pillow), but that window was making the whole room look backlit. When I first photographed the library in 2007, all of my pictures had this exposure problem, but I had no idea how to fix it (other than trying like mad with Photoshop, to so-so results). I got a better shot here by keeping the aperture the same (to maintain the same depth of field), and decreasing the shutter speed to keep the shutter open longer and let more light in.
Practice Makes Perfect
I’ve been blogging about my home since 2007, so I’ve had a lot of practice and a lot of time to improve. Hopefully these tips will help you get a jump on your own photos and you can avoid some of my early mistakes!
Eventually I want to reshoot some of my older pictures. I would love to make a photo book of my house, maybe featuring a bunch of before and after shots (now that I can take better “after” shots!). Or wouldn’t it be great to make a book for you or your kids to remember their home by if you were moving to a new house? I would have loved a memento like that of my childhood home.
Are any of these tips new to you? Or do you have any you’d like to add?

