

A New Year
It's a new year, and I've been busy painting. Painting the bedroom. Painting with watercolors and gouache. Painting goals and…January 1, 2014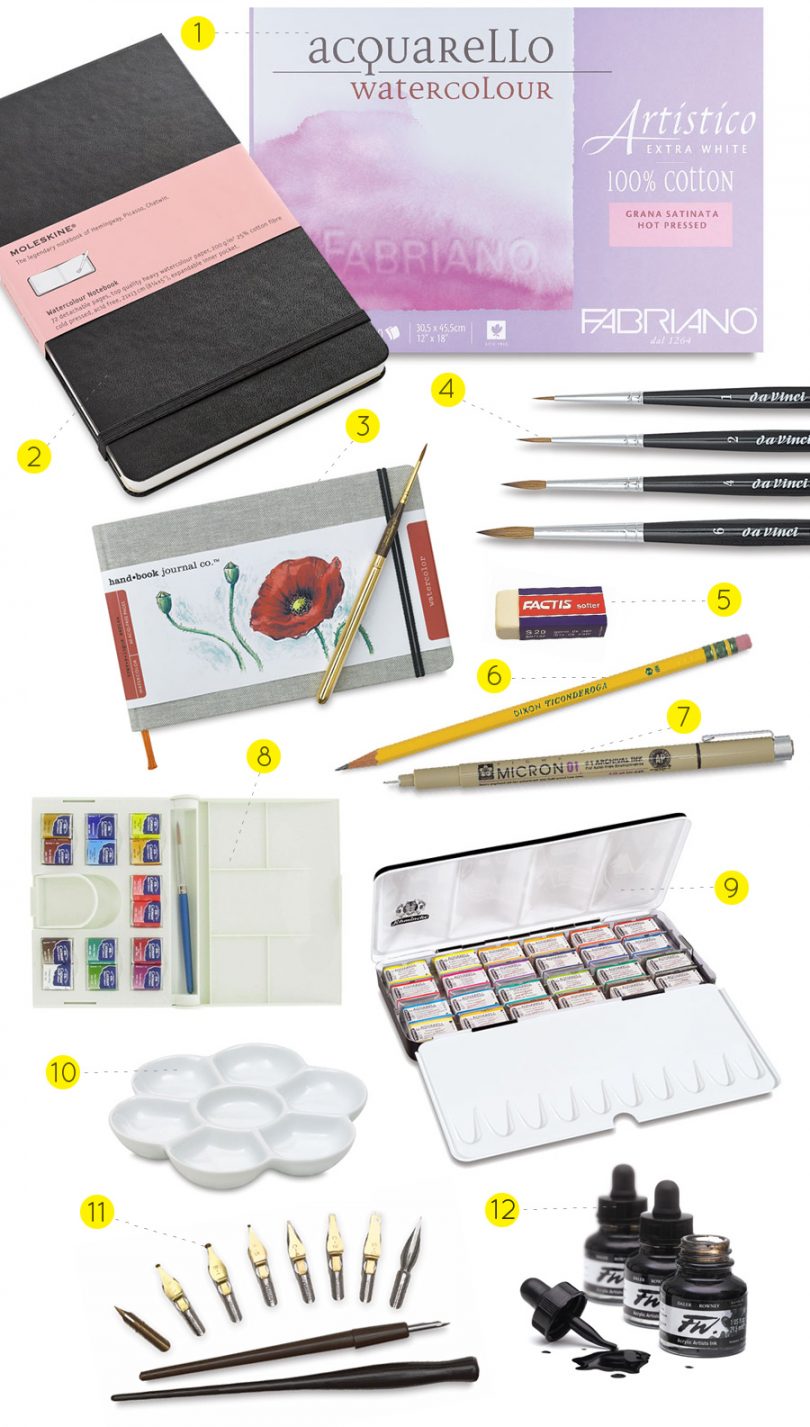
Watercolor Painting Inspiration
I went to Michael's a few days ago to pick up some Christmas picks to spruce up a so-so garland…December 18, 2013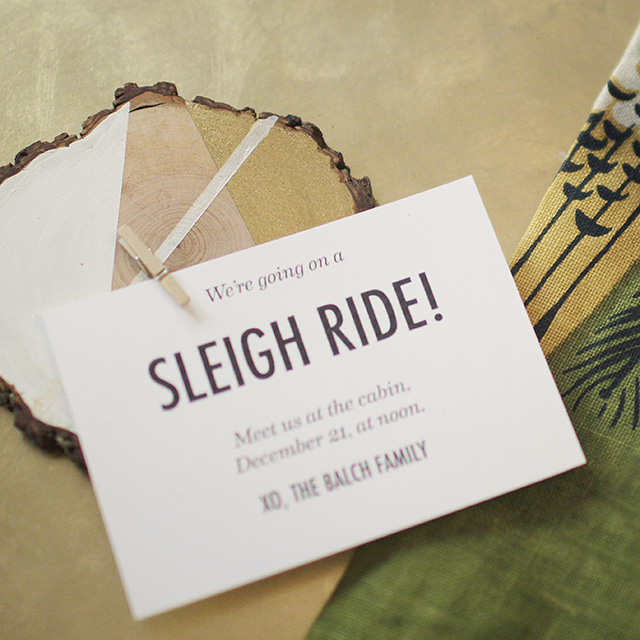
DIY Wood Slice Holiday Party Invitations
These are special invitations — ones that you might make for a handful of close friends. They'll either need to…December 4, 2013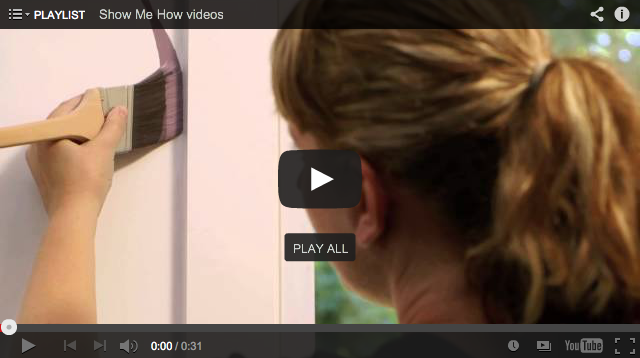
A New Video Series with Painting Tips
I'm so eager to get some paint on the walls of the new house. I'm fine with taking my time…October 9, 2013
Photography Classes in Chicago
This post is sponsored by Bing. Earlier this year, I wrote that I wanted to take a photography class, and…July 24, 2013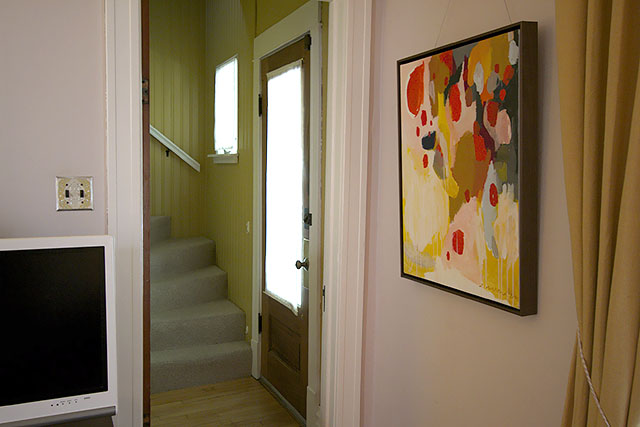
Wood Doors, White Trim
I left the doors unpainted in the front entryway. (Thanks for your feedback.) The door between the living room and…May 15, 2013
A New Year
It’s a new year, and I’ve been busy painting. Painting the bedroom. Painting with watercolors and gouache. Painting goals and plans with big, loose brush…
Watercolor Painting Inspiration
I went to Michael’s a few days ago to pick up some Christmas picks to spruce up a so-so garland on the stairs. (I was…
DIY Wood Slice Holiday Party Invitations
These are special invitations — ones that you might make for a handful of close friends. They’ll either need to be hand-delivered or mailed in…
A New Video Series with Painting Tips
I’m so eager to get some paint on the walls of the new house. I’m fine with taking my time to make decorating decisions, to…
Photography Classes in Chicago
This post is sponsored by Bing. Earlier this year, I wrote that I wanted to take a photography class, and that Bing was working with…
Wood Doors, White Trim
I left the doors unpainted in the front entryway. (Thanks for your feedback.) The door between the living room and the stairway shows its age…