

I’m inexplicably drawn to barrettes and hair clips lately. While they’ve of course been around for ages, their popularity seems to come and go with the trends, and it seems that barrettes are having a moment right now. From crystal encrusted and highly embellished combs, to simple and colorful bobby pins, hair styles are definitely enjoying the extra attention. Lucky for those of us that love to DIY, making our own set or cheerful barrettes is ridiculously easy (and thrifty!). Here’s what you’ll need to make your own set…
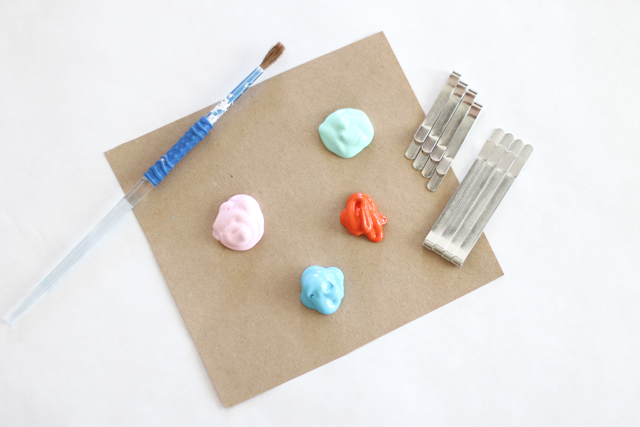
Acrylic paints in various complementary colors, wide and flat bobby pins/hair clips (I found mine at Michael’s for $1.79 for a set of 8); a paint brush and some sort of craft sealant like Mod Podge or a spray adhesive.
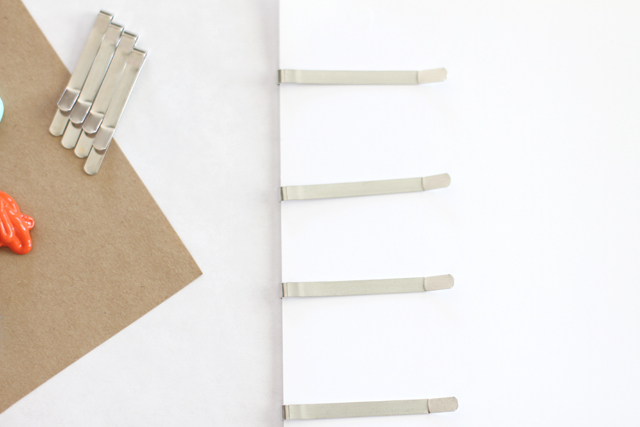
Begin by sliding your clips onto a piece of card stock. I found this to be the easiest and least messy way to paint these. Make sure your pins are wiped clean so the paint adheres really well.
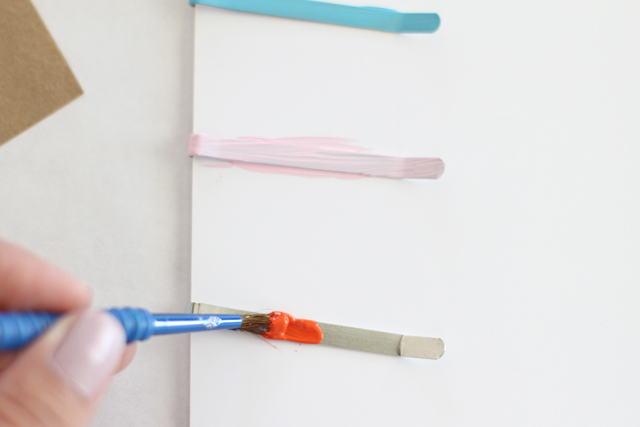
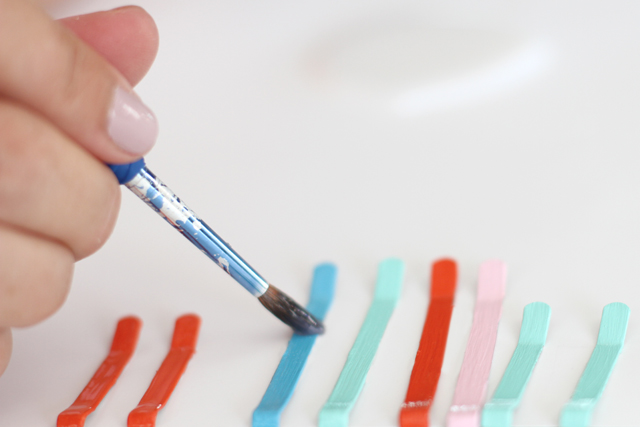
Paint your pins with at least 3 coats of an acrylic based craft paint. I used Martha Stewart’s multi-surface craft paint in a gloss finish so they were nice and shiny. I let my paint dry thoroughly between each coat and applied smooth even strokes.
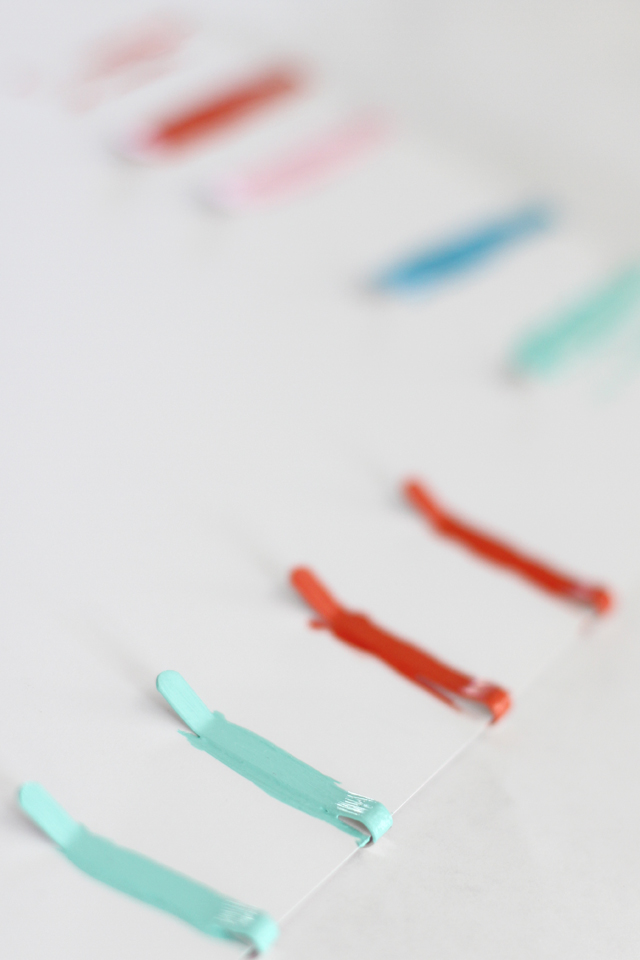
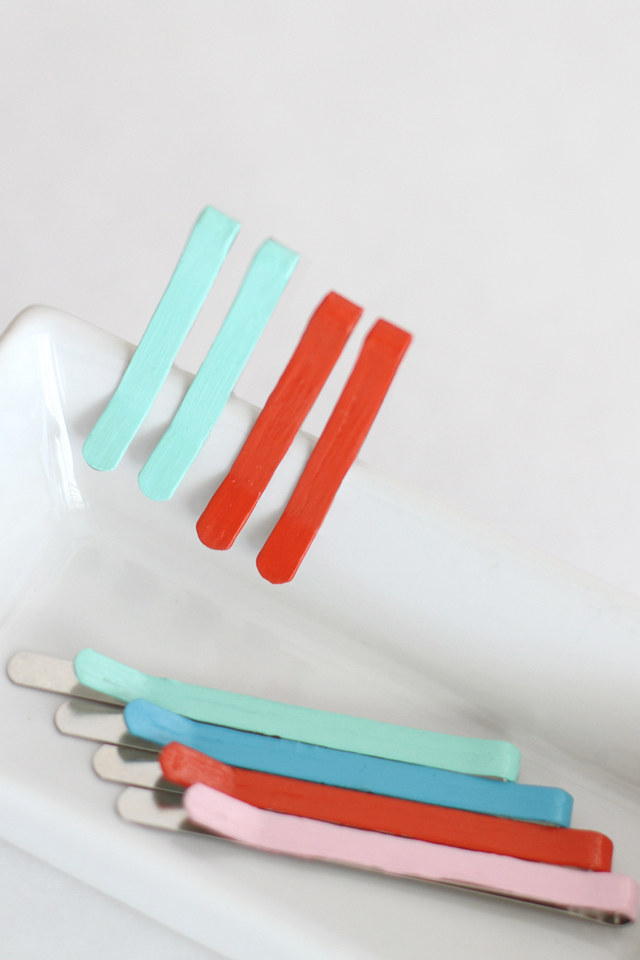
Once your clips are dry, slide them off the card stock. You will most likely have some excess paint hanging off the sides of your clips and that’s okay. Just file the excess paint off with a soft file of some sort (don’t peel), to leave a smooth finish.
Lastly, add a thin coat of a craft sealant in a gloss finish. This helps cover up any brush stroke marks you may see and leave a nice smooth finish, and prevent the paint from chipping or peeling over time. Let dry for a good 12-24 hours before using, and then have fun! I love the simple touch of color they add to my hair styles, whether down or up in a ponytail or bun.
As a side note, these clips also took spray paint really well, and you can see my star barrettes here. So in case you’d like to just spray these, you have that as an option too. The layers of acrylic paint add a bit more depth to them though.

21 comments
beauty hair tips
nice!
Erin Thompson
This is a great idea! I can’t wait to make these for my daughter! Im going to try adding glitter to the mod podge step.
Jessica Taylor
Love this idea! What a fun gift for little girls too. Thanks!
hair and beauty
I’m so happy to read this. This is a good method. It is easy and practical. And it is sooooo beautiful! Appreciate your sharing.
Frances
These are very hip colors! As a kid, I made ugly barettes with puff paint – pretty tacky! I will have to try your method because these look great!
cathy
How cute!I think the colors are quite sweet:)
Brittany Lauren
Such a fun idea — I love colorful accessories in the hair! I’m gonna try the nail polish route instead. I have a mint nail color that would look amazing. Thanks!
Dallas Landrum
Might be a good idea to use leftover white PlastiDip with paint or dye for color.
eskimo*rose
Cute colours – I did a similar project recently and use nailpolish – it worked out really nicely x
Diana
So cute!!
I’ve done this same thing with nail-polish. I love using the glitters and crackily nail-polishes.
I also like how the small bobby-pins look painted with polish.
.amanda.
this would make a fun and thoughtful gift! thanks for sharing…
Adrienne B
Could you paint them with nail polish instead? I’ve seen people paint their keys with polish, but I’ve never done it myself so I’m not sure if it is a good alternative for this project.
Andrea Howe
That would probably work too Adrienne! Great idea!
Ruthy T. (@DiscoveryStreet)
such an easy idea!!
Comments are closed.