
There are a few options when it comes to wooden counters. Let me just say right now that I’m not sure I picked the best one (given a do-over I would make the counter with solid wood), but it was among the least expensive and not a bad choice. This was my reasoning…
Butcher Block
Butcher block is a great choice in a kitchen, but it does say “kitchen” to me and felt like an odd choice for a laundry room. (I’m sure that is my own weird reaction.) I didn’t want the striated effect, and I don’t always care for the way it looks when stained as opposed to oiled. Of course now that I have plywood counters that I also don’t love the look of stained, this was a foolish reason to rule out butcher block, but at least I saved a lot of money in comparison?
Faux-Wood Laminate
I’m not a laminate snob — it can be a great choice and was something I had considered — but I’m not into the fake wood options.
Reclaimed Wood
Ideal! Lovely and with history and character! It felt beyond my woodworking abilities though, for pretty much the same reasons I avoided wooden boards.
Wooden Boards/Planks
Turning boards into counters seemed daunting. I don’t regret using plywood because I haven’t done a whole lot of woodworking projects and I learned a lot, but I wish I had the confidence I’ve now gained because this would have been prettier.
I would have needed a biscuit joiner, biscuits, and plenty of 36” long clamps. Maybe a planer, too? Lowe’s is sponsoring the laundry room reveal and they would have provided any tools and materials I needed, but I approached this project as I would have on my own, keeping in mind a budget and a level of appropriate finishes for a 125-year-old basement laundry room. It’s way nicer than before, but I can’t make the room into something it isn’t architecturally and I didn’t want to hoard a bunch of specialized tools I might never use again just because I could. Still, I have minor regrets. This would have been far nicer.
Plywood
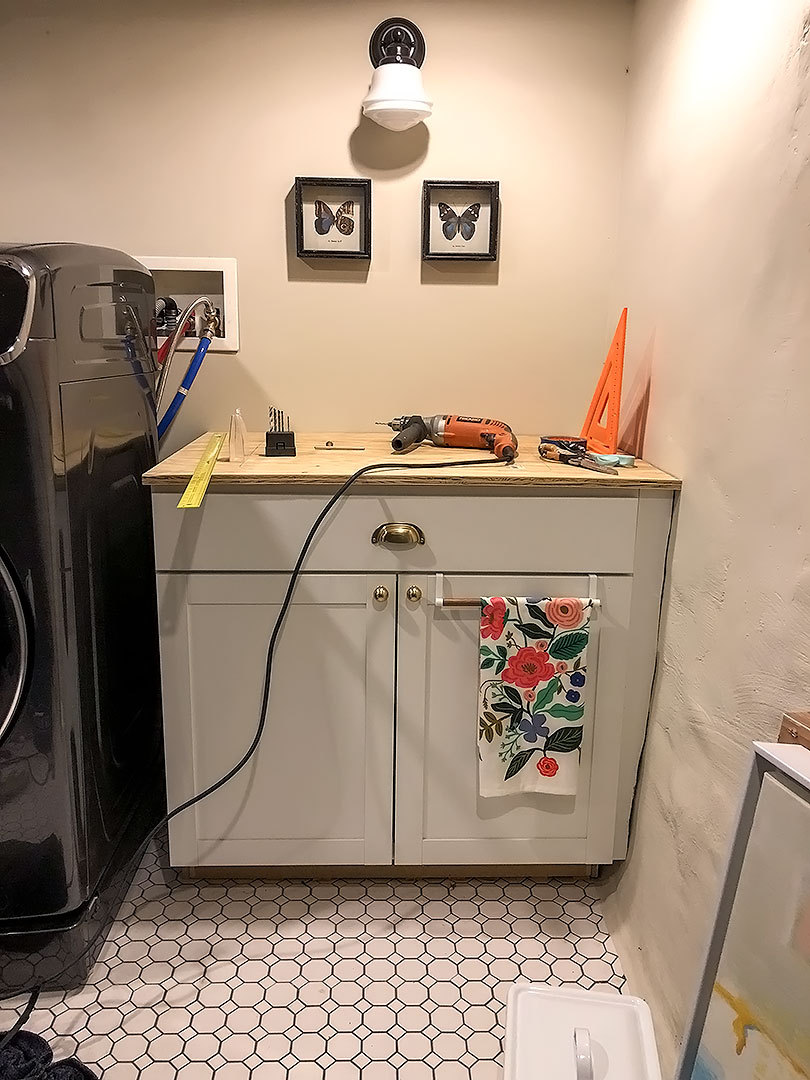
Winner, winner! I figured it would be easy to work with since it’s already a large, flat pane, and plywood is inexpensive. I don’t love the end result, but I don’t hate it either. If you’re considering this option, I hope it’s helpful to read a positive but not glowing experience with it.
Plywood comes in a variety of wood species, thicknesses, and grades. I chose pine over oak or maple because while it is softer (and susceptible to gouges and scratches), it takes a mid-tone stain nicely and doesn’t blacken with water exposure. I was planning to stain and seal my counters, but with wet laundry and a big sink both having the potential to ruin them, I’d rather see wear with age than black spots.
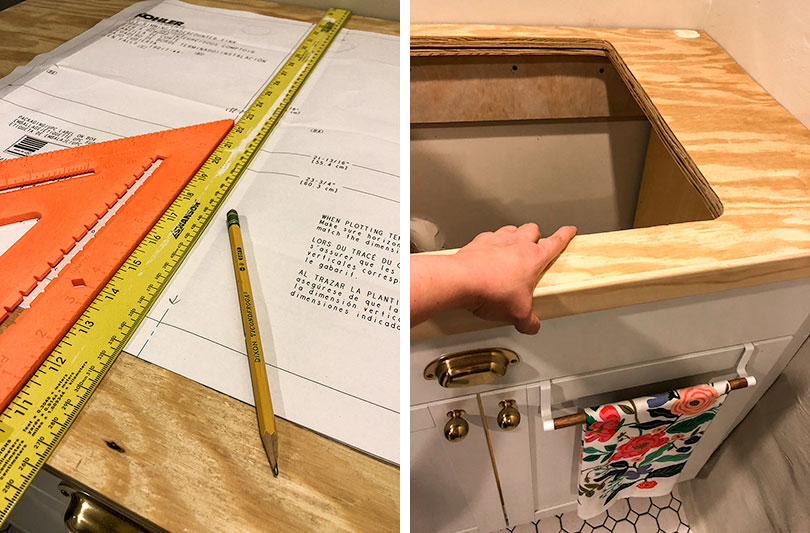
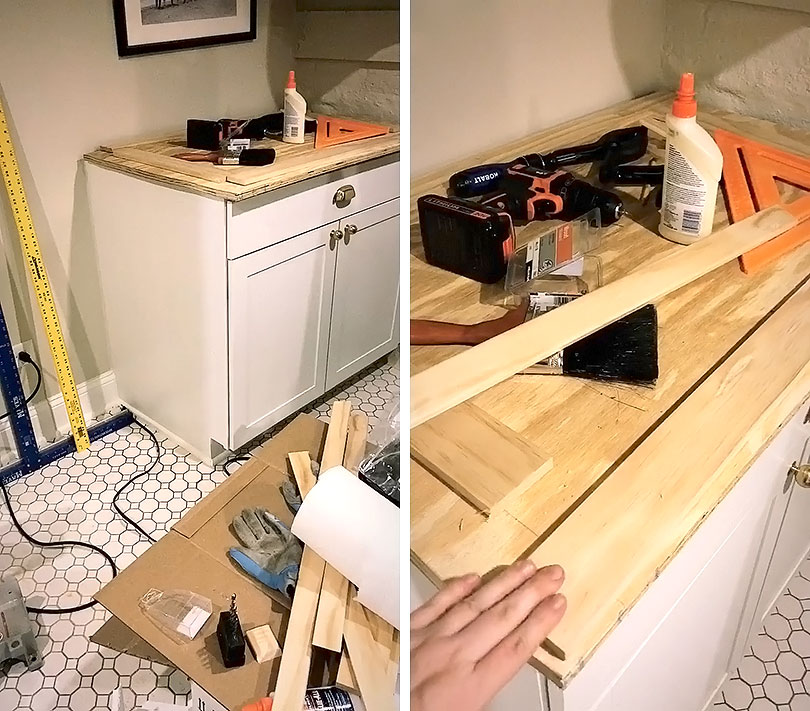
Two of my cabinets end against uneven stone foundation walls. I used a compass to scribe the edges onto a piece of cardboard, then cut the edge with a razor and tested the fit. Once I was happy with that step, I used the cardboard as a template, traced it onto my plywood, and then cut those edges with a jigsaw.
I used two sheets of plywood (a nice 3/4″ thick pine for the top and a lower grade 1/2″ for the bottom) to make a strong counter for the sink cabinet. After cutting the top sheet to size, I dry fit it into place before centering and tracing the sink template.
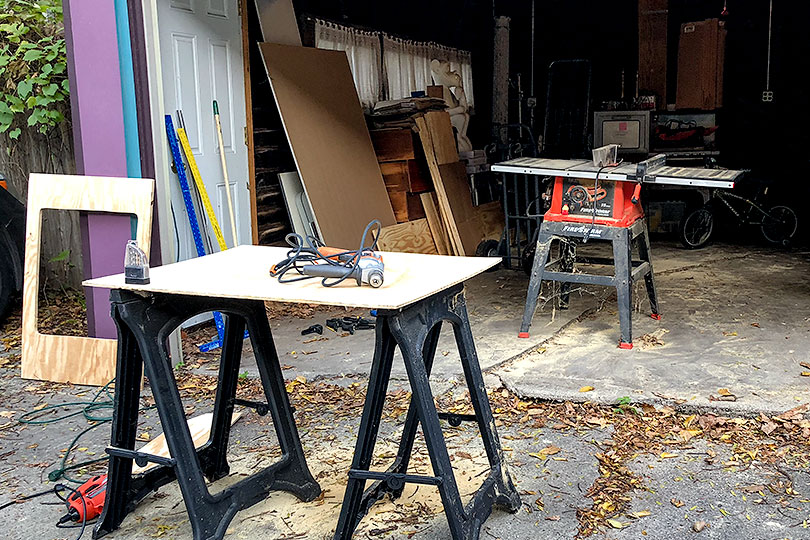
I don’t use our table saw very often (and whoops, I didn’t clear the cobwebs on the base), but the blade we had in it would have chewed up the plywood. I picked up an inexpensive new 10” blade with 60 teeth that cuts plywood cleanly. I picked up a jigsaw blade with more teeth (12) for the same reason and it left fairly smooth edges.
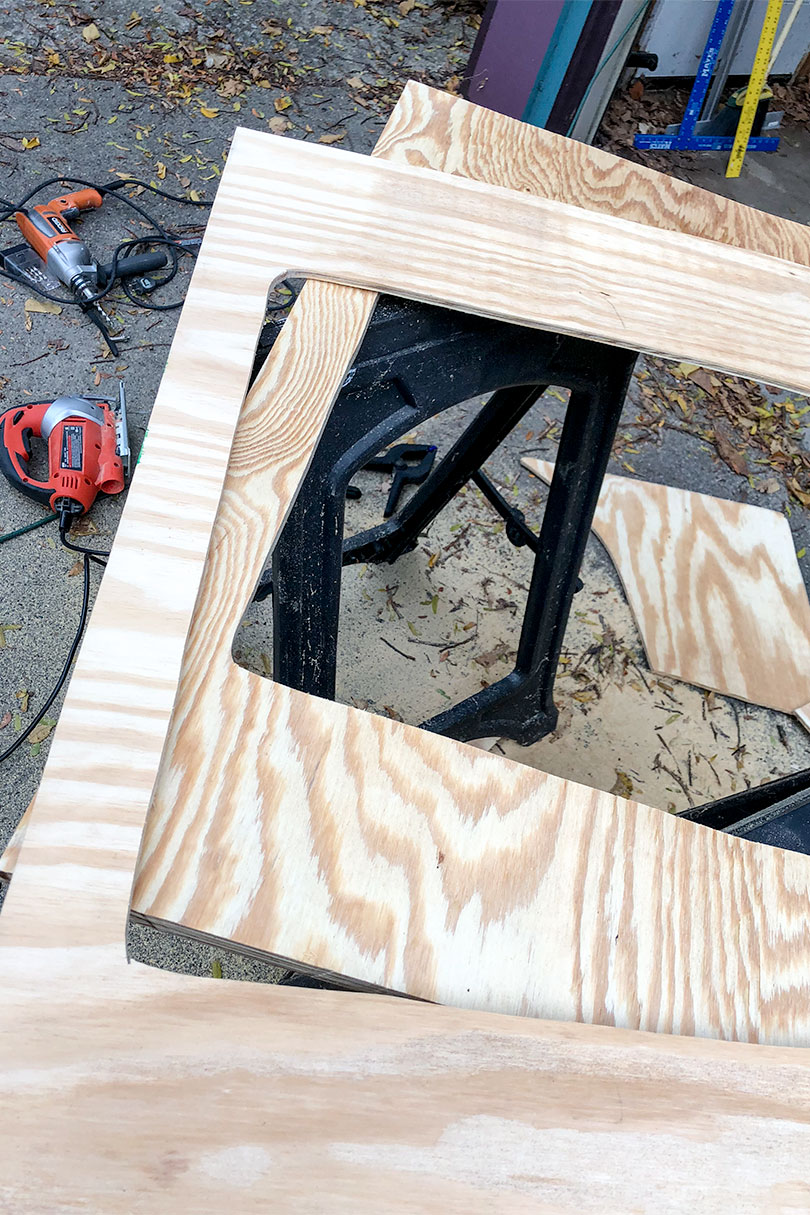
I used a different technique for the other two counters. I didn’t need a full second sheet of plywood for more strength, I just wanted to raise the counters up a little to make room for trim pieces while leaving clearance for drawers to open. I added 1/2″ thick pine boards around the perimeter of each counter. Each piece was glued, clamped, and then screwed into place.
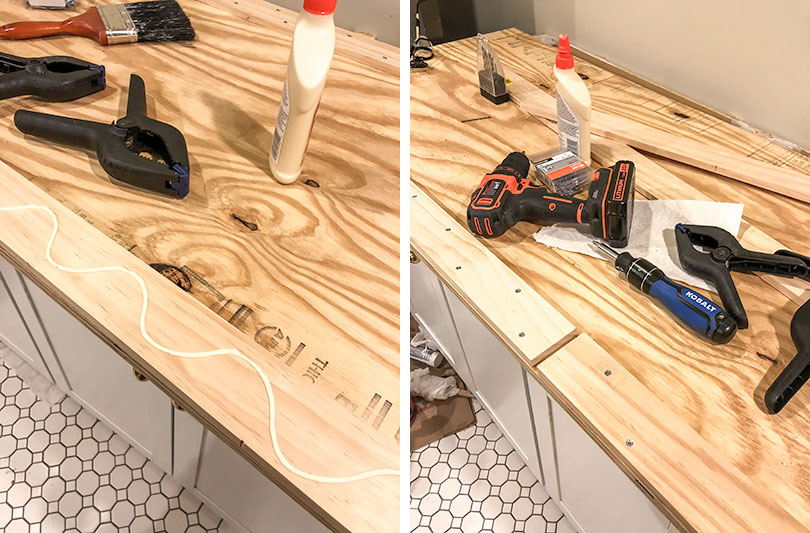
Plywood edges are ugly, so I added simple 1-1/2″ pine trim around each counter. They were glued, clamped, and held in place with finish nails. I used a nail set to countersink the nails and then fill them with stainable wood filler, but here’s another lesson learned: get pine wood filler if you’re working with pine because I didn’t and the filled holes took stain differently.
I filled nail holes and any imperfections, then sanded the counters with 200-grit sandpaper. I wiped the surface clean with tack cloth and applied wood conditioner, followed by two coats of Ipswich Pine stain. I finished with three coats of polyurethane applied with a natural bristle brush, lightly roughed up with 320-grit sandpaper between coats, and buffed with 0000 steel wool after fully drying.
The photo below on the left is from when I applied the second coat of poly (still wet), and on the right is the finished counter. I chose a satin finish, which I’m happy with.
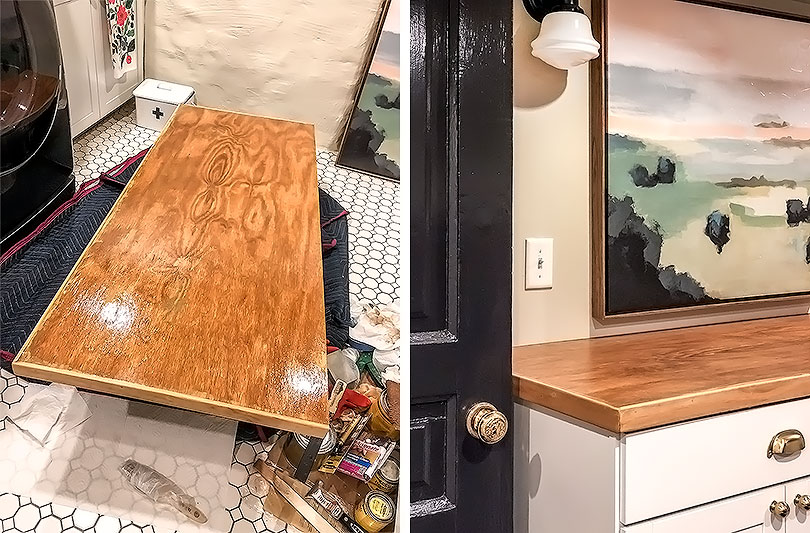
They were dry to the touch after sitting overnight, but I left them alone for three days before putting anything on top. They’re attached to the counters with simple metal L brackets and wood screws.
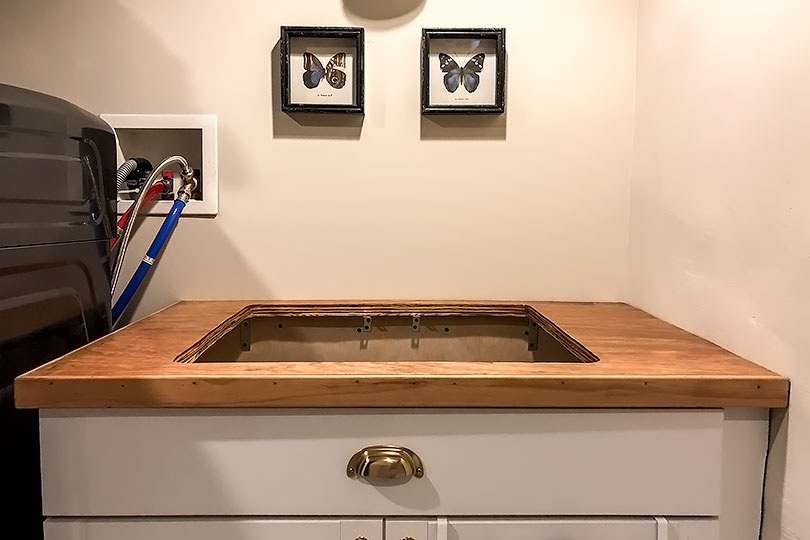
The pine trim took stain differently than the pine plywood. You can see the filled-in nail holes. The counters are smooth, but not a perfectly glassy finish, and the wood grain is nothing special. I don’t want to seem so down on them, but I don’t want to encourage anyone to do this and think it’s going to be the most! amazing! project! ever! They’re good, utilitarian counters for a good, utilitarian space, and they’re cheap. I give them a B+.


14 comments
cat
I agree with many others, in that I anticipated a reveal of…awful. Instead, it’s good! You’ve done a neat, careful job and I hope you enjoy the counters for many years.
Linda
Hi Nicole, I think the final result looks great! I’m just curious where you got that pink and green landscape from?
RachelA
i love that you’re honest.
there are definitely times when i look at the cost in money or time or both of what i want, and i decide it’s just not worth it. so i do the next best thing, and it’s fine. every space in a house doesn’t need to be perfect and unique and gorgeous. some spaces just need to do their job, and that’s good enough.
it’s a lot of pressure to feel like you have to care about every little detail, especially when you just…don’t.
i’m actually a person who really doesn’t care much about kitchen cabinets. as long as they’re functional and not aggressively ugly, i’m fine with it. my dream kitchen has flat front cabinets because they’re easy to wipe down, not because they’re aesthetically my favorite choice. i just don’t care enough about attractive kitchen cabinets to want to have ones that are anything but functional. (it probably helps that i hate open plan kitchens because i don’t like people talking to me while i cook. it distracts me too much, and then i’m likely to mess something up. i also just don’t like open layouts in general. i like separate rooms that have their own perfect uses, like your house!)
tracy
I really really like these. I just adore home elements that have character and warmth the way these do.
Carla
way to save money… however this reminds me of things my dad used to cobble together when he had no money and no resources. Butcher block for such a small space would have saved time=money and looked better. Just being honest here.
But good for experimenting and commitment to your maker skills, everything else in your home seems so refined, and this seems like a throwback to kitsch.
Anne
Really appreciate your honest assessment of the project. You tackle such interesting things in an informative and helpful way. They do look lovely and I hope you enjoy them, even if they’re imperfect.
infinitequery
I think the final result is great. The bin pulls and the top seem cottage like and appropriate for a home where the servants areas were pretty basic from what I have read and seen in old pictures.
Julia at Home on 129 Acres
It’s hard when you’re disappointed with the result after putting in time and effort. For future reference, a Kreg Jig does really good joints really easily–no biscuits. I used our Kreg and four 2x10s to make a counter for our island. The joints were nearly invisible (not butcherblock-esque) and nice and tight. We’ve had the counter for five years and it’s held up really well.
Victoria
They look really good! Maybe if you continue to dislike them down the line, you could wrap them in zinc or paint the edge boards. I’m so impressed you did these yourself!
Vanessa
I like that you were good about not getting tools that might have been free to you, but expensive to the planet. It’s very thoughtful Nicole. The counters are perfect for what you need down there.
Kristin
I think they look great! I really do. Nice job.
Tiffanie
The countertops look good! I see you went with the easy-to-order landscape. Also a nice choice. Can’t wait for the full reveal. I’d love to see an update to August’s and Eleanor’s big kid rooms. My own little Auggie is ready for a transition and I selfishly need some inspiration!
Jamie
I actually really love the look. Based on your Instagram lead in I wasn’t sure how it ended up. But I say Bravo! It’s fitting with the house…it has a story and some depth. Nice work!
Comments are closed.