
 July 20, 2018Working on the laundry room. What day is it? What time is it? I pretty much live in there now,…
 July 17, 2018The tile is in and grouted! The cabinets, washer, and dryer all made their way downstairs today! There's still so…
 July 13, 2018These are the easy to reach for pieces. The tops look great dressed down with jeans (Madewell's 10" skinny high-rise…
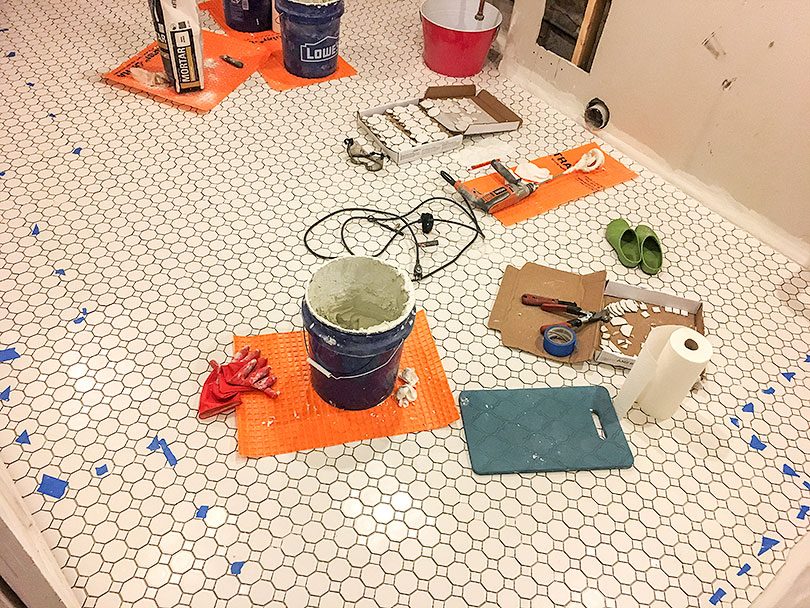 July 11, 2018Today, I grout! But first, let’s take a look at the tiling progress I’ve made. I started by finding the…
 July 6, 2018I still haven't finished tiling the laundry room! Curses! I caught the reveal of Miss Mustard Seed's hand-painted landscape mural…
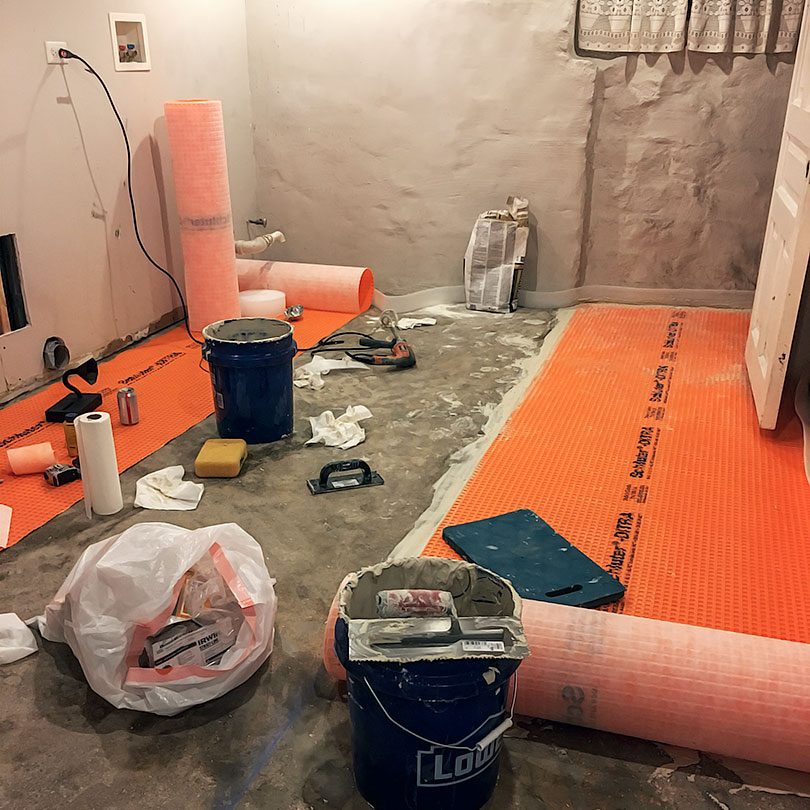 July 2, 2018Still prepping for tile! I underestimated the amount of work it would take to DIY this install. I imagined it…