

The Nursery, as a Clean Slate
I had been considering a few colors, but I decided to go with white walls for Calvin's nursery. It just…January 26, 2015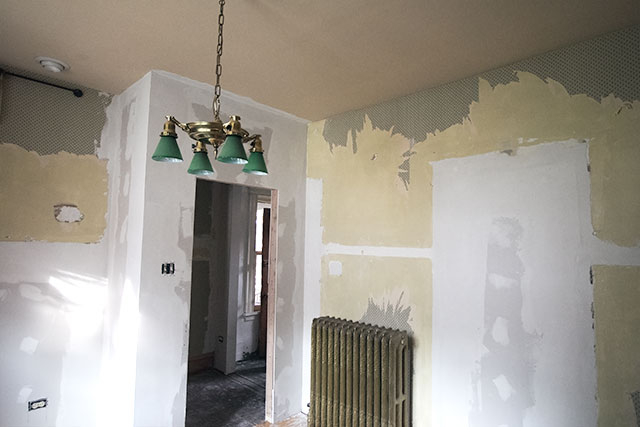
The Second Floor is Taking Shape
Hey, no more visible lathe! We have walls! That's the door we're going to reuse for the new nursery, casually…August 4, 2014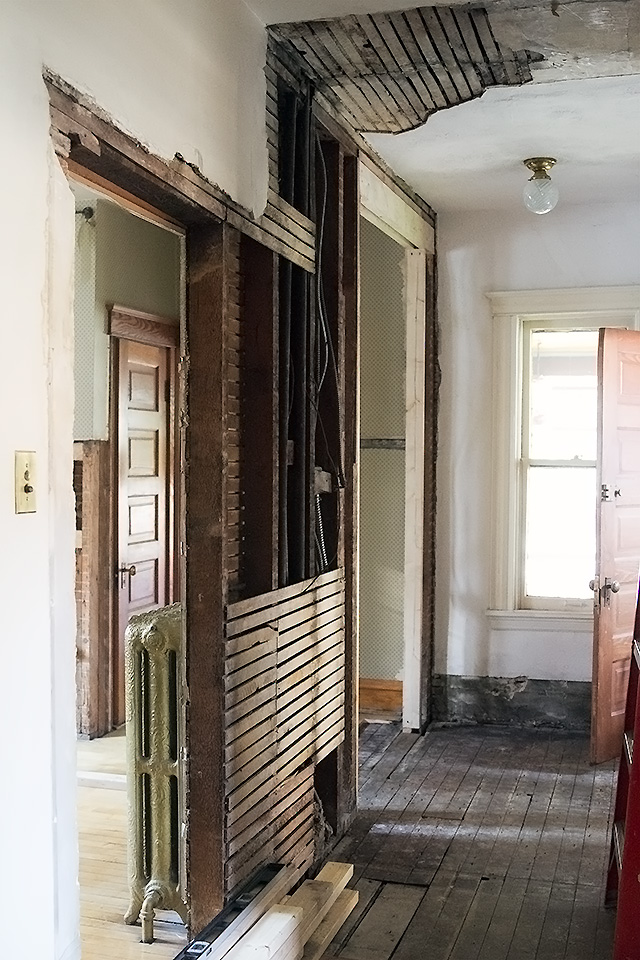
Moving the Door Over
We're still a ways off from finishing the conversion of the kitchen on the second floor into a bedroom and…July 21, 2014
Demolition Ahead
We're about to start on some big changes to the second floor of the Victorian! Thank you so much for…July 10, 2014
August’s Second Birthday Party
A few weeks ago, we asked August for a little party planning input. "What kind of birthday party do you…February 19, 2013
The Nursery, as a Clean Slate
I had been considering a few colors, but I decided to go with white walls for Calvin’s nursery. It just felt right. It’s creamier than…
The Second Floor is Taking Shape
Hey, no more visible lathe! We have walls! That’s the door we’re going to reuse for the new nursery, casually hanging out all akimbo at…
Moving the Door Over
We’re still a ways off from finishing the conversion of the kitchen on the second floor into a bedroom and finishing the hall, but it’s…
Demolition Ahead
We’re about to start on some big changes to the second floor of the Victorian! Thank you so much for all of the input and…
August’s Second Birthday Party
A few weeks ago, we asked August for a little party planning input. “What kind of birthday party do you want, August? Cars?” “Uh huh.”…