

A Dollhouse Made Lovely
Well, I think I'm the only one that actually has a dollhouse to show you today from Emily's original group…December 15, 2011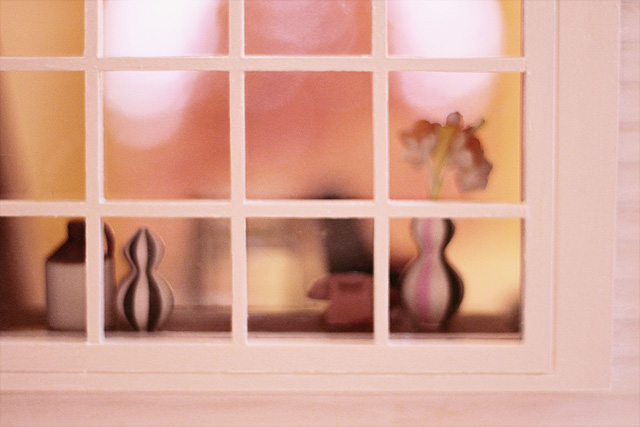
Like a Peeping Tom: A Peek Inside the Dollhouse
Here's a little peek into the dollhouse from the outside. It's ready (enough) to show you today, but I won't…December 15, 2011
The Mad Dash Toward the Finish Line
I've spent all weekend dollhousing. My father-in-law has been instrumental, further cementing himself as perhaps Eleanor's favorite person. While I…December 13, 2011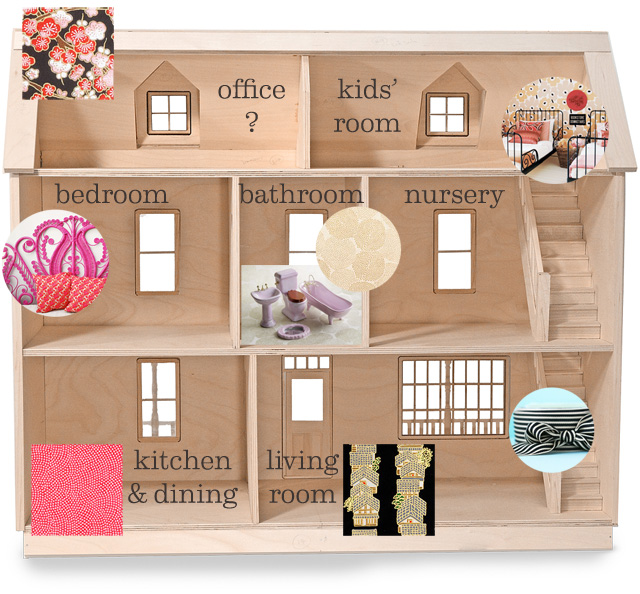
The Dollhouse Floor Plan
The dollhouse is starting to take shape! Figuratively speaking. The actual dollhouse is still very much in its flat-pack form.…November 10, 2011
The (Mini) Bathroom Fixtures are Here
Hmmm. I wanted them to look like candy, but um, they don't. They look like badly glazed dollhouse furniture. Do…October 13, 2011
The “I’m a Giant!” Challenge
I've really been feeling the urge to just start decorating a whole new house from scratch. I love our home,…September 21, 2011
A Dollhouse Made Lovely
Well, I think I’m the only one that actually has a dollhouse to show you today from Emily’s original group of participants. I’m amazed though…
Like a Peeping Tom: A Peek Inside the Dollhouse
Here’s a little peek into the dollhouse from the outside. It’s ready (enough) to show you today, but I won’t be able to take and…
The Mad Dash Toward the Finish Line
I’ve spent all weekend dollhousing. My father-in-law has been instrumental, further cementing himself as perhaps Eleanor’s favorite person. While I painted and wallpapered walls, he…
The Dollhouse Floor Plan
The dollhouse is starting to take shape! Figuratively speaking. The actual dollhouse is still very much in its flat-pack form. I’ve been waiting to assemble…
The (Mini) Bathroom Fixtures are Here
Hmmm. I wanted them to look like candy, but um, they don’t. They look like badly glazed dollhouse furniture. Do you think I should try…
The “I’m a Giant!” Challenge
I’ve really been feeling the urge to just start decorating a whole new house from scratch. I love our home, but there’s something to be…