
The Second Floor is Taking Shape
Hey, no more visible lathe! We have walls! That's the door we're going to reuse for the new nursery, casually…August 4, 2014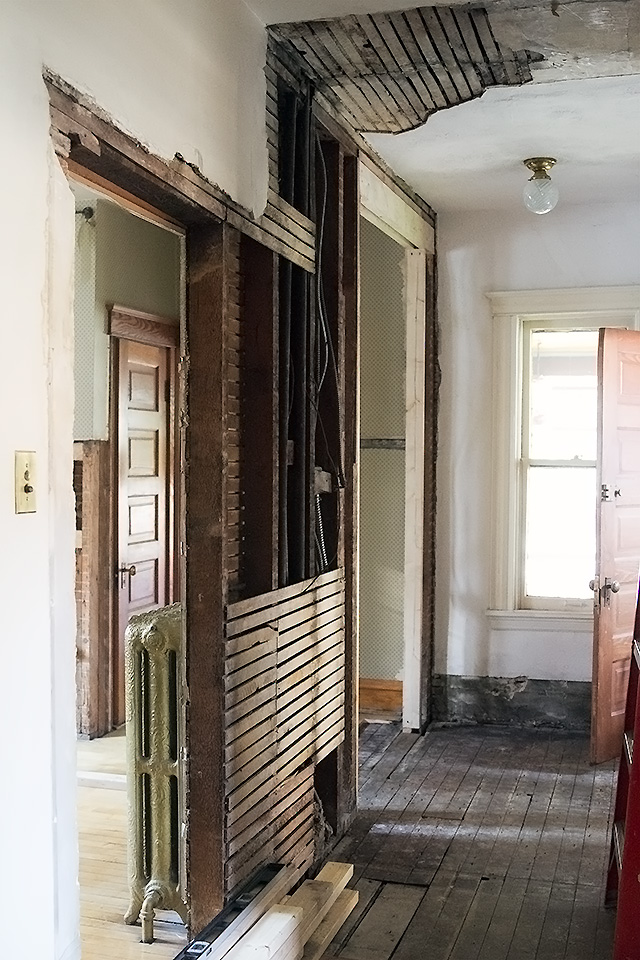
Moving the Door Over
We're still a ways off from finishing the conversion of the kitchen on the second floor into a bedroom and…July 21, 2014
Demolition Ahead
We're about to start on some big changes to the second floor of the Victorian! Thank you so much for…July 10, 2014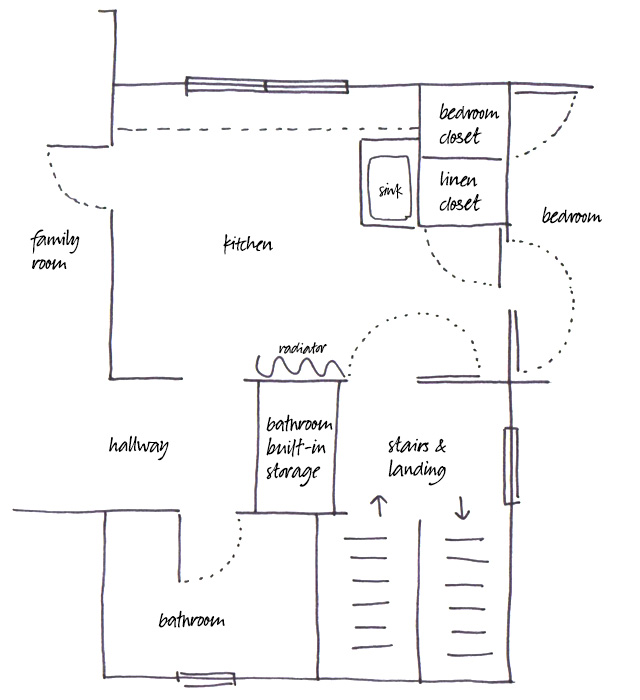
Piggybacking on Yesterday’s Post About the Nursery
Yep, still thinking about where to put the nursery. I had something else planned to post today, but I'll push…March 27, 2014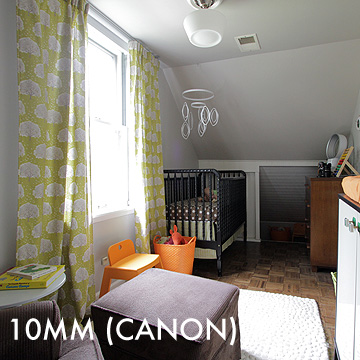
Wide Angle Lenses
I rented two wide angle lenses this week: a Canon EF-S 10-22mm f/3.5-4.5 USM and a Tokina 11-16mm f/2.8 AT-X…June 23, 2011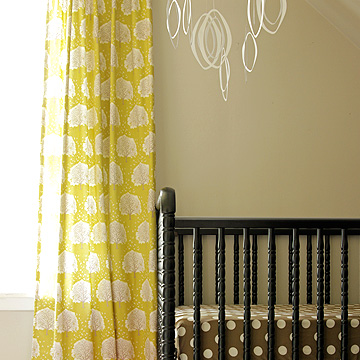
August’s Nursery
Dresser and Play Chair Provided by The Land of Nod August's nursery is finally ready for the little guy! He…June 2, 2011
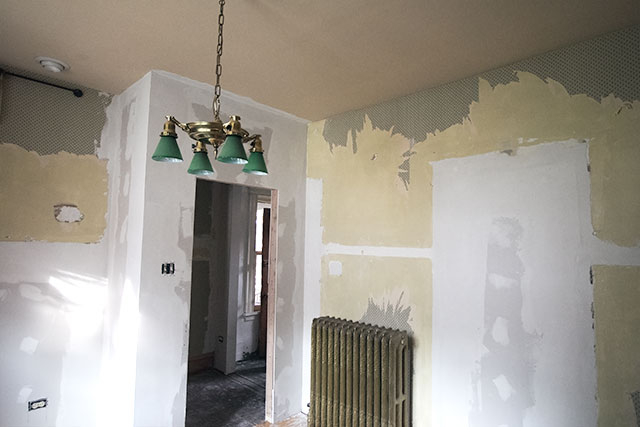
The Second Floor is Taking Shape
Hey, no more visible lathe! We have walls! That’s the door we’re going to reuse for the new nursery, casually hanging out all akimbo at…
Moving the Door Over
We’re still a ways off from finishing the conversion of the kitchen on the second floor into a bedroom and finishing the hall, but it’s…
Demolition Ahead
We’re about to start on some big changes to the second floor of the Victorian! Thank you so much for all of the input and…
Piggybacking on Yesterday’s Post About the Nursery
Yep, still thinking about where to put the nursery. I had something else planned to post today, but I’ll push it to next week instead.…
Wide Angle Lenses
I rented two wide angle lenses this week: a Canon EF-S 10-22mm f/3.5-4.5 USM and a Tokina 11-16mm f/2.8 AT-X 116 Pro DX. I wanted…
August’s Nursery
Dresser and Play Chair Provided by The Land of Nod August’s nursery is finally ready for the little guy! He slept in a cradle in…