
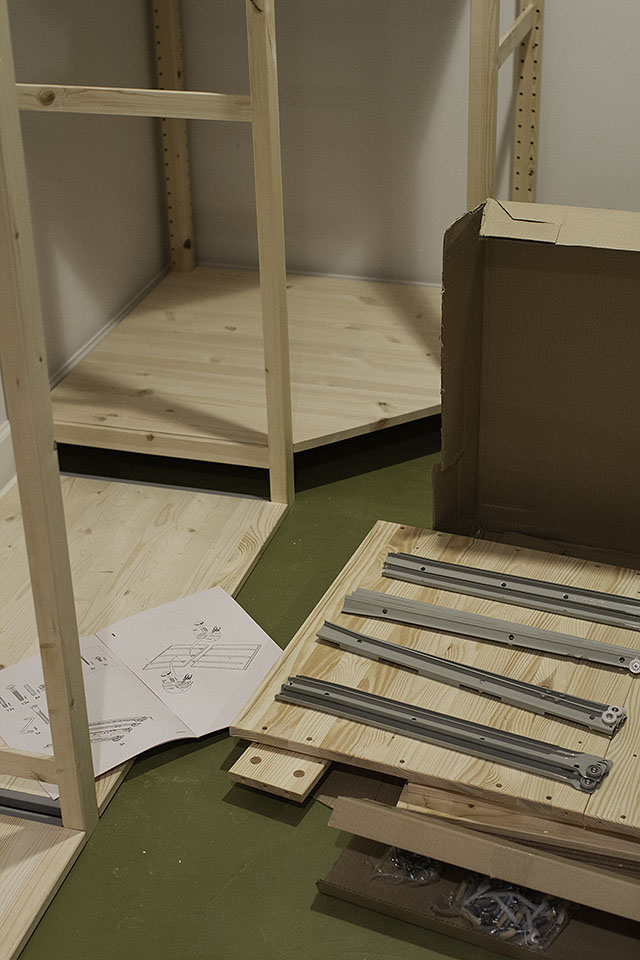
IVAR!
Remember this floor plan sketch for the basement, with the storage units labeled GORM (which is either a really unfortunate…April 1, 2013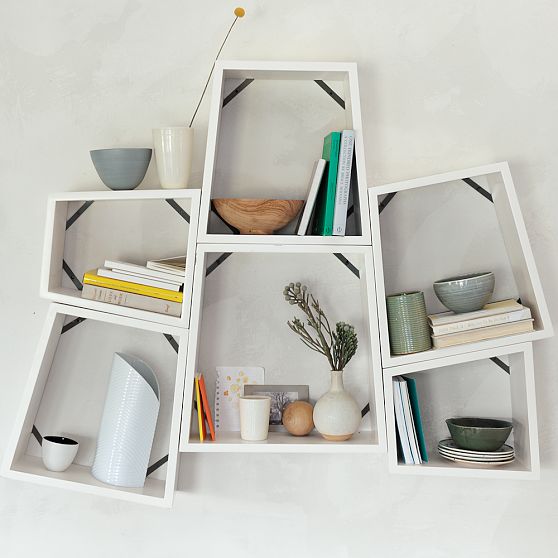
Angle Nesting Shelves
They come in a set of three (so that first photo shows two sets). Aren't they neat? • west elmMarch 28, 2011
Bathroom Shelving Misjudgment
I made the trip out to IKEA on Saturday with August, specifically to buy the Ekby Shelves for the basement…March 7, 2011
Shelving for the Half-Bath
The last thing I need to choose for the basement half-bath is shelving. I just want a place to put…March 2, 2011
CD Storage?
Yesterday, Brandon said something that made me very happy: "Let's get rid of all these CD cases." Right now, we…July 31, 2009
IVAR!
Remember this floor plan sketch for the basement, with the storage units labeled GORM (which is either a really unfortunate name or an IKEA product)?…
Angle Nesting Shelves
They come in a set of three (so that first photo shows two sets). Aren’t they neat? • west elm
Bathroom Shelving Misjudgment
I made the trip out to IKEA on Saturday with August, specifically to buy the Ekby Shelves for the basement bathroom. They’re only seven inches…
Shelving for the Half-Bath
The last thing I need to choose for the basement half-bath is shelving. I just want a place to put some pretty odds and ends…
CD Storage?
Yesterday, Brandon said something that made me very happy: “Let’s get rid of all these CD cases.” Right now, we have most of our CDs…