
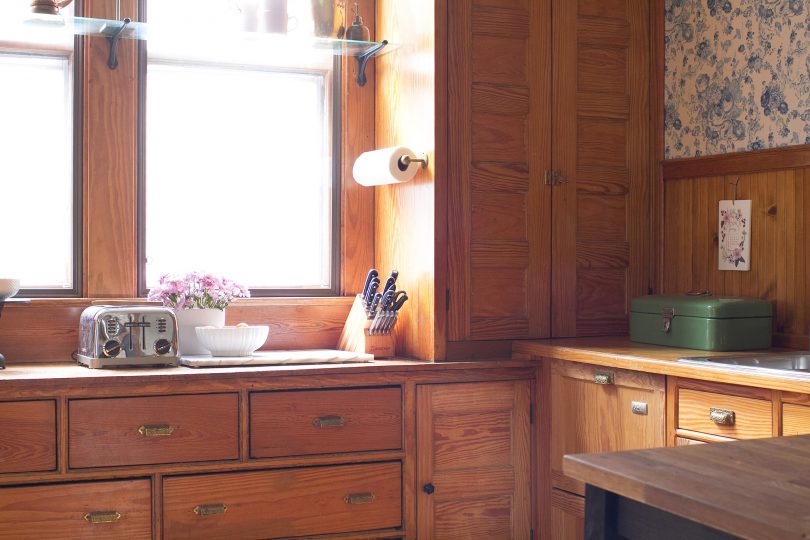
Review: Indow Window Inserts
Indow provided two window inserts for review. Most of the windows on the first and second floor are original to…February 27, 2017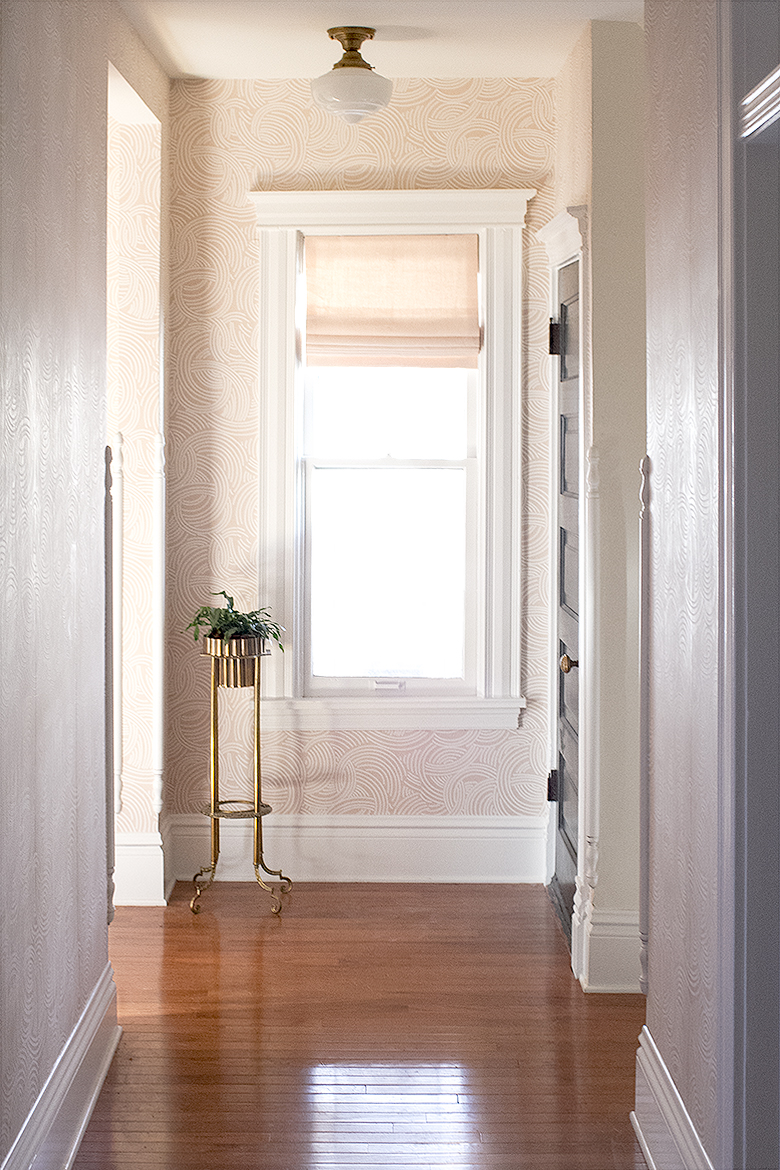
Choosing Window Treatments for Our Hall and Both Entryways
The big reveal of our latest One Room Challenge project went up last week! We took on the front and…November 14, 2016
Inexpensive Custom Sized Roller Shades
I had been planning to put up sheer roller shades for a long time, even before I began redoing my…June 10, 2010
Review: Indow Window Inserts
Indow provided two window inserts for review. Most of the windows on the first and second floor are original to the house — single pane,…
Choosing Window Treatments for Our Hall and Both Entryways
The big reveal of our latest One Room Challenge project went up last week! We took on the front and back entryways, along with the…
Inexpensive Custom Sized Roller Shades
I had been planning to put up sheer roller shades for a long time, even before I began redoing my bedroom (photos next week). We…