
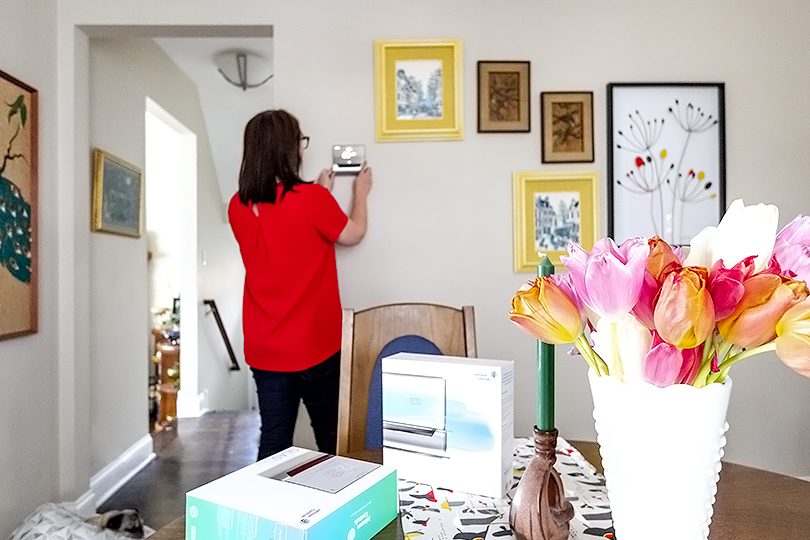
 November 20, 2018This post is sponsored by GLAS. Friends of ours have been making changes to their Chicago Tudor over the past…
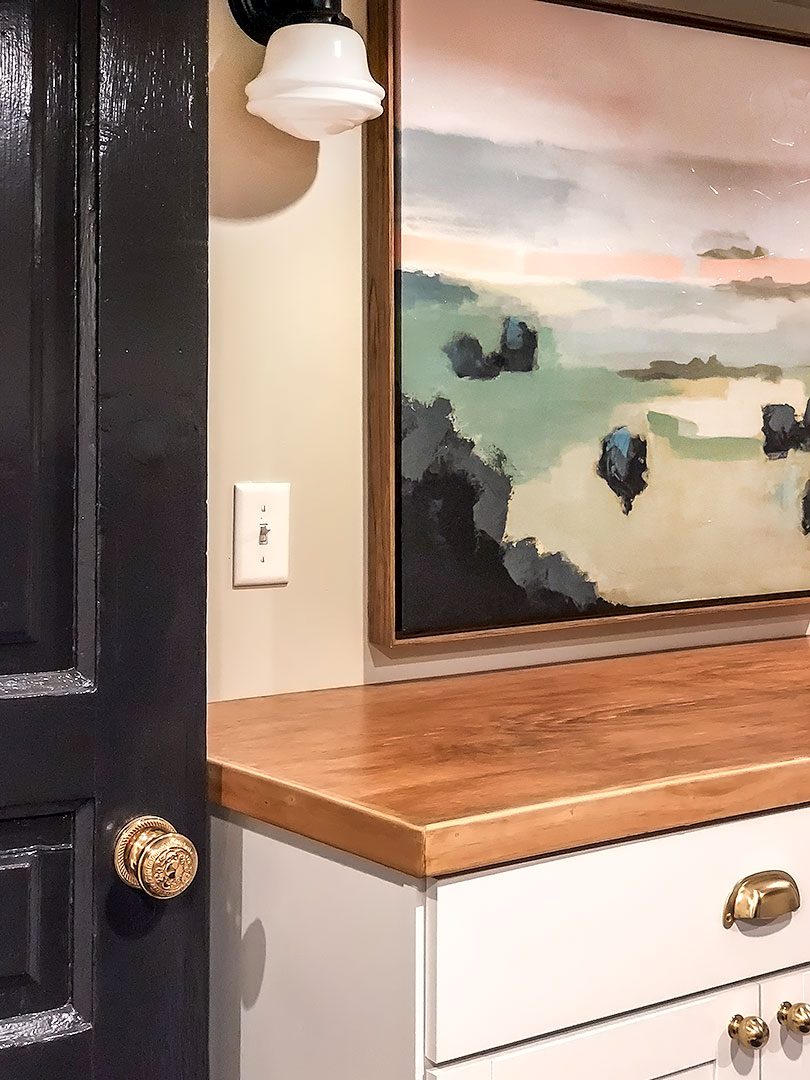 November 8, 2018There are a few options when it comes to wooden counters. Let me just say right now that I’m not…
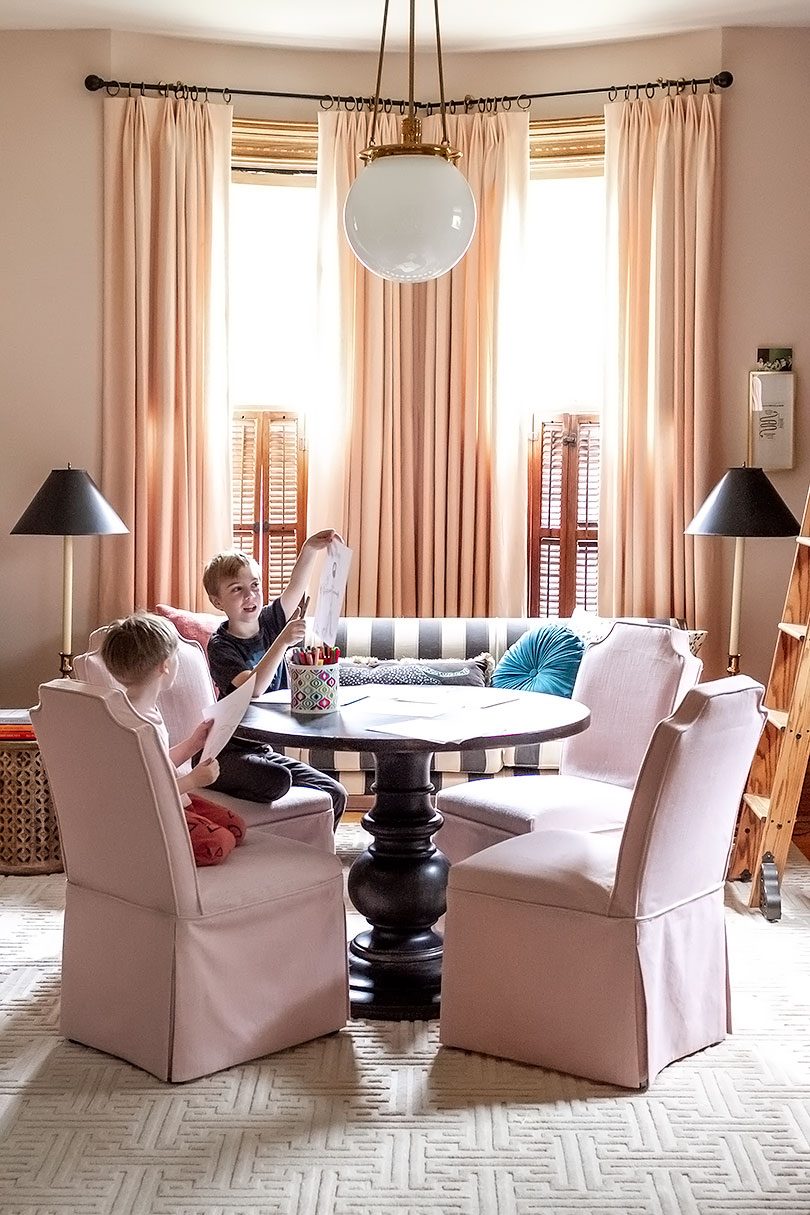 October 26, 2018I’d been wanting a pair of swing-arm lamps to flank the black and white striped sofa in the library. The…
 October 19, 2018I'm in that change-of-seasons mood where I want to clean and organize everything. I also have the kind of cold…
 October 16, 2018I wrote about wanting to add a mirror above the fireplace and a grid of frames above the red console…
 October 11, 2018You've fallen in love with something that's a detour from your usual style. Is it a fleeting fancy? Will you…