
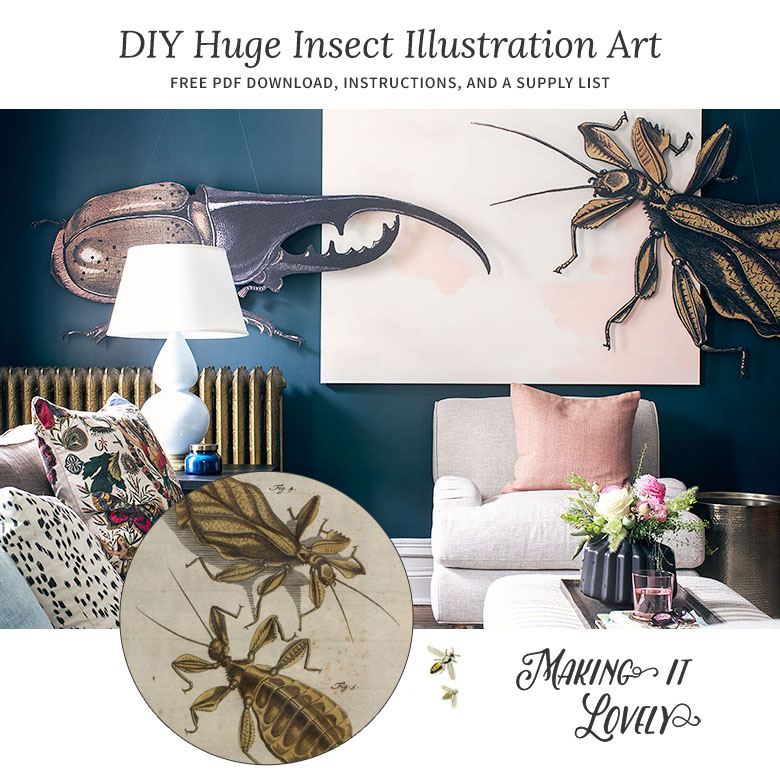
DIY Huge Insect Illustration Art (Free Download)
I had a very large blank wall to fill in my den for the One Room Challenge. Naturally, I made…May 19, 2016
Meet the Beetles
Are you enjoying the swan in the redesigned blog's header? Because it was either her or a giant beetle. (Basically,…March 3, 2016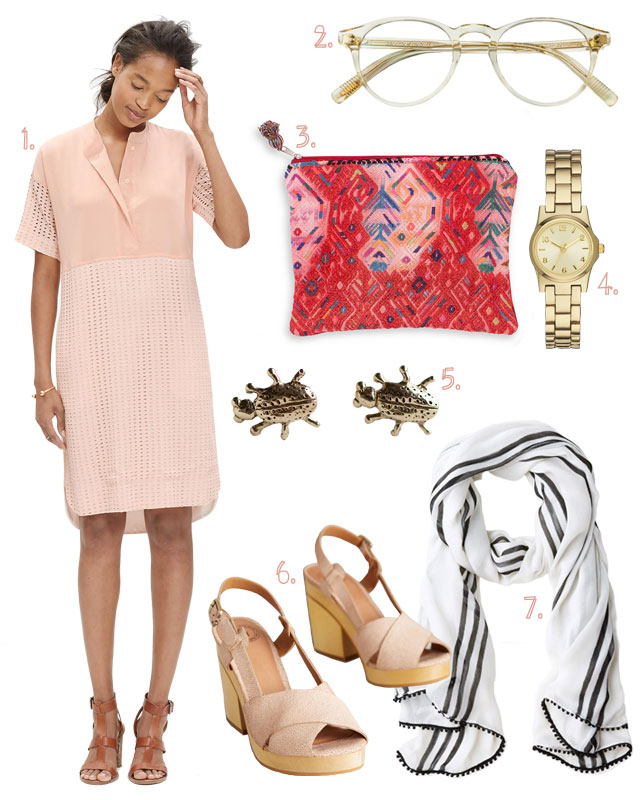
Style: Pink, Gold, and Bugs
As much as the idea of actual bugs crawling around my ears sounds absolutely terrifying, cute little gold ones can…May 21, 2015
DIY Huge Insect Illustration Art (Free Download)
I had a very large blank wall to fill in my den for the One Room Challenge. Naturally, I made some giant bugs for it.…
Meet the Beetles
Are you enjoying the swan in the redesigned blog’s header? Because it was either her or a giant beetle. (Basically, what I’m saying is that…
Style: Pink, Gold, and Bugs
As much as the idea of actual bugs crawling around my ears sounds absolutely terrifying, cute little gold ones can hang out all over me…