
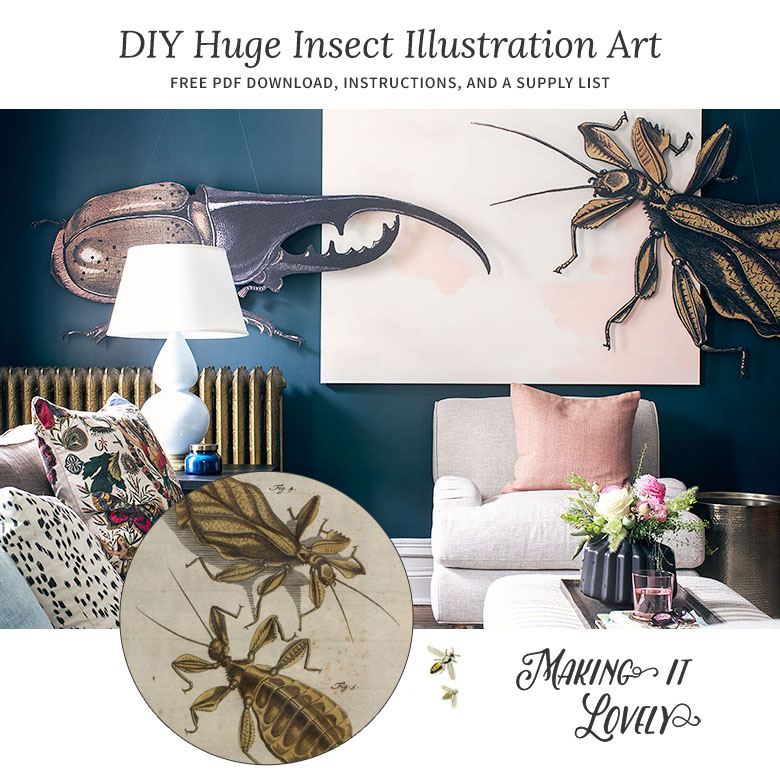
DIY Huge Insect Illustration Art (Free Download)
I had a very large blank wall to fill in my den for the One Room Challenge. Naturally, I made…May 19, 2016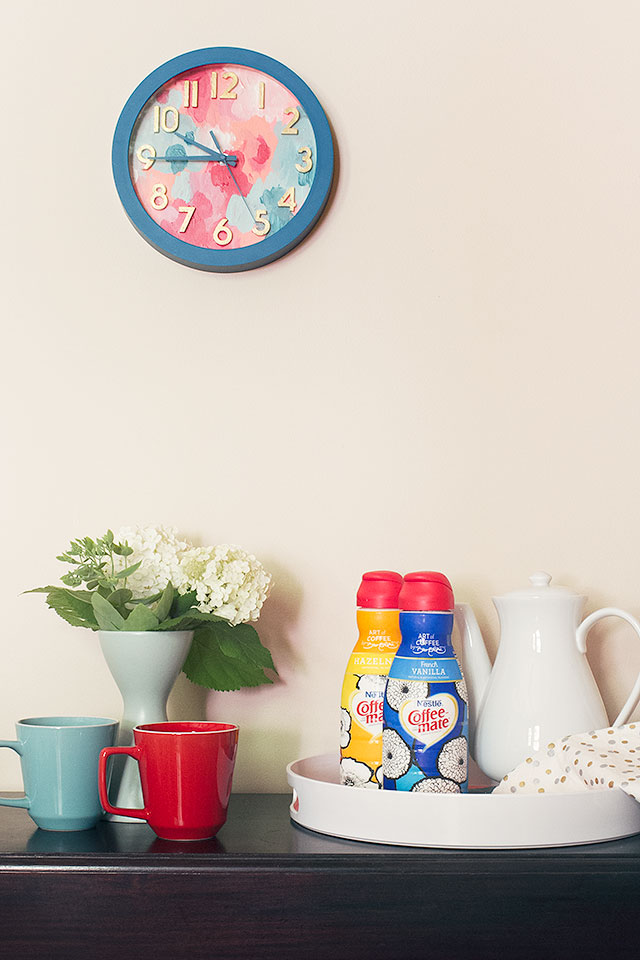
DIY Abstract Art Clock and Serving Tray
This is a sponsored post by NESTLE Coffee-mate. All reviews and opinions expressed in this post are unbiased and based…July 27, 2015
Easy Fixes Around the House
This post is sponsored by Sugru. I hadn't heard of Sugru until recently, but as I looked into it a…June 4, 2015
Making Beaded Necklaces
I recently helped a couple dozen ladies turn waxed cording and beads into necklaces at my Anthropologie craft event. I…May 14, 2015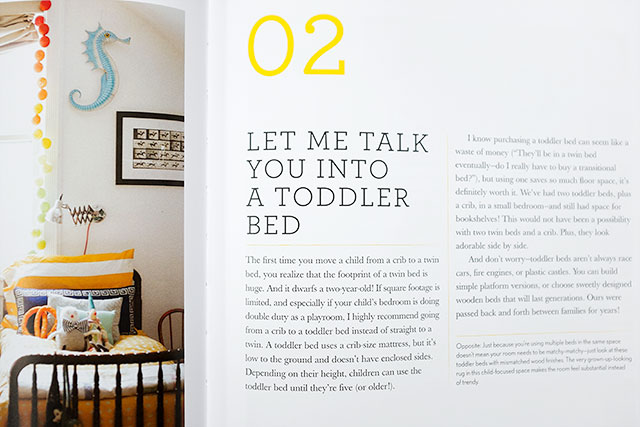
Design Mom’s Book and Book Tour (Hey, Chicago!)
Gabrielle Blair, of Design Mom, is coming to Chicago tomorrow, for the next stop on her book tour. I'll be…May 4, 2015
DIY Striped Armoire Surprise
Sponsored by ScotchBlue™ Painter’s Tape. I spotted an armoire on Jubilee Furniture's blog not long after Calvin had been born.…January 8, 2015
DIY Huge Insect Illustration Art (Free Download)
I had a very large blank wall to fill in my den for the One Room Challenge. Naturally, I made some giant bugs for it.…
DIY Abstract Art Clock and Serving Tray
This is a sponsored post by NESTLE Coffee-mate. All reviews and opinions expressed in this post are unbiased and based on my personal view. I…
Easy Fixes Around the House
This post is sponsored by Sugru. I hadn’t heard of Sugru until recently, but as I looked into it a bit, it seemed like pretty…
Making Beaded Necklaces
I recently helped a couple dozen ladies turn waxed cording and beads into necklaces at my Anthropologie craft event. I made one at home beforehand…
Design Mom’s Book and Book Tour (Hey, Chicago!)
Gabrielle Blair, of Design Mom, is coming to Chicago tomorrow, for the next stop on her book tour. I’ll be helping her host a DIY…
DIY Striped Armoire Surprise
Sponsored by ScotchBlue™ Painter’s Tape. I spotted an armoire on Jubilee Furniture’s blog not long after Calvin had been born. I’d been looking for something…