
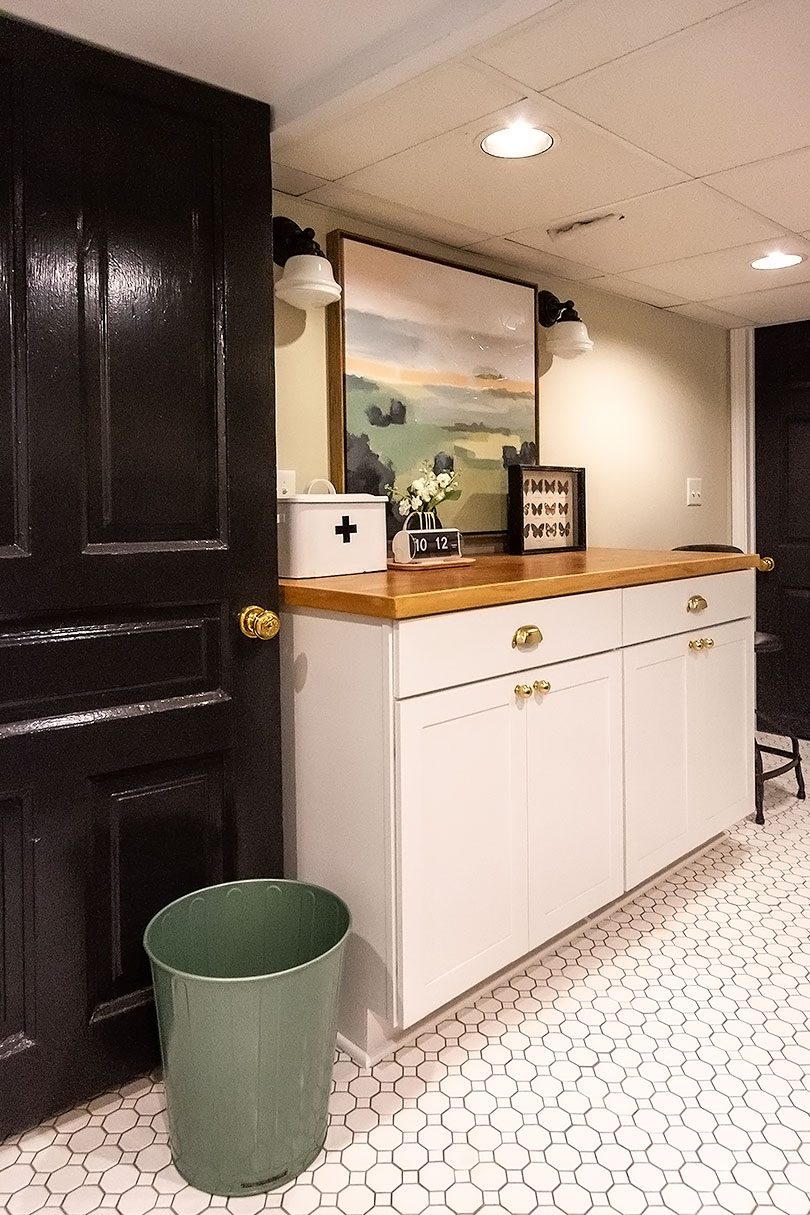
Our Basement Laundry Room Makeover
This post is sponsored by Lowe's. Thank you for making this renovation possible! The laundry room in our Victorian is…November 28, 2018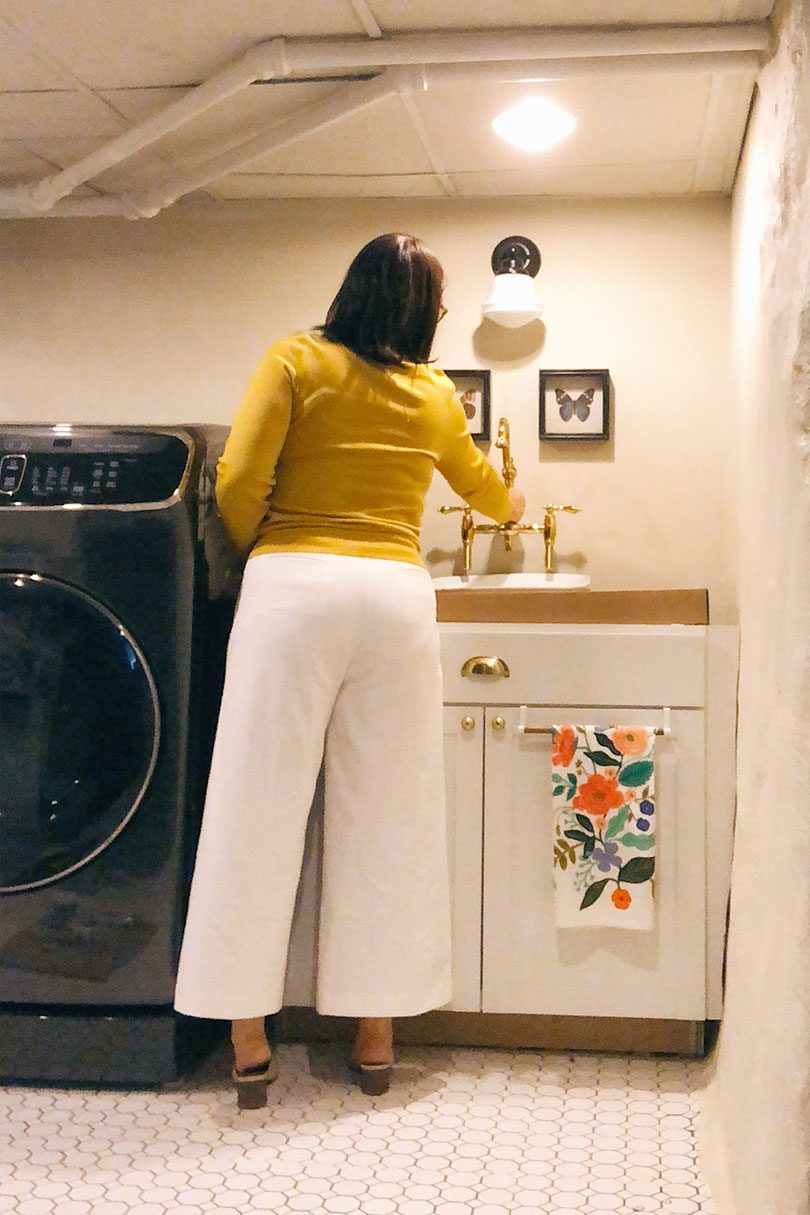
Laundry Room Mockups and Floor Plan
Imagine the cardboard box is a wooden counter. Imagine I've installed the sink and faucet, caulked the gaps along the…September 26, 2018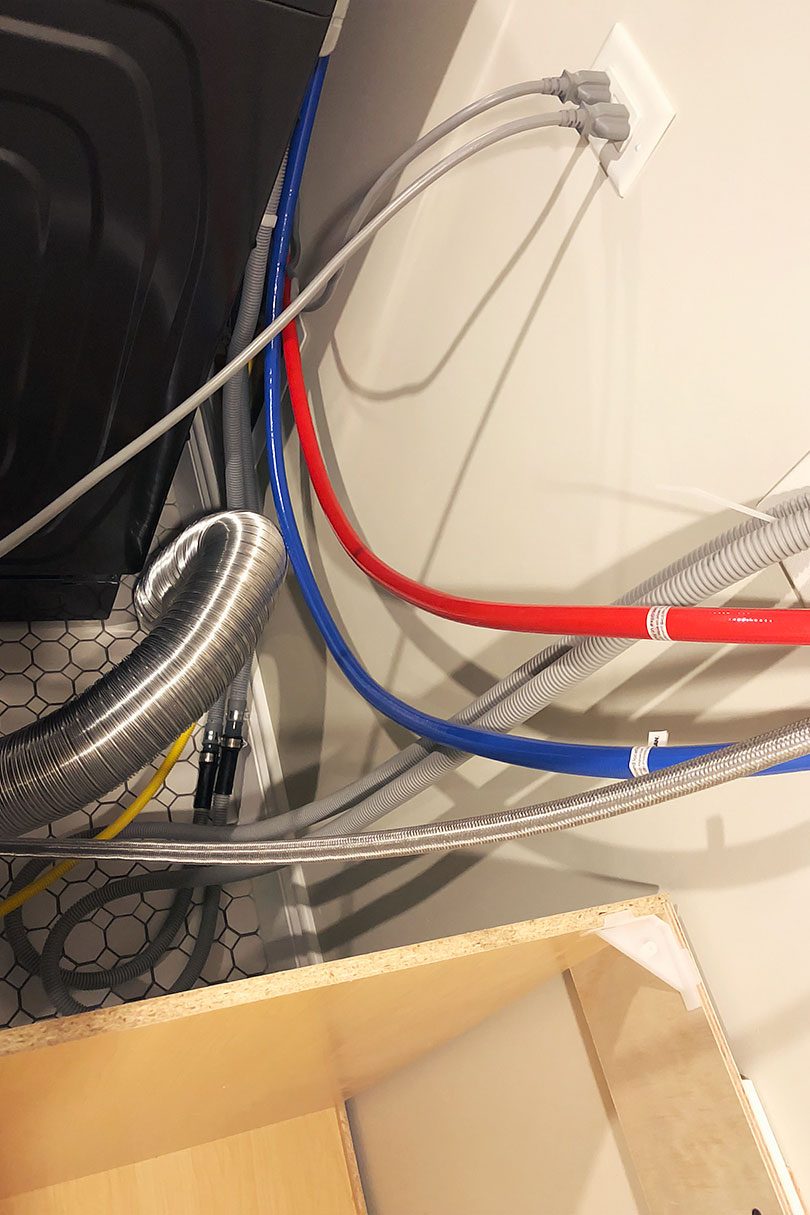
The Accidental Geyser
We washed a load of laundry last night! In our own house! Oh, function. How I've missed you. The sink…July 27, 2018
Laundry Room Progress
The tile is in and grouted! The cabinets, washer, and dryer all made their way downstairs today! There's still so…July 17, 2018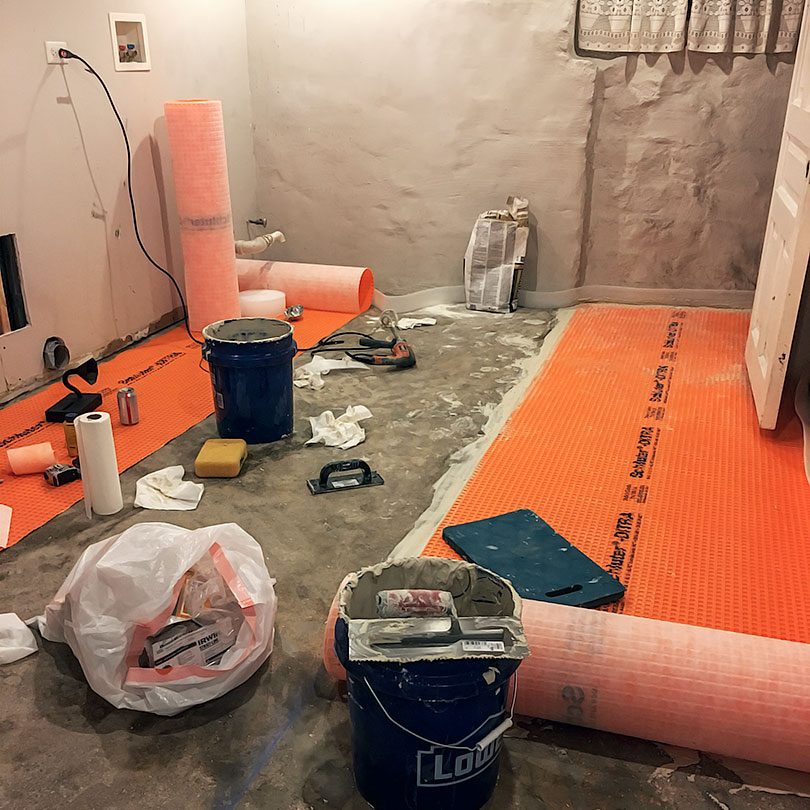
Laying Ditra to Prep for Tile
Still prepping for tile! I underestimated the amount of work it would take to DIY this install. I imagined it…July 2, 2018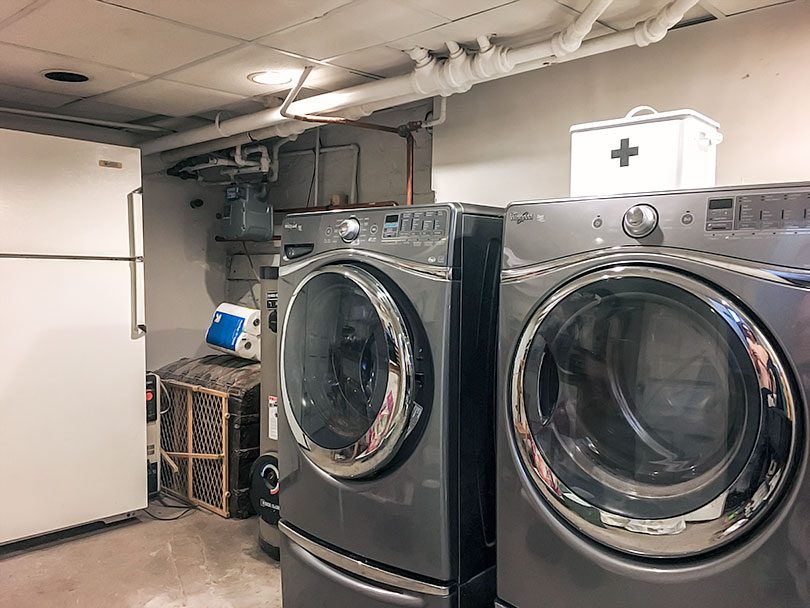
Next Up is the Laundry Room
I've been doing a ton of work outside lately, but it's time to move on to the interior again. Hey…May 16, 2018
Our Basement Laundry Room Makeover
This post is sponsored by Lowe’s. Thank you for making this renovation possible! The laundry room in our Victorian is in the basement, and the…
Laundry Room Mockups and Floor Plan
Imagine the cardboard box is a wooden counter. Imagine I’ve installed the sink and faucet, caulked the gaps along the foundation wall, and faced the…
The Accidental Geyser
We washed a load of laundry last night! In our own house! Oh, function. How I’ve missed you. The sink cabinet is in place, and…
Laundry Room Progress
The tile is in and grouted! The cabinets, washer, and dryer all made their way downstairs today! There’s still so much to do! Oof. Tiling…
Laying Ditra to Prep for Tile
Still prepping for tile! I underestimated the amount of work it would take to DIY this install. I imagined it like this. Bring tile home,…
Next Up is the Laundry Room
I’ve been doing a ton of work outside lately, but it’s time to move on to the interior again. Hey there, laundry room. Wait, that’s…