
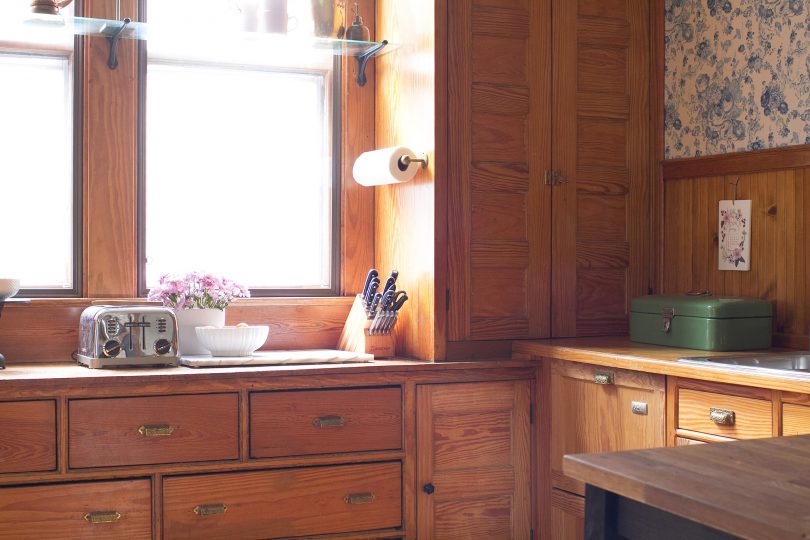
Review: Indow Window Inserts
Indow provided two window inserts for review. Most of the windows on the first and second floor are original to…February 27, 2017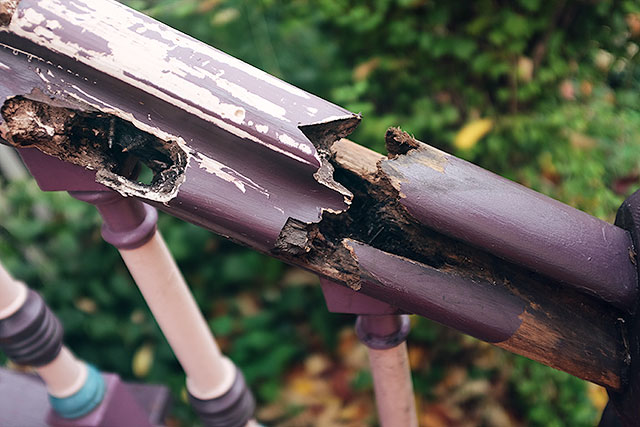
Old Houses are Fun
We're nearing the last days of temperatures climbing up into the sixties and seventies, so we've been getting some maintenance…October 26, 2015
Review: Indow Window Inserts
Indow provided two window inserts for review. Most of the windows on the first and second floor are original to the house — single pane,…
Old Houses are Fun
We’re nearing the last days of temperatures climbing up into the sixties and seventies, so we’ve been getting some maintenance taken care of outside. A…