
Our New Cedar Fence
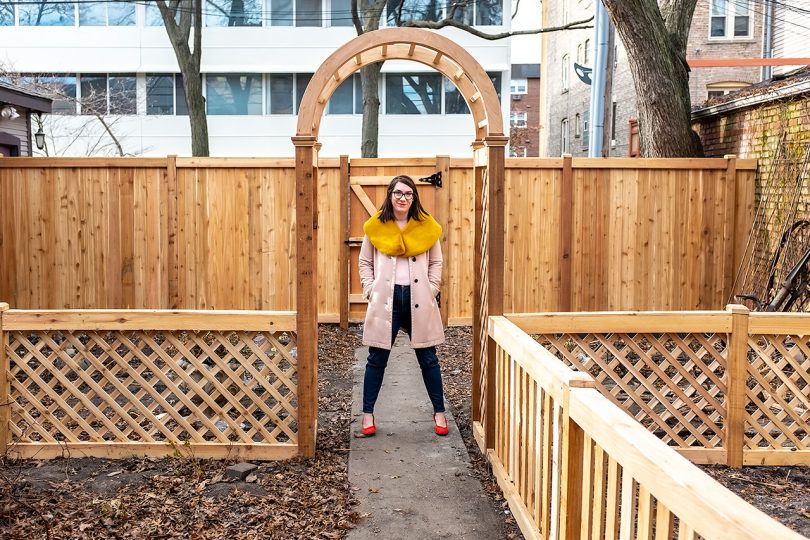
We have a new fence! In December, which is kind of weird. We had been trying to get this scheduled…December 17, 2018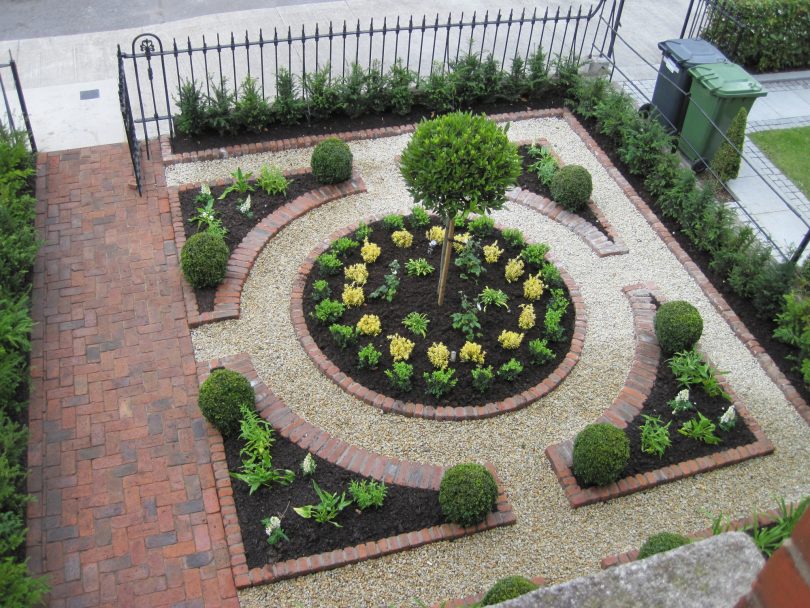
A Small Garden Victory, a Formal Plan
I have a boxwood update for you. They bounced back! Two years ago, the hedges flanking the front walkway were…April 10, 2017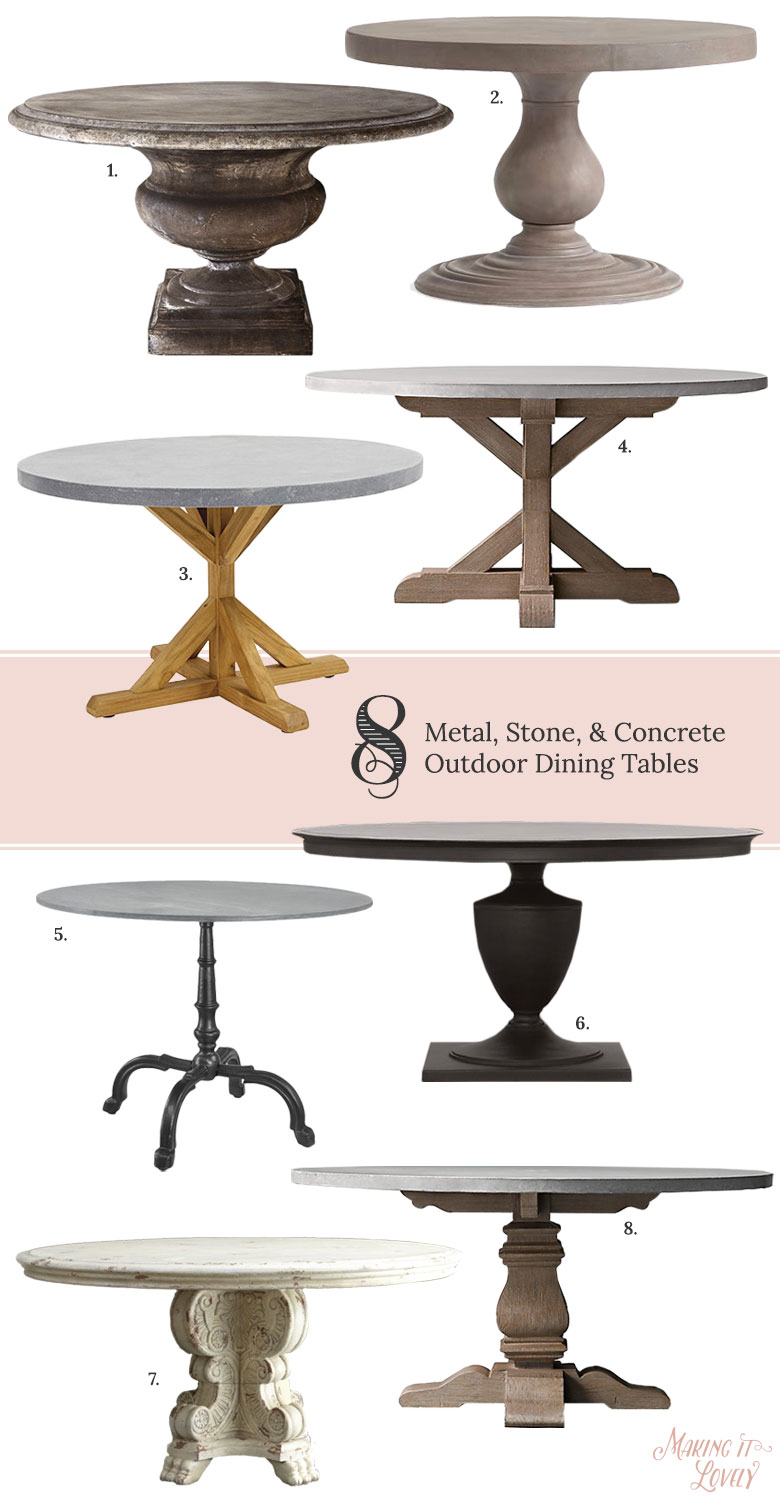
8 Round Metal, Stone, & Concrete Outdoor Dining Tables
Our rectangular dining table is a tight squeeze on our patio. A round table would be a much better fit,…July 28, 2016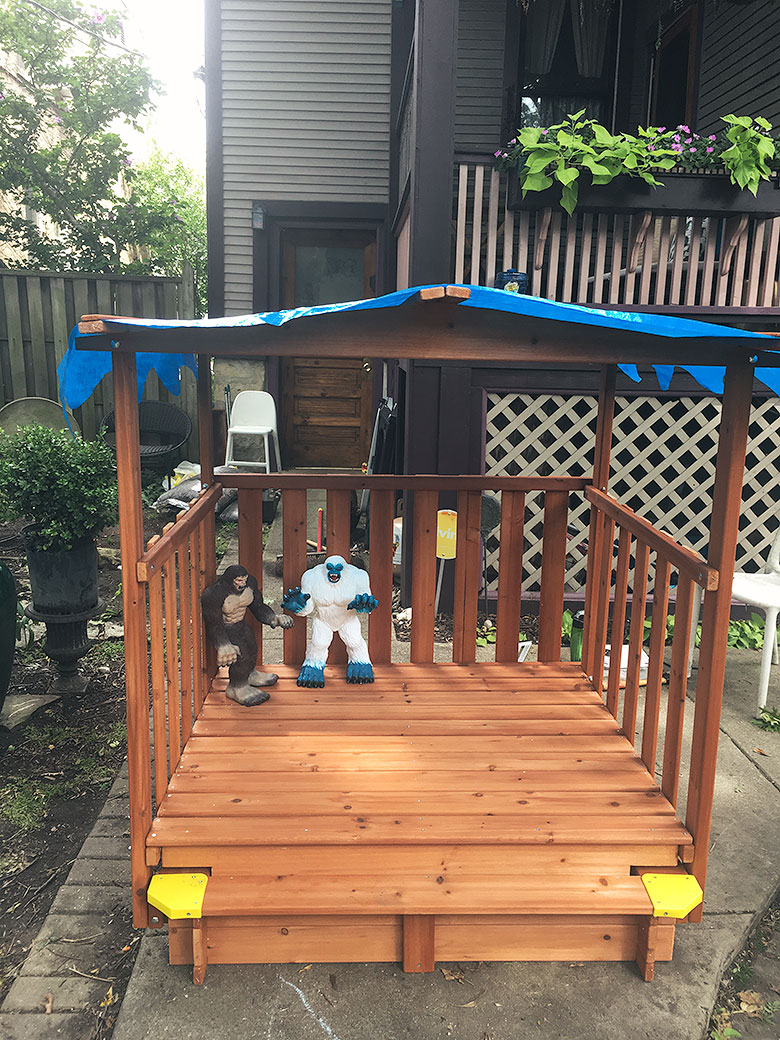
Progress on the Kids’ Sandbox
The sandbox and its cover/fort took about a day to build. The instructions only called for a screwdriver and a…July 25, 2016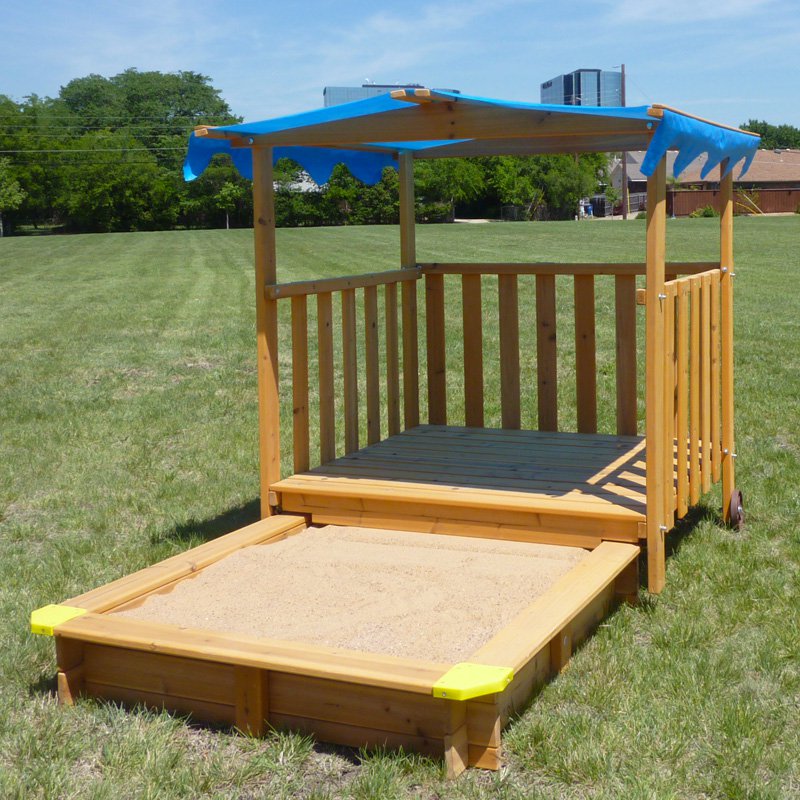
Choosing a Sandbox
So… the kids have been really into digging in the dirt. Between them and the dog, a lot of plants…July 18, 2016
The Lay of the Land
OK, done with the front of the house! For now at least. I'm eager to get out there and make…June 7, 2016
Our New Cedar Fence
We have a new fence! In December, which is kind of weird. We had been trying to get this scheduled since the summer, and it…
A Small Garden Victory, a Formal Plan
I have a boxwood update for you. They bounced back! Two years ago, the hedges flanking the front walkway were overgrown and encroaching upon the…
8 Round Metal, Stone, & Concrete Outdoor Dining Tables
Our rectangular dining table is a tight squeeze on our patio. A round table would be a much better fit, size and shape-wise, so I’m…
Progress on the Kids’ Sandbox
The sandbox and its cover/fort took about a day to build. The instructions only called for a screwdriver and a wrench, but a T-square and…
Choosing a Sandbox
So… the kids have been really into digging in the dirt. Between them and the dog, a lot of plants have been destroyed, and we’ve…
The Lay of the Land
OK, done with the front of the house! For now at least. I’m eager to get out there and make some changes and additions, but…