

A Few Quirks
I've repaired the corners in nook above the closet sink! I'm chuffed about this, though I don't look it. I've…January 12, 2016
Closet Plans and Layout
Being surrounded by all of your clothes as you drift off to a peaceful slumber really kicks up that urge…January 6, 2016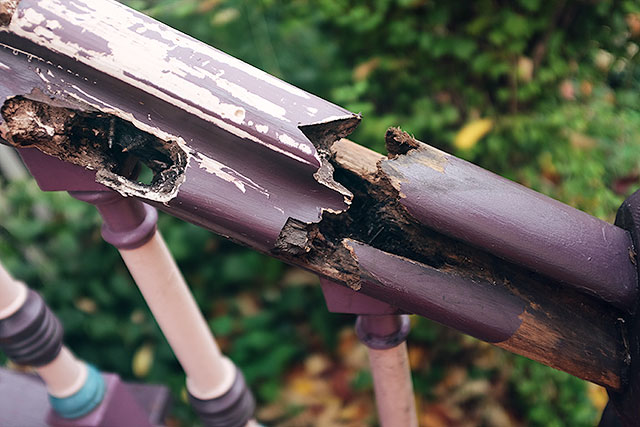
Old Houses are Fun
We're nearing the last days of temperatures climbing up into the sixties and seventies, so we've been getting some maintenance…October 26, 2015
A Few Quirks
I’ve repaired the corners in nook above the closet sink! I’m chuffed about this, though I don’t look it. I’ve only primed the walls, so…
Closet Plans and Layout
Being surrounded by all of your clothes as you drift off to a peaceful slumber really kicks up that urge to pare down, especially with…
Old Houses are Fun
We’re nearing the last days of temperatures climbing up into the sixties and seventies, so we’ve been getting some maintenance taken care of outside. A…