
The #LoveYourThings Shoot with Scotchgard Brand at the Randolph Street Market
I am a compensated Scotchgard Brand blogger ambassador. Opinions are my own and additional products used in the project were…January 21, 2016
Honor Roll (Videos)
This post is sponsored by Vimeo. #YourVideosBelongonVimeo I'm not the most prolific vlogger, but I've been a Vimeo Plus member…March 30, 2015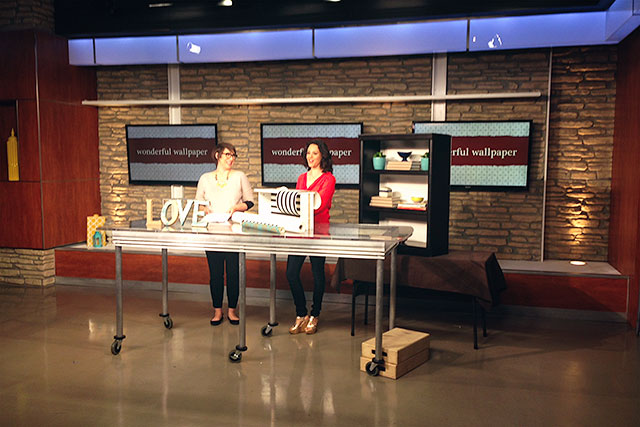
Three Easy Wallpaper Projects
This post is sponsored by Lowe's. I flew out to New York a couple of weeks ago to film a…July 31, 2014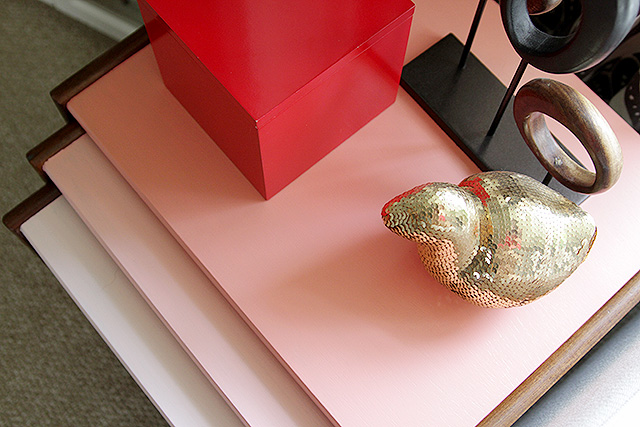
Ombré Nesting Tables (With a How-to Video)
Brought to you by 3M DIY. I found these vintage wooden nesting tables at the Renegade Craft Fair, here in…November 1, 2012
Eleanor at the Park with Brandon
"It's gonna be POV."October 8, 2012
Nineteen Months Old (August’s Monthly Photo, Plus Video)
I’ll be taking a photo of August sitting in the Eames rocker and wearing his pin each month until he’s…September 12, 2012
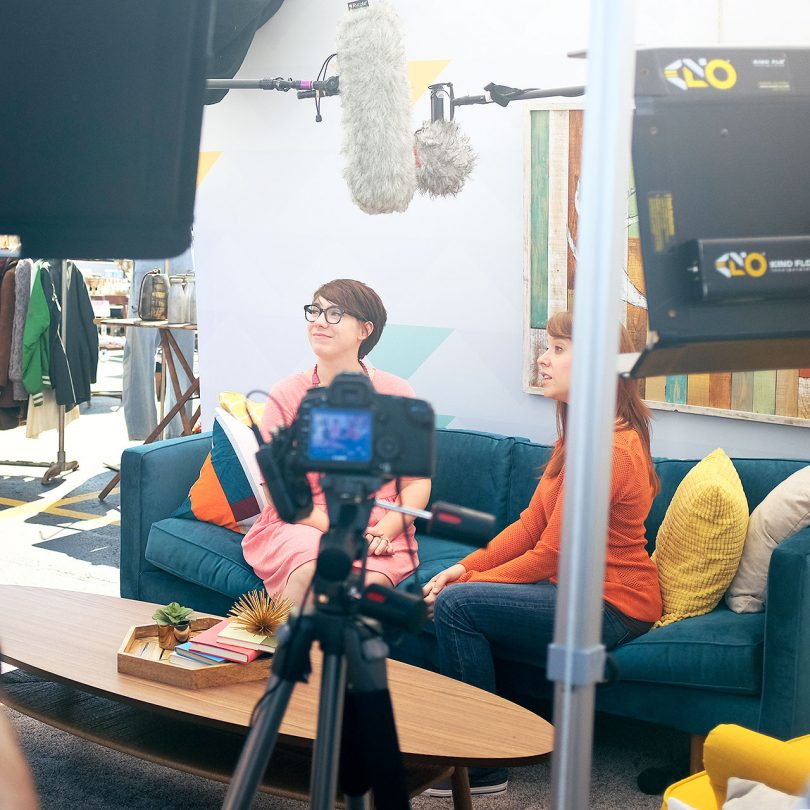
The #LoveYourThings Shoot with Scotchgard Brand at the Randolph Street Market
I am a compensated Scotchgard Brand blogger ambassador. Opinions are my own and additional products used in the project were selected by me. A few…
Honor Roll (Videos)
This post is sponsored by Vimeo. #YourVideosBelongonVimeo I’m not the most prolific vlogger, but I’ve been a Vimeo Plus member for years. I like the…
Three Easy Wallpaper Projects
This post is sponsored by Lowe’s. I flew out to New York a couple of weeks ago to film a segment at the Meredith studio…
Ombré Nesting Tables (With a How-to Video)
Brought to you by 3M DIY. I found these vintage wooden nesting tables at the Renegade Craft Fair, here in Chicago, a couple of months…
Nineteen Months Old (August’s Monthly Photo, Plus Video)
I’ll be taking a photo of August sitting in the Eames rocker and wearing his pin each month until he’s two years old. I also…