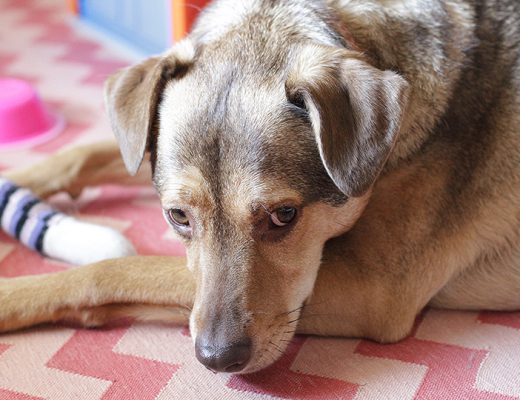
I finally found my inkjet compatible shrinky dinks paper! I made the key chain I had wanted to make back in December, and I also made a cute dog tag for Murray. I’ve edited the photos of Murray’s tag to remove or blur our address and phone number, but the info is on there.

Collar from Pattern & Paw. Enter ‘nicoleislovely’ to save 15%!
How To?
It’s a very easy project.
First, you’ll need to come up with a design. I know that not everybody is artistically inclined, so… I created a free Pet Tag Template for you! It’s the tag I used for Murray, cleaned up and simplified for widespread distribution. ;) You’ll need Photoshop to use the template, but I also included a plain jpeg version.
You’ll have to lighten your design at least 50% before printing. The 3″ circle will shrink down to about 1.25″ after baking, and the colors will be much more vivid. After printing, cut your design out and punch a hole now if you want one.
Keep an eye on the shrinky dinks while they’re baking. Mine only took three minutes.
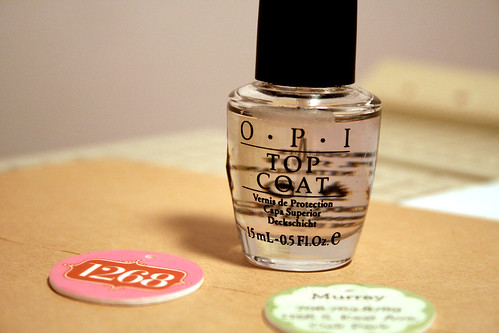
You can leave them as-is, but a clear topcoat is recommended. I just used clear nail polish.
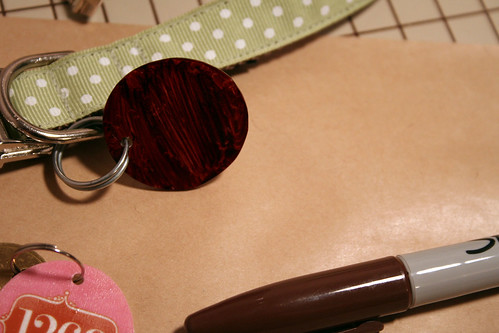
I left the back of my key chain white, but I colored the back and sides of Murray’s dog tag with a brown Sharpie.
That’s it!


