
This bathroom renovation is sponsored by Lowe’s. Thank you for making this project possible!
I want my bathroom tile to have longevity. I’m using porcelain (wonderfully durable), and have been taking care to do the job right from the prep work through to completion. I’ll share more in an upcoming post about the tile installation, but first I want to point out a big mistake that I almost made (and how I fixed it).
I had been planning all along to lay my tile on top of Ditra. It’s an uncoupling membrane that isolates movement between the subfloor and finished tile, preventing cracks over time. It’s also a waterproofing layer. All good things!
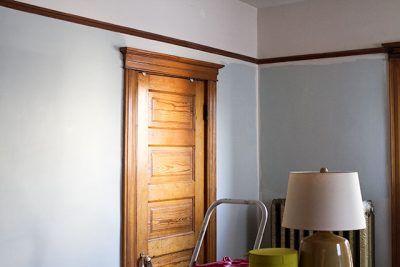
Our bathroom had hardwood flooring, and you can’t lay Ditra directly on top because solid wood shrinks and swells with temperature and humidity changes. I could have added a more dimensionally stable subfloor (OSB, plywood, or cement board) on top of the hardwood. It would have added more weight to the floor, but more concerning was the additional height. When I had the cast iron radiator removed temporarily, I was advised to keep the connections at the same place. There is some give in the pipes, but not a lot. Same with the tub drain and toilet stack. I started to worry that in hopes of saving myself a little time by not ripping out the wood floor, I would be creating costly plumbing fixes in my near future when it came time to reattach everything.
I decided to demo the floor. It added more time to my project, but it was the right thing to do. I had to use my Dremel Multi-Max Saw in a couple of places, but most of the wood came up easily with the combination of a pry bar, wrecking bar, and claw hammer. Safety glasses and gloves are a good idea too.
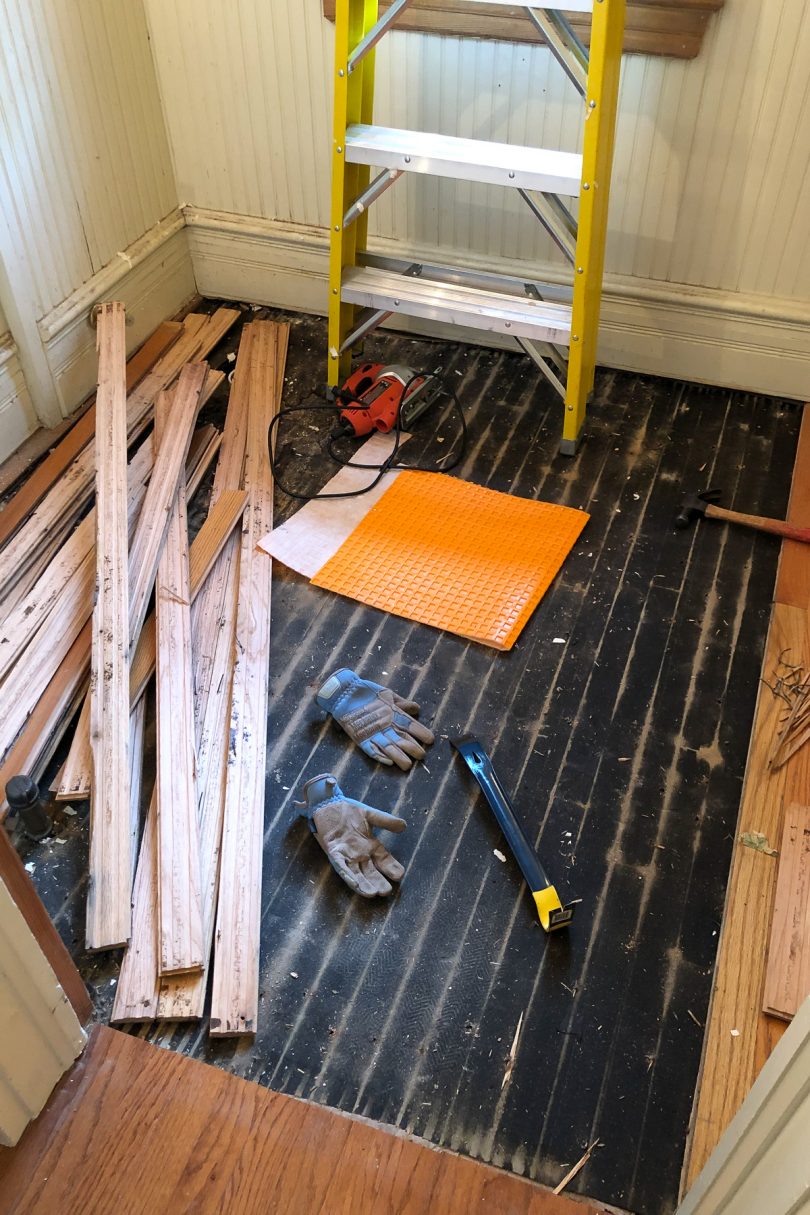
Next I set about getting the floor ready from there. The plywood subfloor beneath the wood was mostly in good shape. There was some water damage beneath the toilet, but that was easily cut out and replaced.
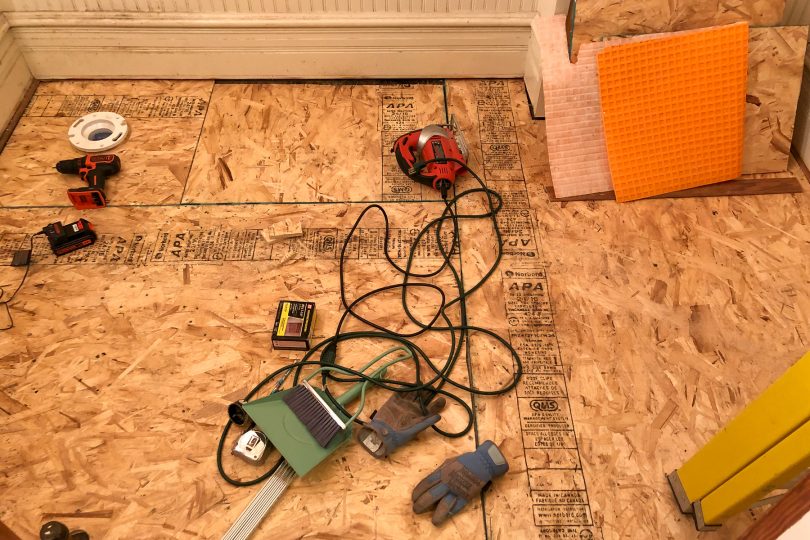
At this point, I was still planning to use Ditra with my tile, but the finished floor would have now been too low, so I opted to lay OSB on top of my plywood to add thickness. Two 4’x8′ sheets cost less than $20. They’re big and heavy and hard to maneuver, but I got them cut to size, carried them up to the second floor, cut my openings for pipes, fine tuned the fit, and screwed the OSB into place (6″ spacing around the perimeter, 12″ grid spacing within). Hooray! I finished just before midnight, tired and sweaty, but feeling good about my progress.
There are different instructions for Ditra installation based on the type of subfloor you have, so I looked up that information the next morning. The OSB wasn’t the issue I ran into, it was the tile size. “The tile format should always be greater than 2” x 2” (5cm x 5cm).” Hi, I would be using 1” square mosaics! Oh no.
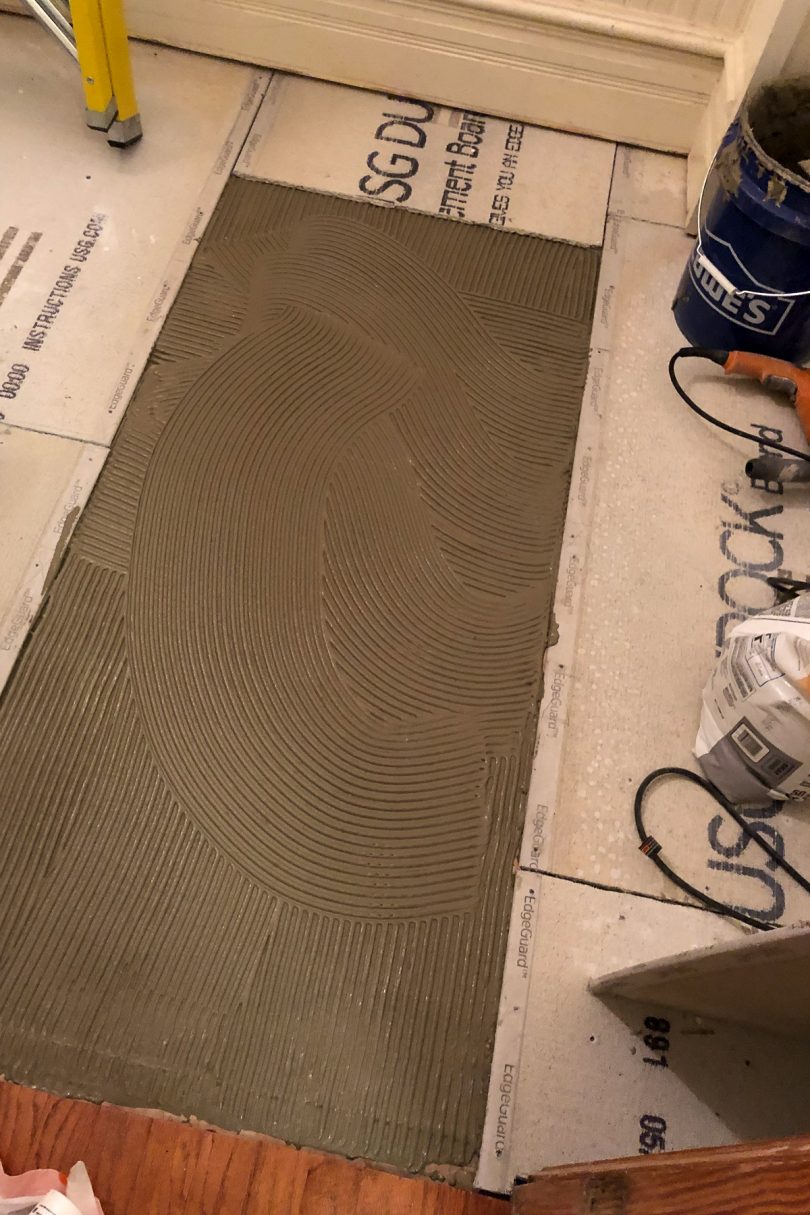
I was basically back to where I was when the hardwood flooring had still been in place. Cement board over top, or rip out what I had just finished and put cement board directly over the plywood subfloor? Out with the OSB. I went back to Lowe’s and picked up DUROCK cement backer board instead, plus thinset, the proper screws, and alkali-resistant fiberglass mesh tape.
Cement board can be scored with a razor blade and then snapped for a clean edge. A saw will cut it too, but produces silica dust particles — a razor blade is the better choice. Screws (8″ apart) hold the cement board in place, but thinset between it and the subfloor ensure there are no springy weak spots and make the floor behave as if it were one solid slab. Taping the joints and filling the gaps with thinset (be sure to smooth the top) also adds to the stability.
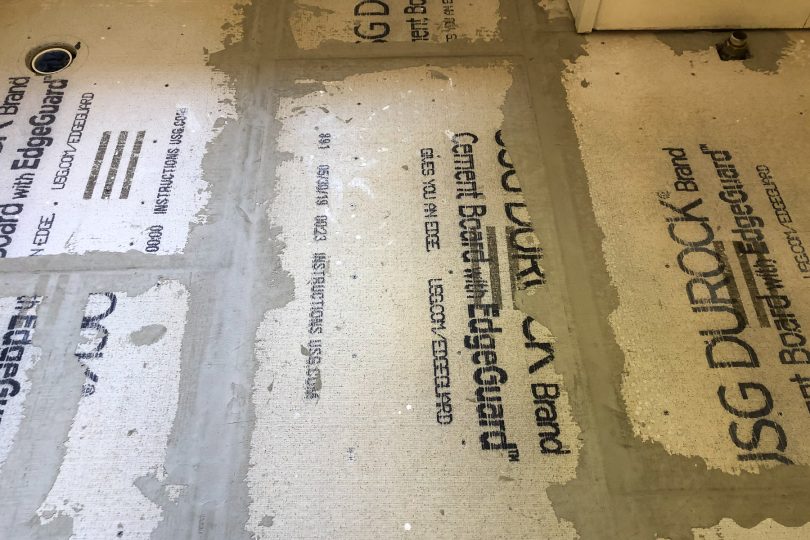
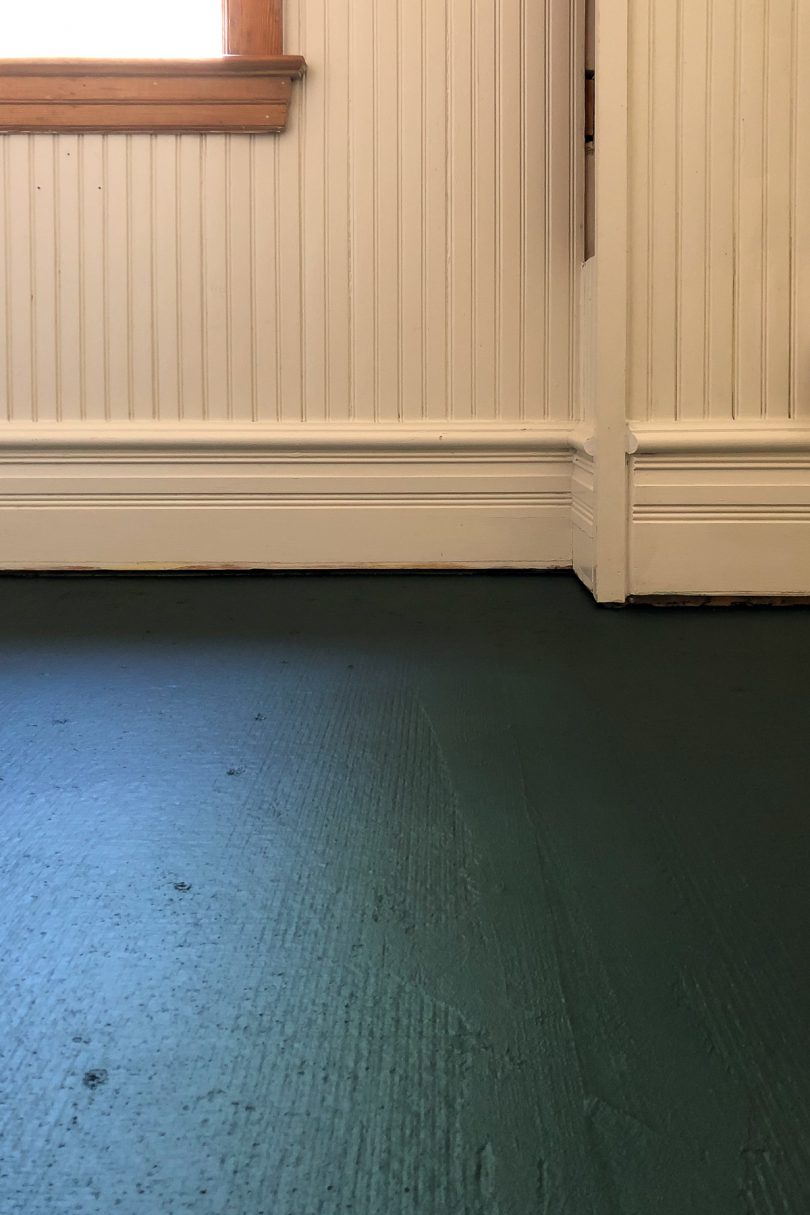
I added two coats of Mapai Aquadefense for waterproofing as well. I don’t think this was strictly necessary (this is a bathroom floor, not a shower or wet room), but I’m looking at it as a bit of added insurance. Porcelain tile doesn’t absorb much water and cement backer board is water-resistant, but neither is waterproof.
My mistake put me behind schedule, but lessons have been learned. May they spare you from a similar mistake!
I shared all of this on Instagram Stories as I realized what I had done, and very quickly, the worried messages started coming in. People had either installed Schluter Systems Ditra themselves beneath small tile, or had hired a professional that did. What now!?
You will probably be fine. Probably! The problem though is that Ditra has a waffle texture and where the small tiles overlap in a way that they’re not fully supported, there is a possibility that they’ll pop up or break, or the grout will crack over time (the very thing an uncoupling membrane is supposed to prevent). I’ve seen recommendations for filling the waffle voids completely, letting that dry, and then proceeding to tile. The job would not be covered by the Schluter’s warranty, but if the openings were all filled to the top it should stand up to normal traffic.
TL;DR A high heel putting pressure on a tile is one thing — I had been planning on putting our claw foot tub back in. That much weight focused on four points made me nervous, and since I realized my oversight before it would have been terribly difficult to reverse course, I opted to change my installation method.

2 comments
J Lucca
Thank you for sharing. Really useful details here for someone researching what tools (thank you for the links!) and challenges can be expected while preparing a bathroom floor for tile.
goosefairy
Wow. Good thing you realized BEFORE putting the Ditra in!
Comments are closed.