

One Room Challenge: Week 2 (The Design Plan)
Thank you to Linda at Calling it Home for inviting me to take part in the One Room Challenge again,…October 12, 2016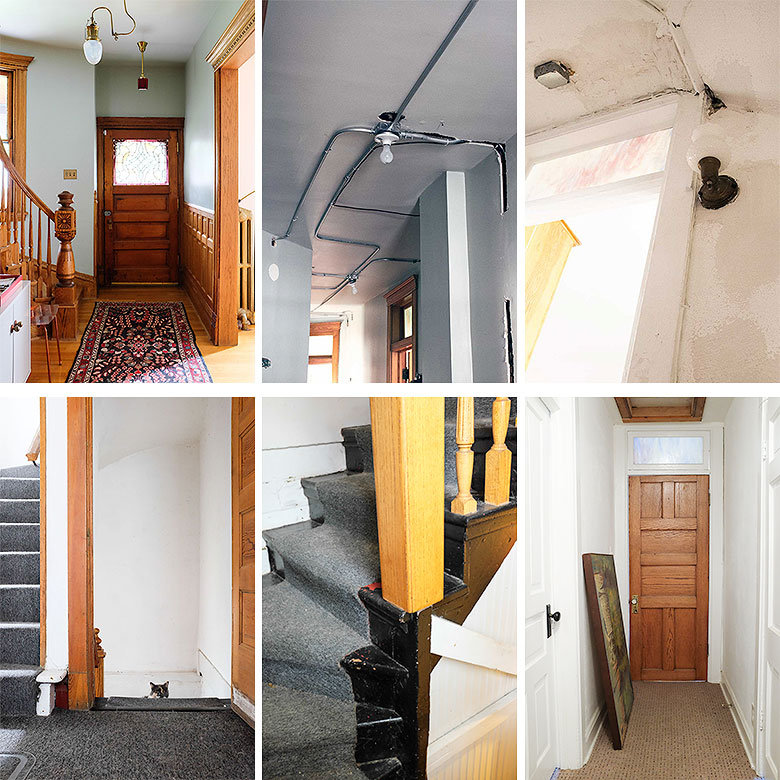
One Room Challenge: Week 1 (the Before Shots)
I'm thrilled to be taking part in the One Room Challenge again! A huge thank you to Linda at Calling…October 5, 2016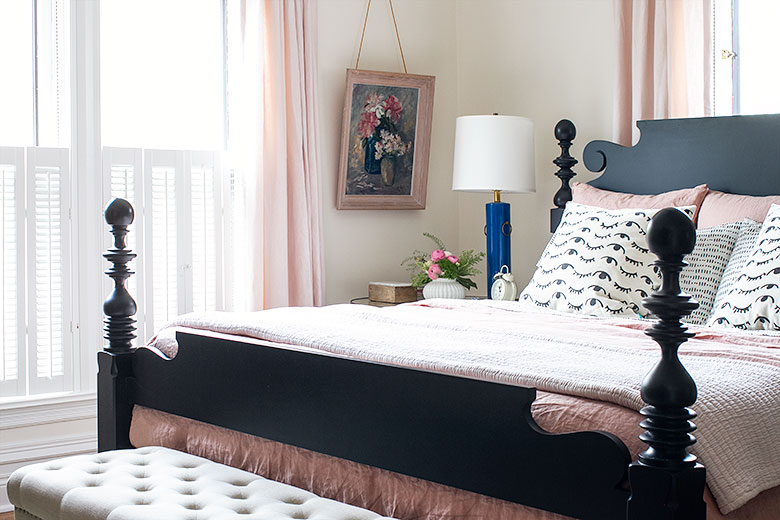
One Room Challenge: Week 6 (the Bedroom and Den Final Reveal!)
Today's the day! The final reveal of my One Room Challenge space! Our bedroom has an adjoining room that we're…May 11, 2016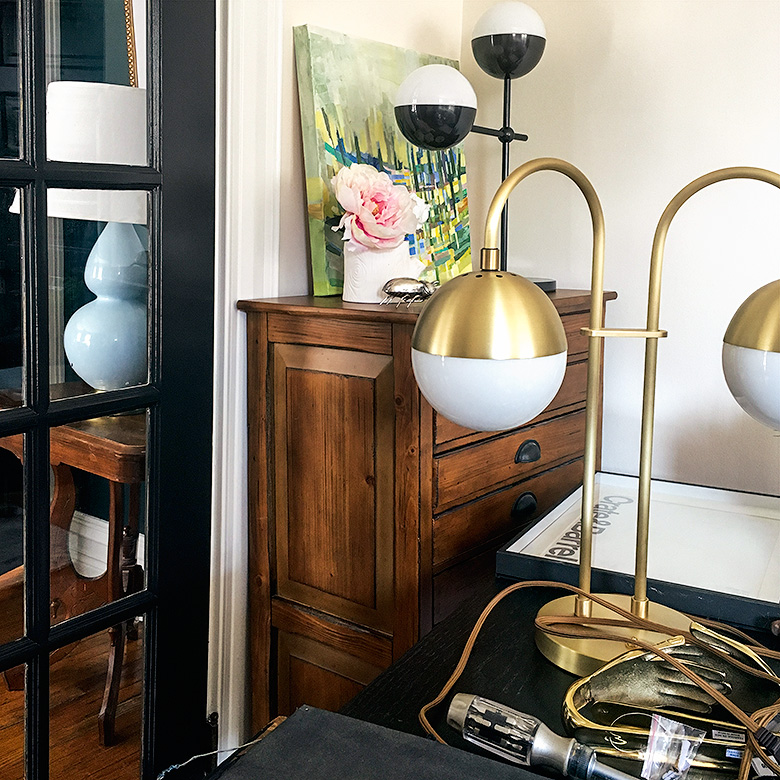
One Room Challenge: Week 5 (The Lighting)
I had a knockoff Serge Mouille 3-Arm Ceiling Lamp in the den because I came across one for cheap on…May 4, 2016
One Room Challenge: Week 4 (Rugs, Curtains, Bedding, and Other Fabrics)
I shared a photo on Instagram of the paint swatches, fabric samples, and finishes for the bedroom and den, but…April 27, 2016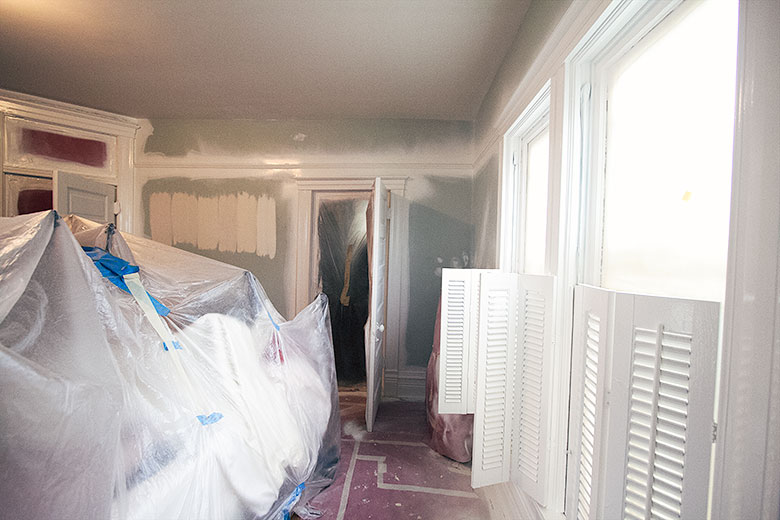
One Room Challenge: Week 3 (All That Painted Woodwork)
Let's talk paint this week! But first, why has only one person chastised me for painting the woodwork so far?…April 20, 2016
One Room Challenge: Week 2 (The Design Plan)
Thank you to Linda at Calling it Home for inviting me to take part in the One Room Challenge again, and thank you to my…
One Room Challenge: Week 1 (the Before Shots)
I’m thrilled to be taking part in the One Room Challenge again! A huge thank you to Linda at Calling it Home for organizing the…
One Room Challenge: Week 6 (the Bedroom and Den Final Reveal!)
Today’s the day! The final reveal of my One Room Challenge space! Our bedroom has an adjoining room that we’re using as a family den,…
One Room Challenge: Week 5 (The Lighting)
I had a knockoff Serge Mouille 3-Arm Ceiling Lamp in the den because I came across one for cheap on Craigslist a while back. It’s…
One Room Challenge: Week 4 (Rugs, Curtains, Bedding, and Other Fabrics)
I shared a photo on Instagram of the paint swatches, fabric samples, and finishes for the bedroom and den, but let’s dive into it all…
One Room Challenge: Week 3 (All That Painted Woodwork)
Let’s talk paint this week! But first, why has only one person chastised me for painting the woodwork so far? People. I expected more outrage.…