
The Accidental Geyser
We washed a load of laundry last night! In our own house! Oh, function. How I've missed you. The sink…July 27, 2018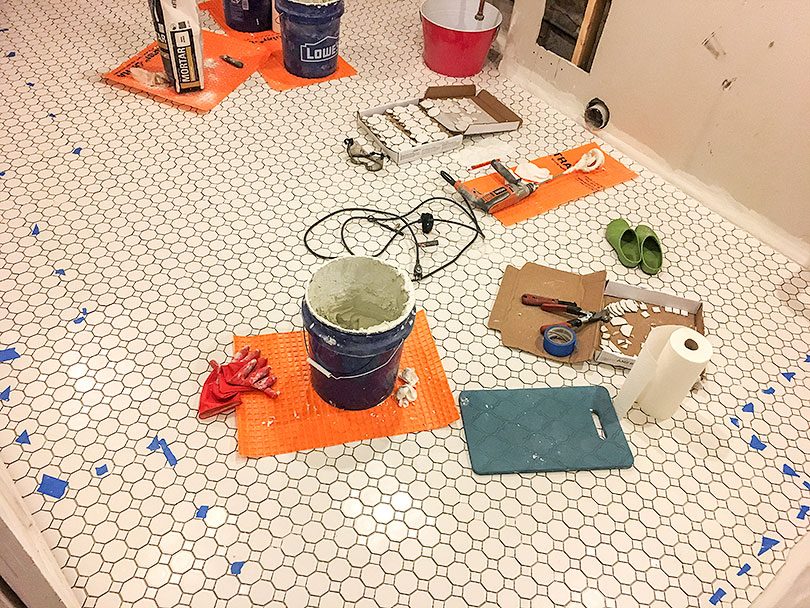
Tiling the Basement Laundry Room
Today, I grout! But first, let’s take a look at the tiling progress I’ve made. I started by finding the…July 11, 2018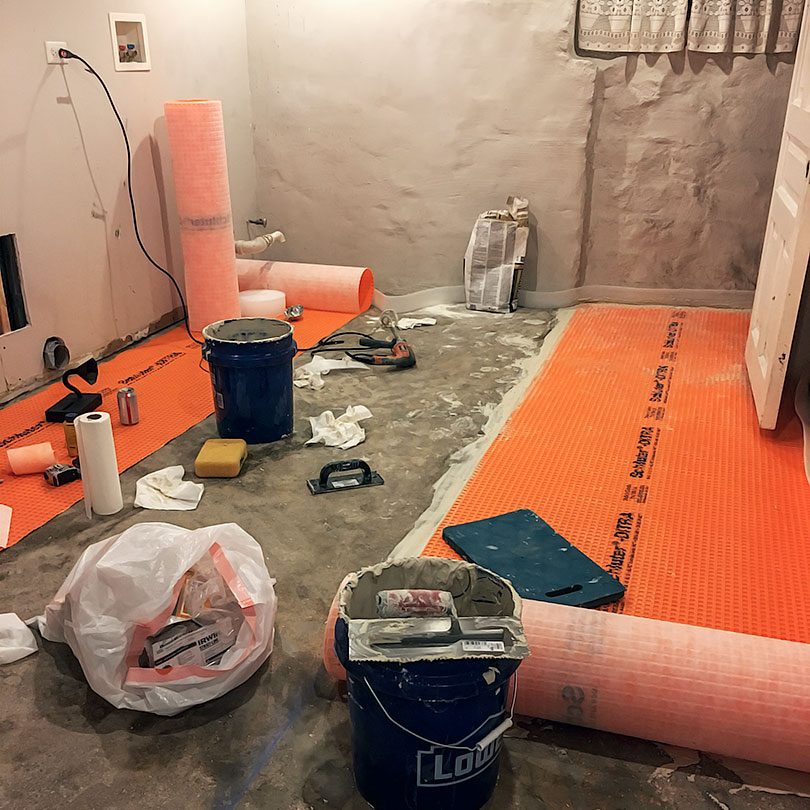
Laying Ditra to Prep for Tile
Still prepping for tile! I underestimated the amount of work it would take to DIY this install. I imagined it…July 2, 2018
Removing Paint from Concrete with an Angle Grinder
Did you know that you aren't supposed to lay tile over painted concrete? I sure didn't when I was planning…June 11, 2018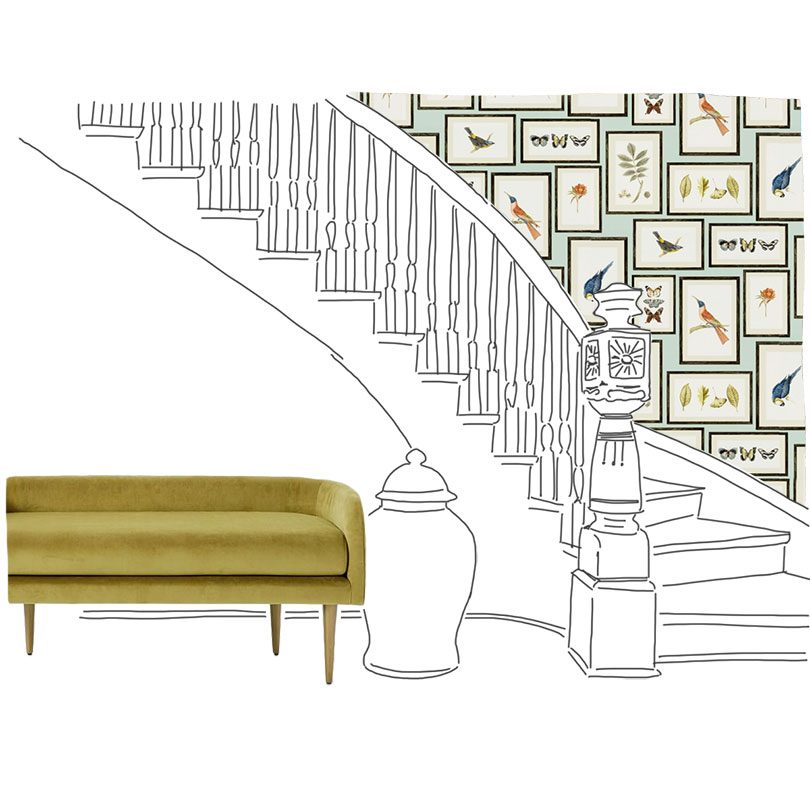
Sketchy
'I love that settee. Where would I use it?' 'That wallpaper with the frames is bananas good. Wouldn't it look…June 6, 2018
A Frank Lloyd Wright Easter Egg for Illinois
Food Network Magazine reached out a few months ago, asking if I was interested in decorating an Easter egg to…March 21, 2018
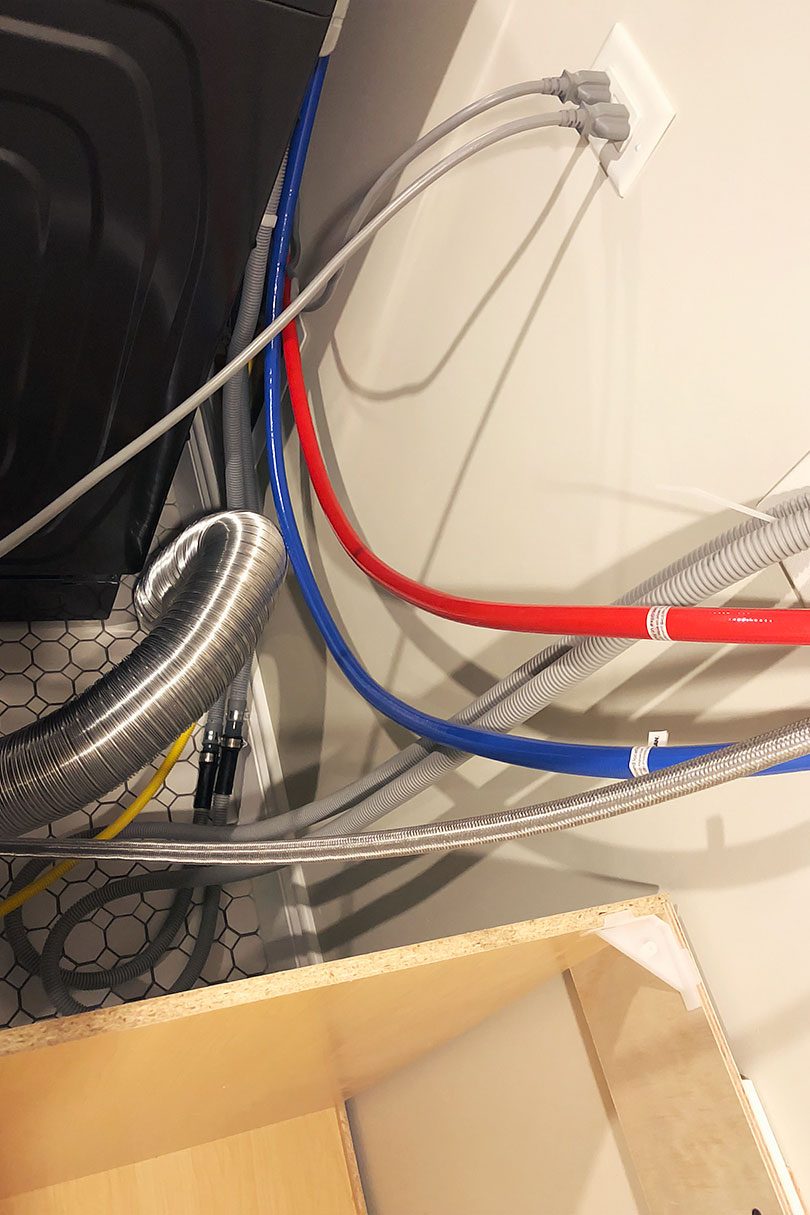
The Accidental Geyser
We washed a load of laundry last night! In our own house! Oh, function. How I’ve missed you. The sink cabinet is in place, and…
Tiling the Basement Laundry Room
Today, I grout! But first, let’s take a look at the tiling progress I’ve made. I started by finding the center of the room, then…
Laying Ditra to Prep for Tile
Still prepping for tile! I underestimated the amount of work it would take to DIY this install. I imagined it like this. Bring tile home,…
Removing Paint from Concrete with an Angle Grinder
Did you know that you aren’t supposed to lay tile over painted concrete? I sure didn’t when I was planning our laundry room! (I also…
Sketchy
‘I love that settee. Where would I use it?’ ‘That wallpaper with the frames is bananas good. Wouldn’t it look great behind the stairway?’ Little…
A Frank Lloyd Wright Easter Egg for Illinois
Food Network Magazine reached out a few months ago, asking if I was interested in decorating an Easter egg to represent Illinois, my home state.…