
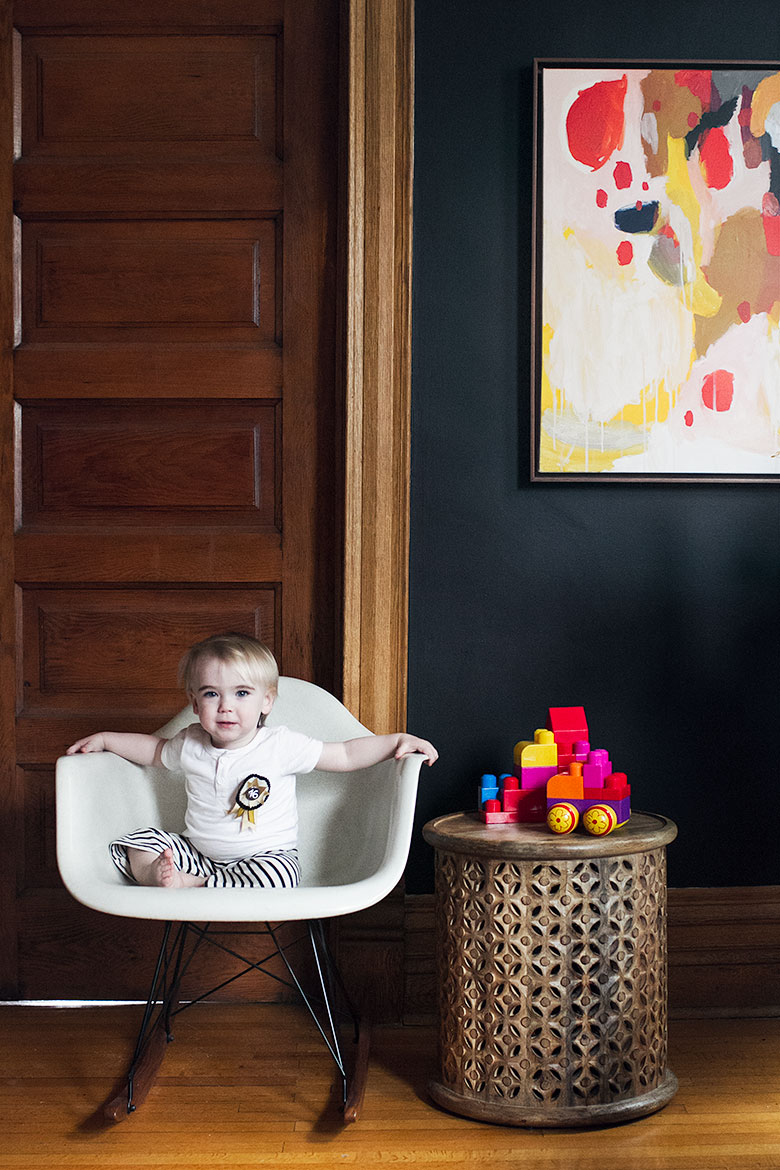
Sixteen, Seventeen, and Eighteen Months Old (Calvin’s Monthly Photos)
Guess what. I took 64 monthly photos of my kids (24 for Eleanor, 24 for August, and 16 for Calvin)…June 2, 2016
DIY Huge Insect Illustration Art (Free Download)
I had a very large blank wall to fill in my den for the One Room Challenge. Naturally, I made…May 19, 2016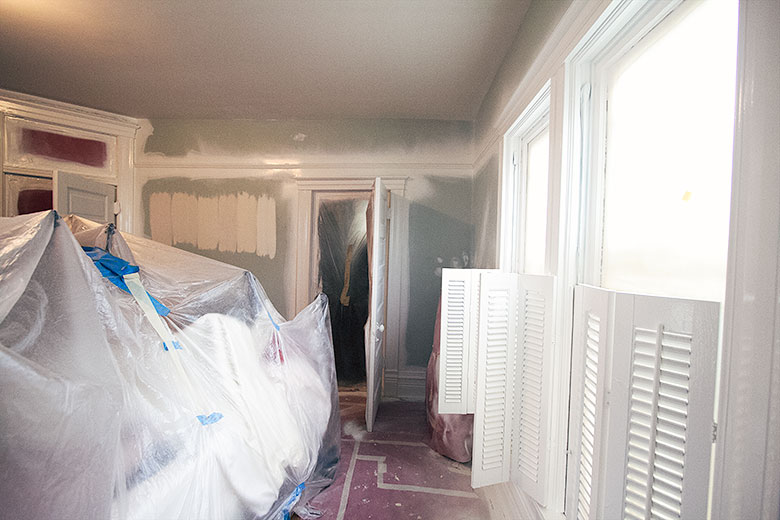
One Room Challenge: Week 3 (All That Painted Woodwork)
Let's talk paint this week! But first, why has only one person chastised me for painting the woodwork so far?…April 20, 2016
Making it Yours 14A: SAIC Together Pendant Light
CB2, based here in Chicago, sometimes collaborates with local students from the School of the Art Institute (SAIC). One of…February 2, 2016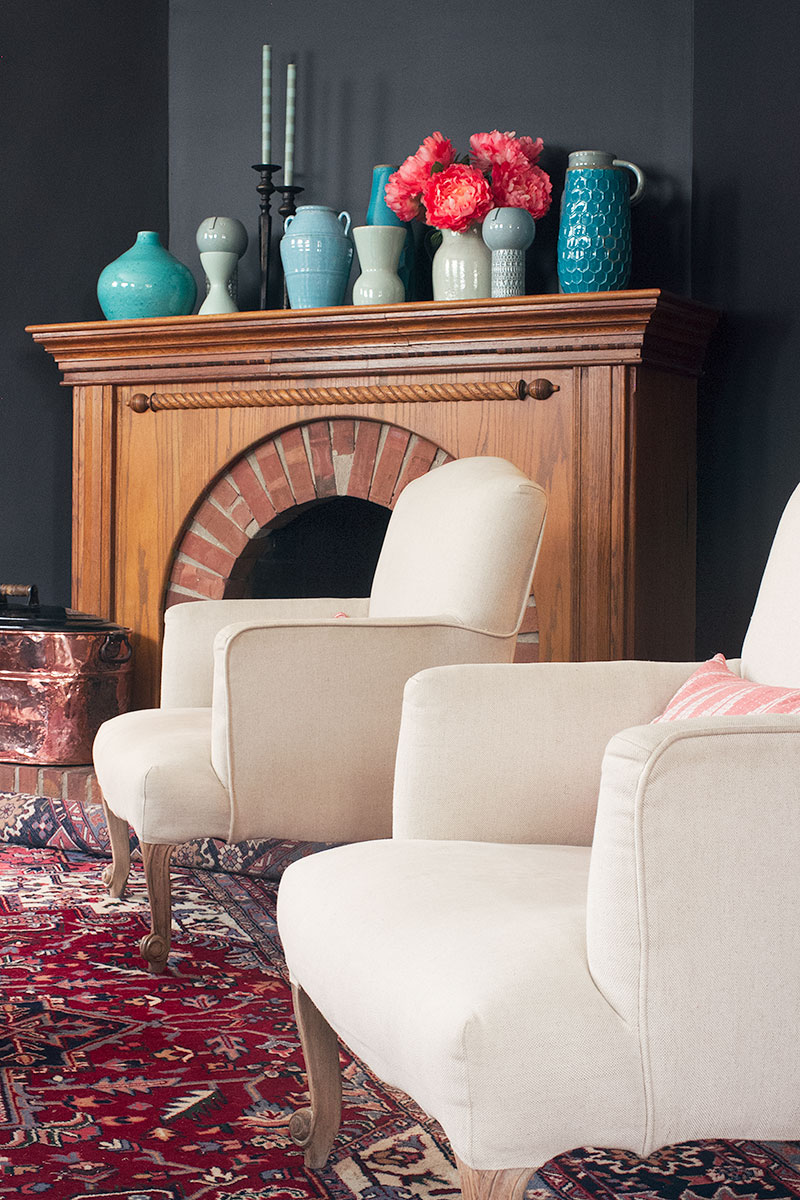
Protecting Our Upholstery
I am a compensated Scotchgard Brand blogger ambassador. Opinions are my own and additional products used in the project were…January 27, 2016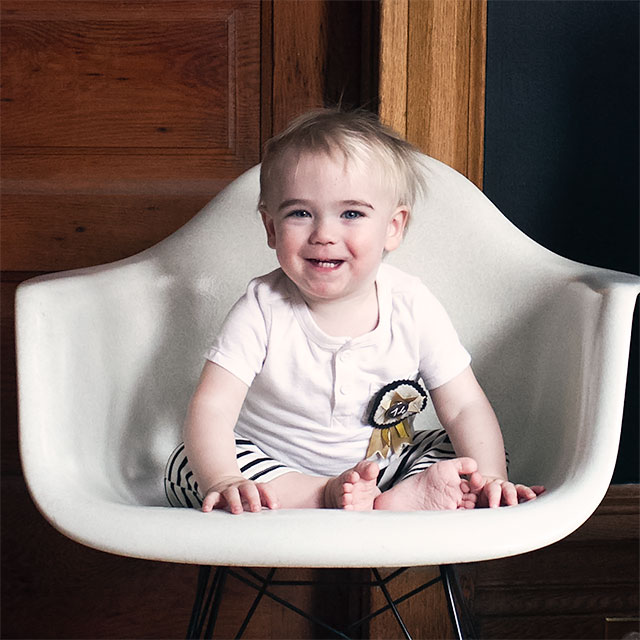
Thirteen, Fourteen, and Fifteen Months Old (Calvin’s Monthly Photos)
Calvin is walking, hooray! His vocabulary is growing, his teeth are numerous (he went from six to twelve, maybe more,…January 25, 2016
Sixteen, Seventeen, and Eighteen Months Old (Calvin’s Monthly Photos)
Guess what. I took 64 monthly photos of my kids (24 for Eleanor, 24 for August, and 16 for Calvin) before missing one. And then…
DIY Huge Insect Illustration Art (Free Download)
I had a very large blank wall to fill in my den for the One Room Challenge. Naturally, I made some giant bugs for it.…
One Room Challenge: Week 3 (All That Painted Woodwork)
Let’s talk paint this week! But first, why has only one person chastised me for painting the woodwork so far? People. I expected more outrage.…
Making it Yours 14A: SAIC Together Pendant Light
CB2, based here in Chicago, sometimes collaborates with local students from the School of the Art Institute (SAIC). One of their latest designs is the…
Protecting Our Upholstery
I am a compensated Scotchgard Brand blogger ambassador. Opinions are my own and additional products used in the project were selected by me. Remember the…
Thirteen, Fourteen, and Fifteen Months Old (Calvin’s Monthly Photos)
Calvin is walking, hooray! His vocabulary is growing, his teeth are numerous (he went from six to twelve, maybe more, all in the last couple…