
 September 18, 2019I'll be mixing and matching some variation on the below all fall, along with the pieces from my last style…
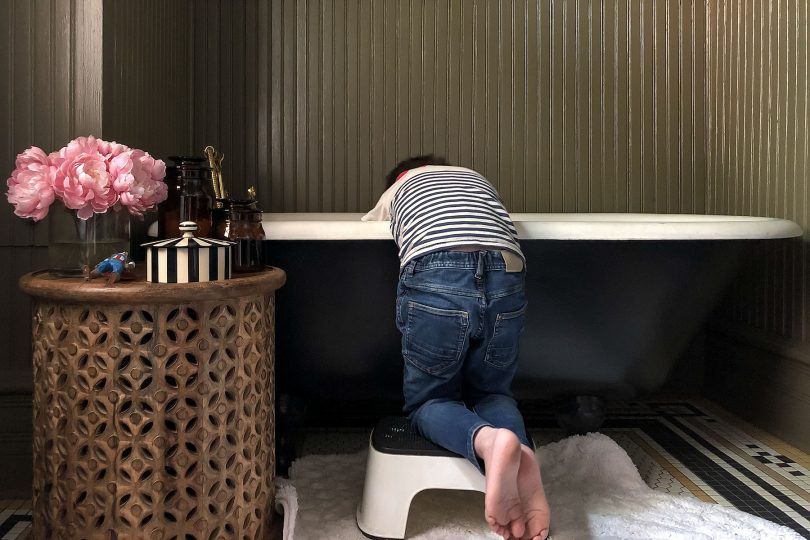 September 9, 2019Now that the bathroom on the second floor is back in commission, I've been restocking it. I realized as I…
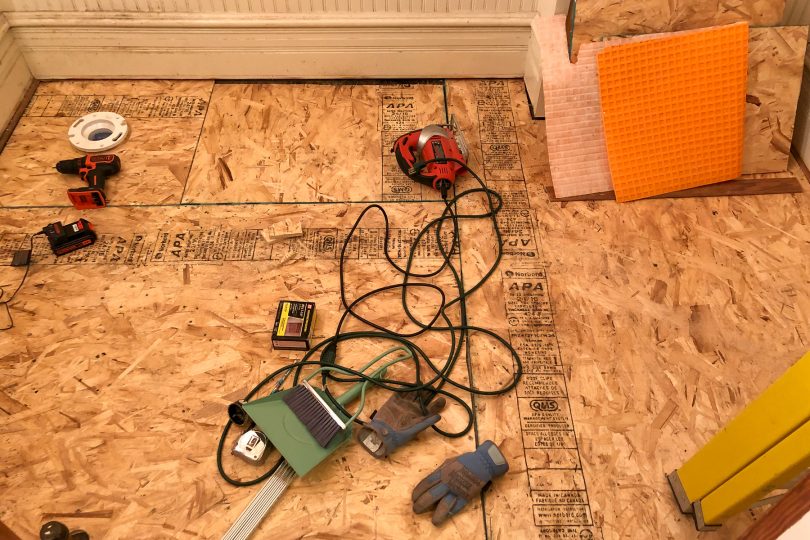 August 29, 2019I want my bathroom tile to have longevity. I’m using porcelain (wonderfully durable), and taking the time to do the…
 August 23, 2019I went out last week specifically in search of a new skirt, and came home with two. I also tried…
 August 20, 2019Eleanor, my eldest, is interested in making some changes to her room, and she has requested a canopy bed! After…
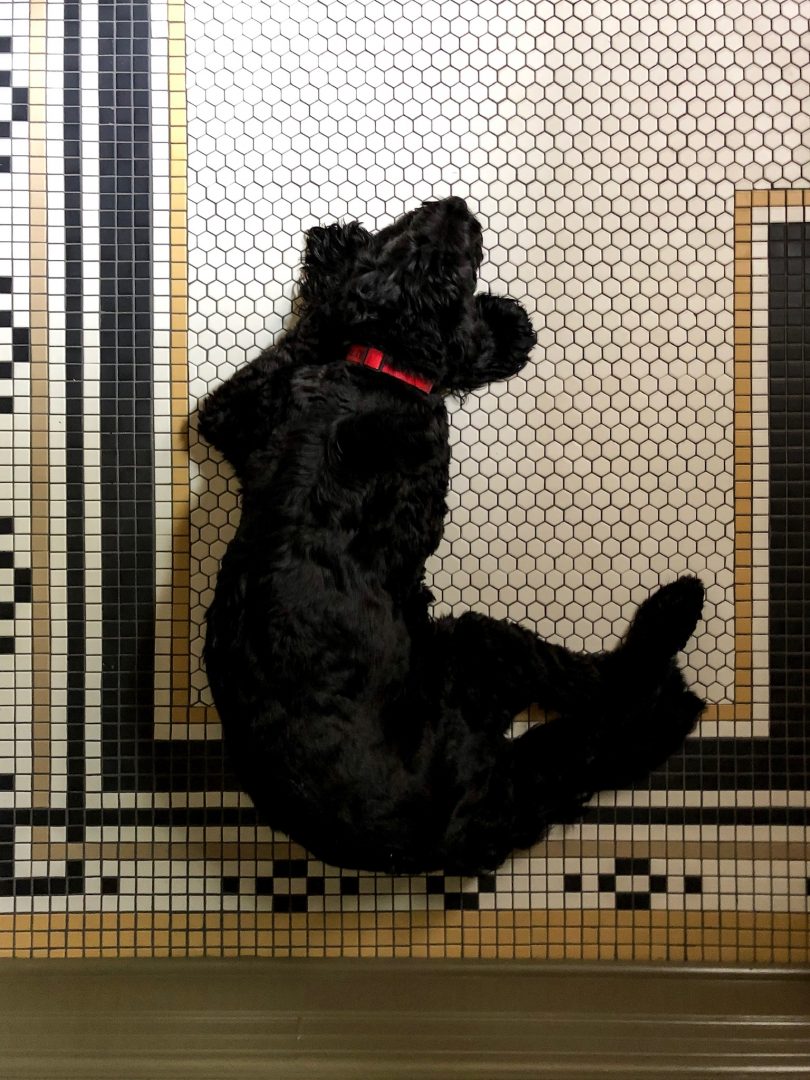 August 16, 2019Look at that pup luxuriating on my tile floor. I’ve painted the bathroom, finished the floor, installed the lighting, and…