

DIY Striped Armoire Surprise
Sponsored by ScotchBlue™ Painter’s Tape. I spotted an armoire on Jubilee Furniture's blog not long after Calvin had been born.…January 8, 2015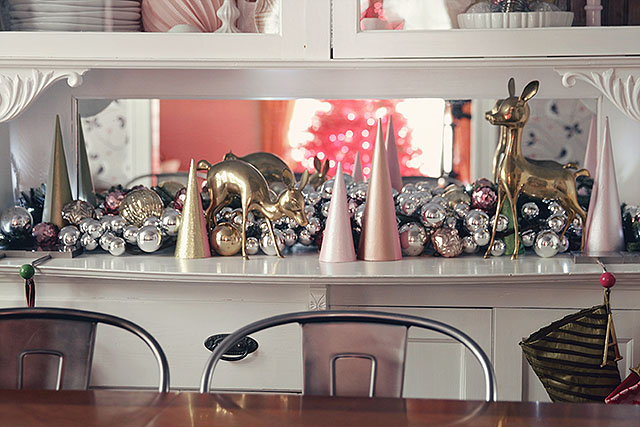
DIY Colorblock Christmas Trees
Here's a cute DIY project to add a little sparkle and shine to your holiday! These colorblock Christmas trees took…December 18, 2012
DIY Striped Armoire Surprise
Sponsored by ScotchBlue™ Painter’s Tape. I spotted an armoire on Jubilee Furniture’s blog not long after Calvin had been born. I’d been looking for something…
DIY Colorblock Christmas Trees
Here’s a cute DIY project to add a little sparkle and shine to your holiday! These colorblock Christmas trees took a few hours to create,…