
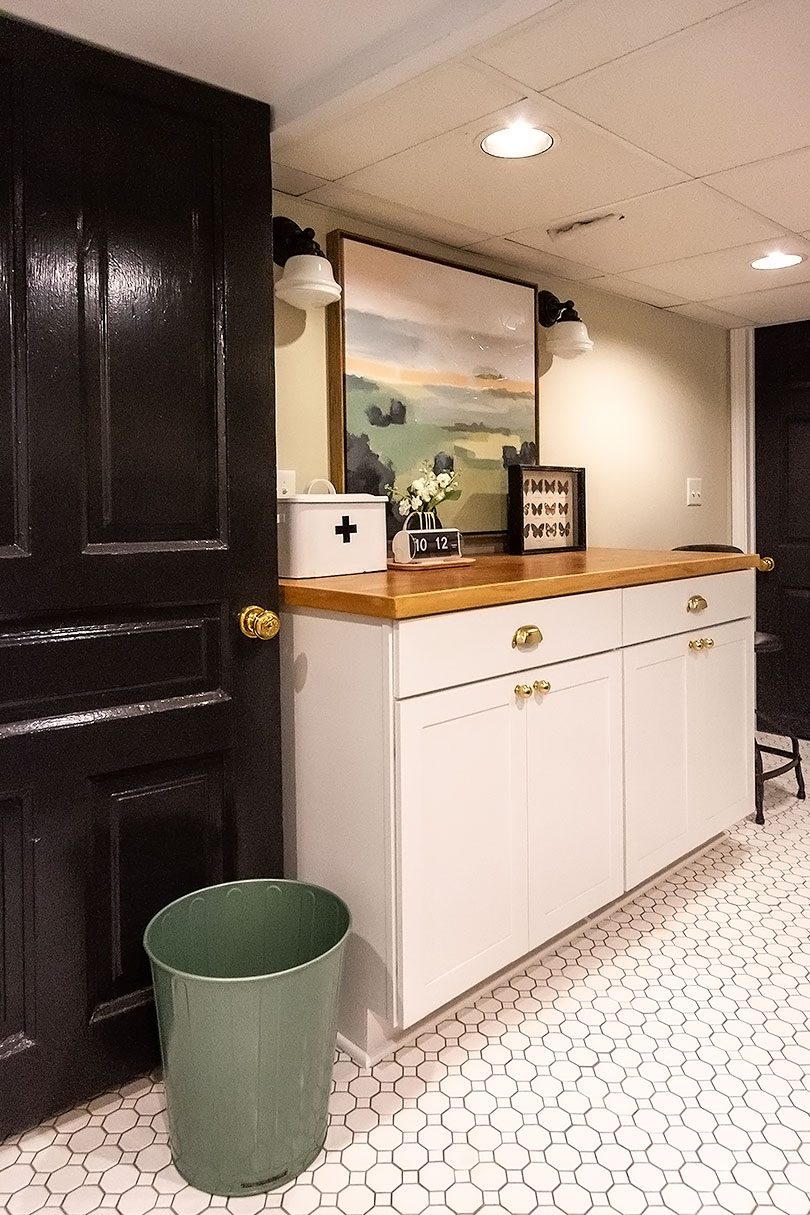
Our Basement Laundry Room Makeover
This post is sponsored by Lowe's. Thank you for making this renovation possible! The laundry room in our Victorian is…November 28, 2018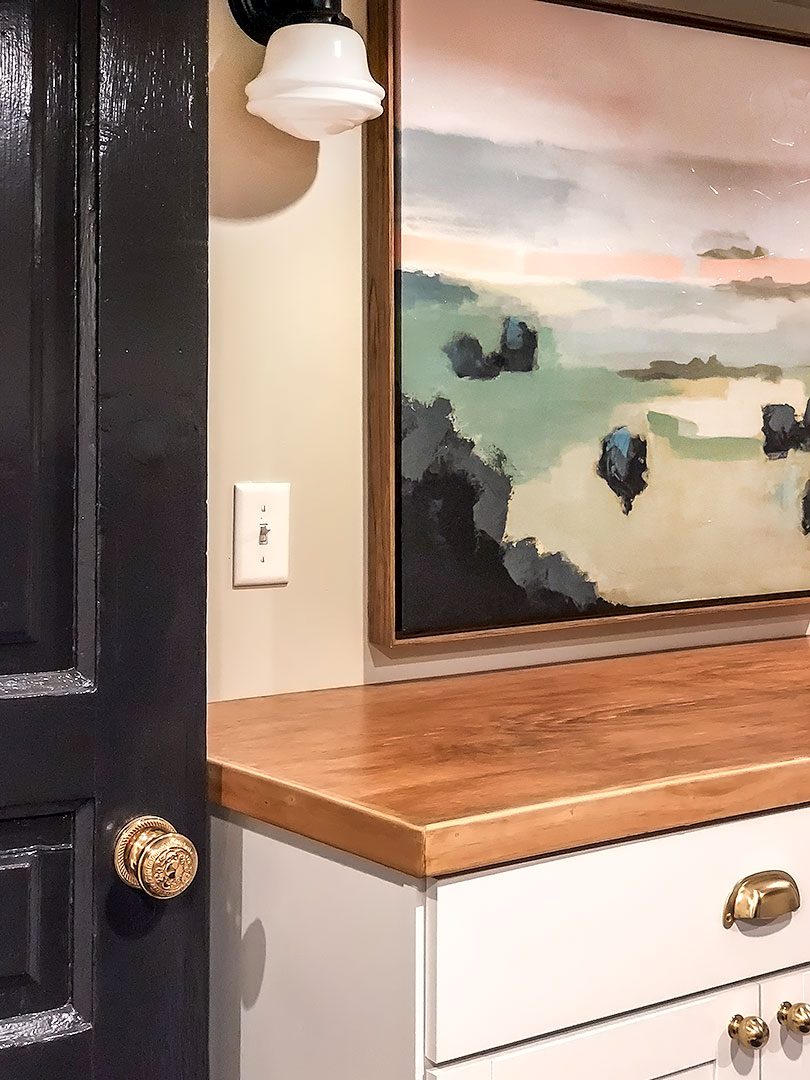
Making DIY Plywood Countertops
There are a few options when it comes to wooden counters. Let me just say right now that I’m not…November 8, 2018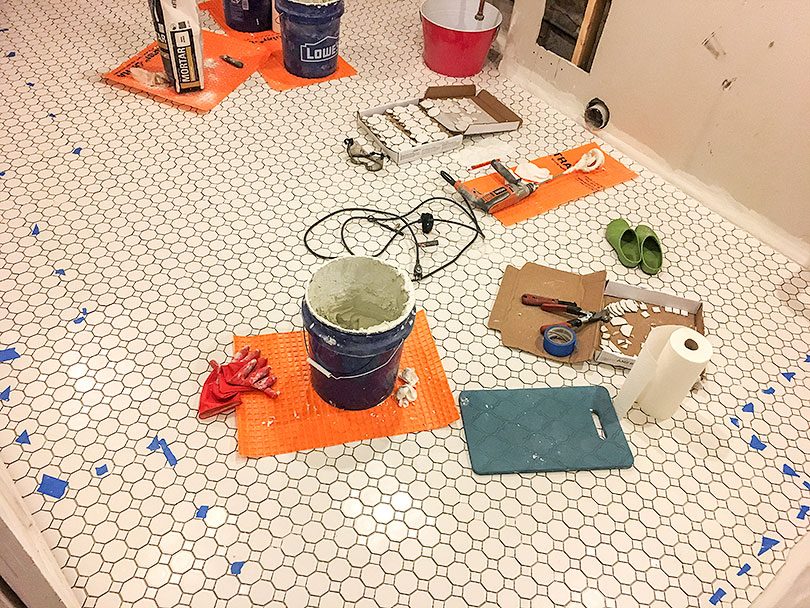
Tiling the Basement Laundry Room
Today, I grout! But first, let’s take a look at the tiling progress I’ve made. I started by finding the…July 11, 2018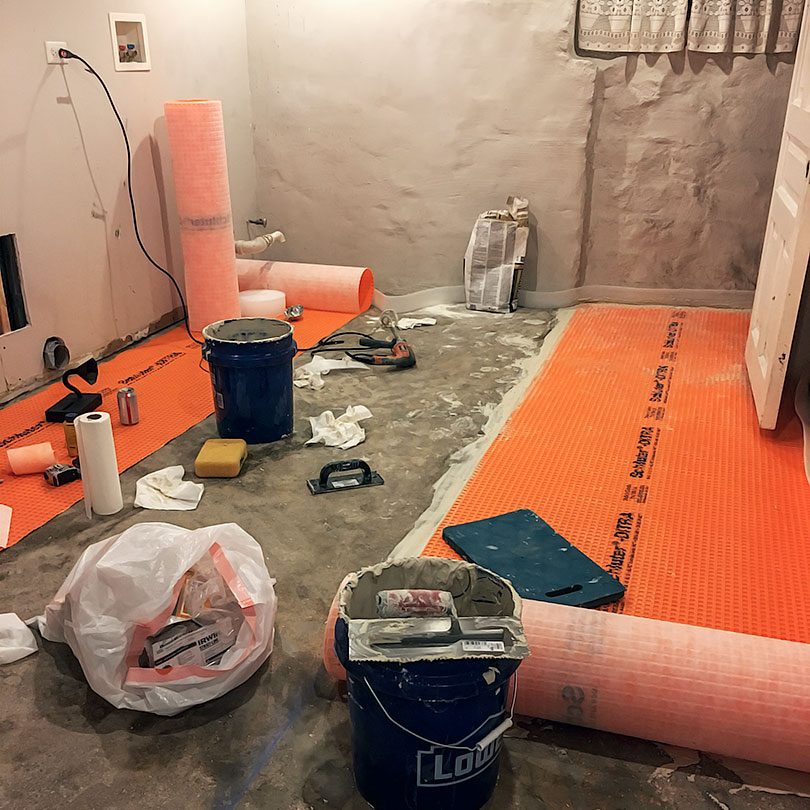
Laying Ditra to Prep for Tile
Still prepping for tile! I underestimated the amount of work it would take to DIY this install. I imagined it…July 2, 2018
Removing Paint from Concrete with an Angle Grinder
Did you know that you aren't supposed to lay tile over painted concrete? I sure didn't when I was planning…June 11, 2018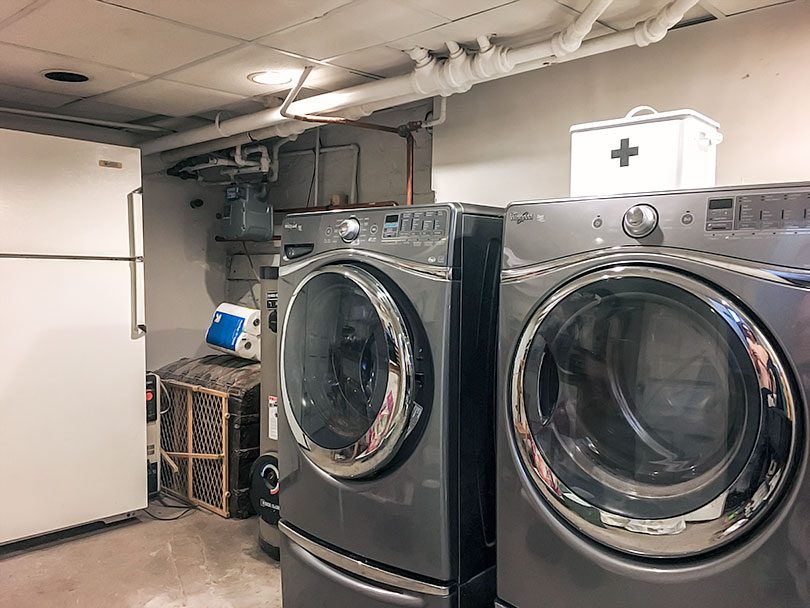
Next Up is the Laundry Room
I've been doing a ton of work outside lately, but it's time to move on to the interior again. Hey…May 16, 2018
Our Basement Laundry Room Makeover
This post is sponsored by Lowe’s. Thank you for making this renovation possible! The laundry room in our Victorian is in the basement, and the…
Making DIY Plywood Countertops
There are a few options when it comes to wooden counters. Let me just say right now that I’m not sure I picked the best…
Tiling the Basement Laundry Room
Today, I grout! But first, let’s take a look at the tiling progress I’ve made. I started by finding the center of the room, then…
Laying Ditra to Prep for Tile
Still prepping for tile! I underestimated the amount of work it would take to DIY this install. I imagined it like this. Bring tile home,…
Removing Paint from Concrete with an Angle Grinder
Did you know that you aren’t supposed to lay tile over painted concrete? I sure didn’t when I was planning our laundry room! (I also…
Next Up is the Laundry Room
I’ve been doing a ton of work outside lately, but it’s time to move on to the interior again. Hey there, laundry room. Wait, that’s…