
You’re Going to Want a Freestanding Shower
Say hello to your new dream bathroom fixture: a freestanding shower by Drummonds. I figure I'll just pop one of…July 11, 2017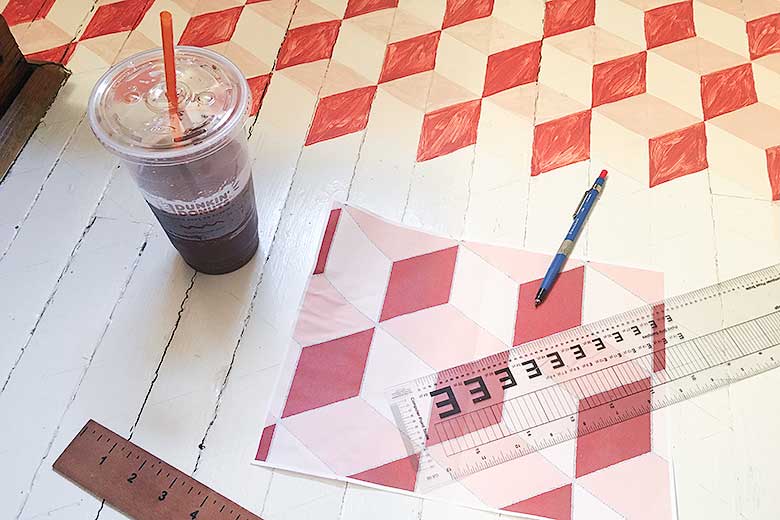
DIY Tumbling Blocks Hand-Painted Floor
This post is sponsored by Dunkin' Donuts. The painted floor in the bathroom is done! It only took a million…July 7, 2016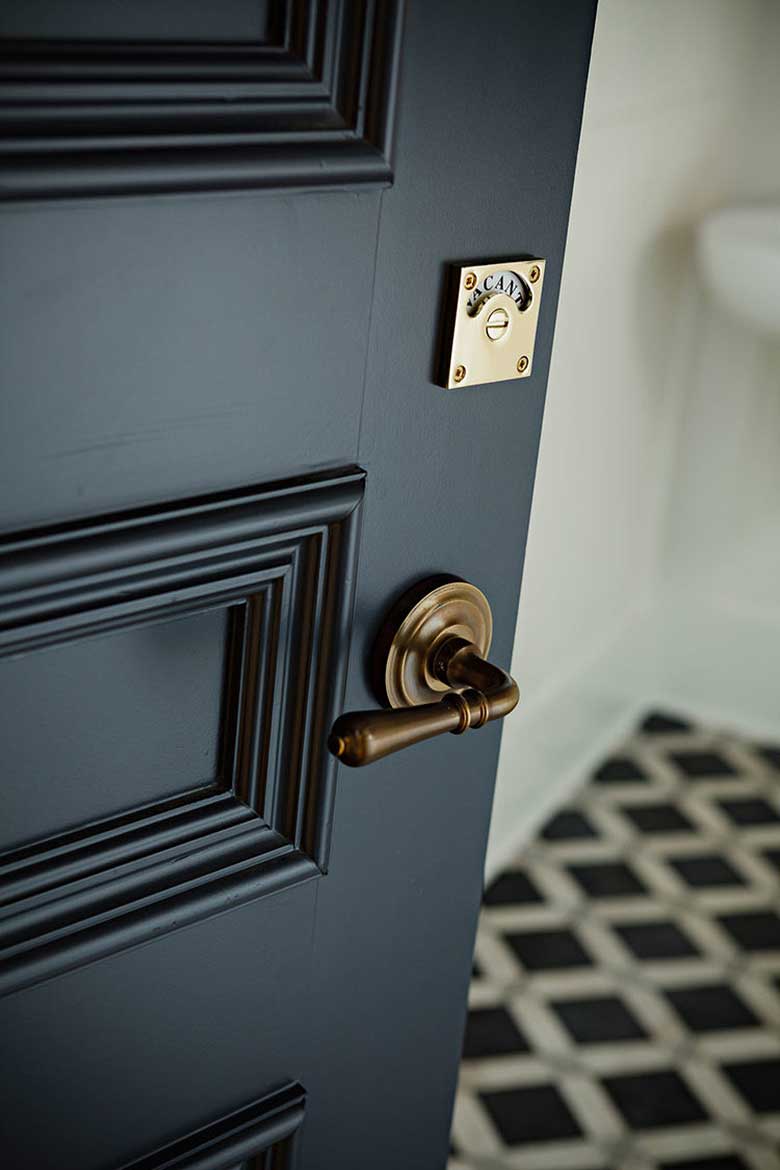
Occupied & Engaged Door Locks
I've been working away on my bathroom here on the third floor. I tried using some of the door hardware…June 24, 2016
Bathroom (Third Floor) Progress
Whew! I've been painting and painting the bathroom. The wood trim around the window and doorway has been primed and…June 21, 2016
Finishing the Third Floor Bathroom
I was all set to finish this space up last summer. And then I thought, well, if I just install…June 14, 2016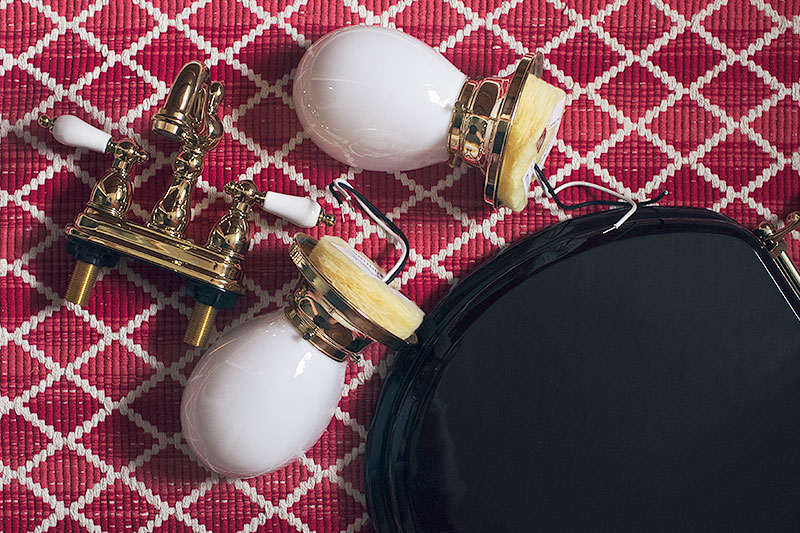
Let’s Be Realistic, Here
I'm finding myself fighting scope creep. The new sconces are here (I ordered the Thurman sconce in unlacquered polished brass…September 10, 2015
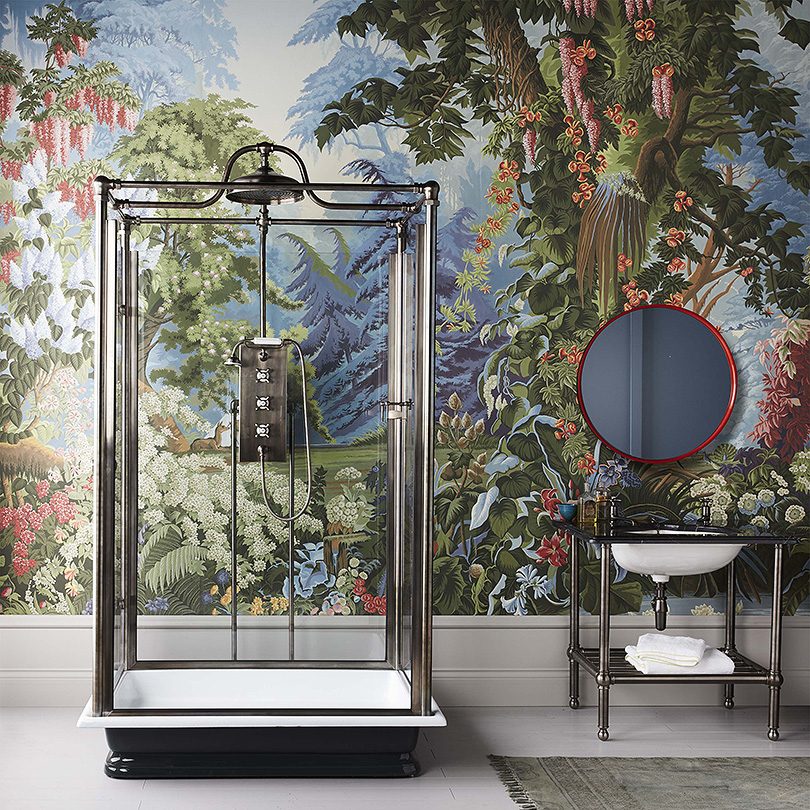
You’re Going to Want a Freestanding Shower
Say hello to your new dream bathroom fixture: a freestanding shower by Drummonds. I figure I’ll just pop one of these off of our bedroom,…
DIY Tumbling Blocks Hand-Painted Floor
This post is sponsored by Dunkin’ Donuts. The painted floor in the bathroom is done! It only took a million hours! ‘Tumbling blocks’ is a…
Occupied & Engaged Door Locks
I’ve been working away on my bathroom here on the third floor. I tried using some of the door hardware I had found in a…
Bathroom (Third Floor) Progress
Whew! I’ve been painting and painting the bathroom. The wood trim around the window and doorway has been primed and I’ve given it three coats…
Finishing the Third Floor Bathroom
I was all set to finish this space up last summer. And then I thought, well, if I just install a new toilet, maybe some…
Let’s Be Realistic, Here
I’m finding myself fighting scope creep. The new sconces are here (I ordered the Thurman sconce in unlacquered polished brass with clamshell shades), and I…