

Closet Plans and Layout
Being surrounded by all of your clothes as you drift off to a peaceful slumber really kicks up that urge…January 6, 2016
15 Stylish Garment and Coat Racks
Garment racks. Coat racks. Oh, the multitude of racks I have looked at! Here's what happened. The bedroom closet had…December 14, 2015
Status: Closet, Hallway, and Electrical Work
The sheet mirror above the sink in the closet is gone. I was so nervous for it to come down!…December 10, 2015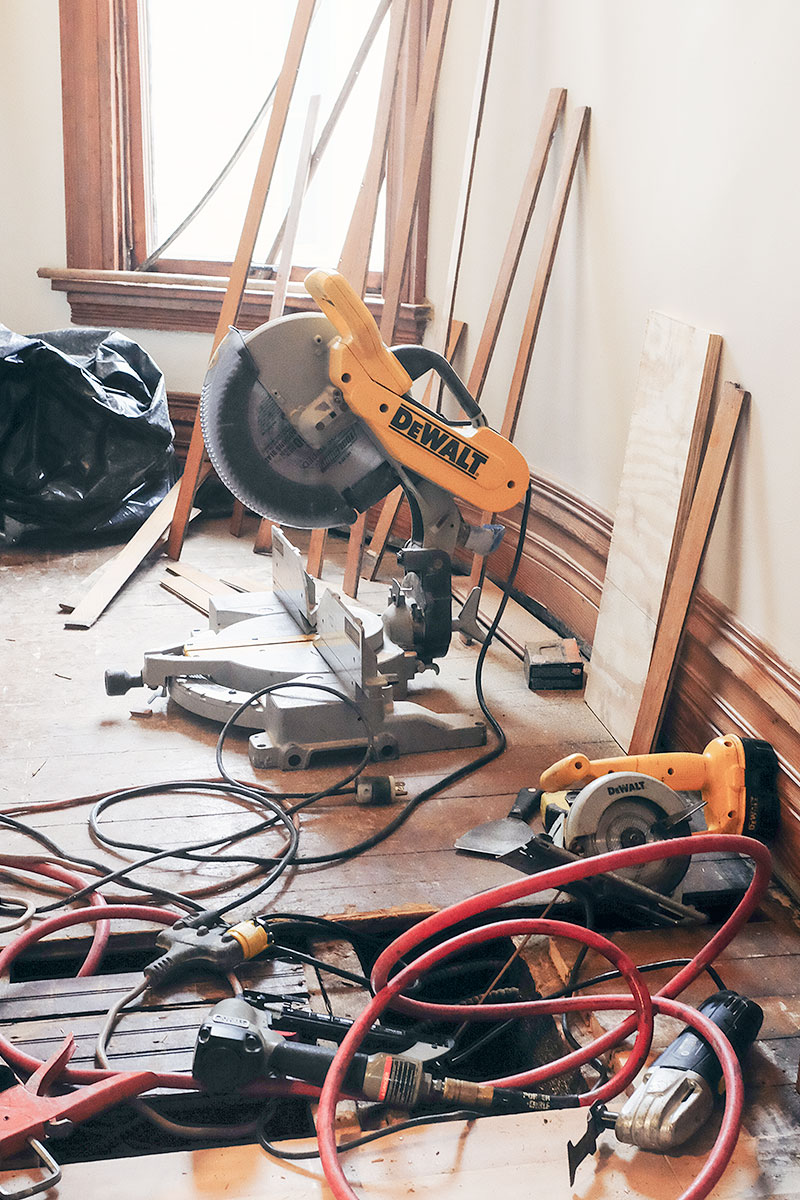
Repairing and Replacing the Closet Floor
This post is sponsored by Floor & Decor. Our bedroom floor had some give to it, right by the door…November 30, 2015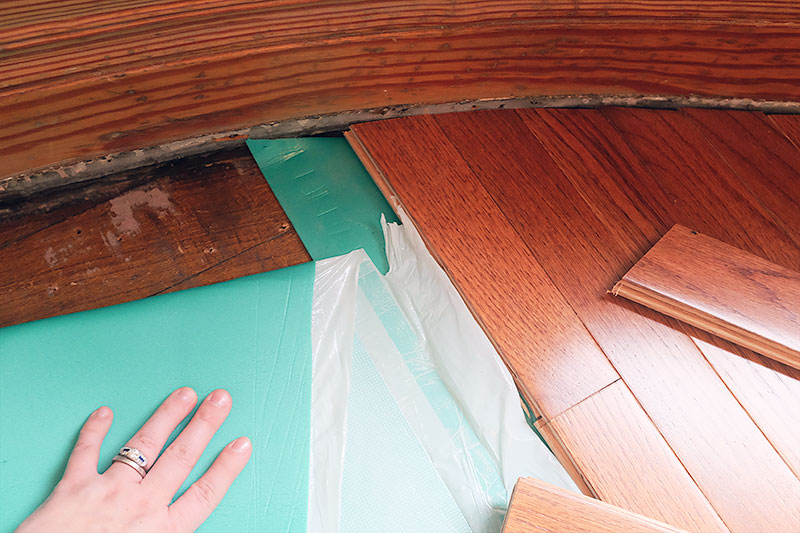
The Next Few Days
Finishing up the wood flooring in the closet, looking forward to Thanksgiving dinner with family, and then I'll be back…November 25, 2015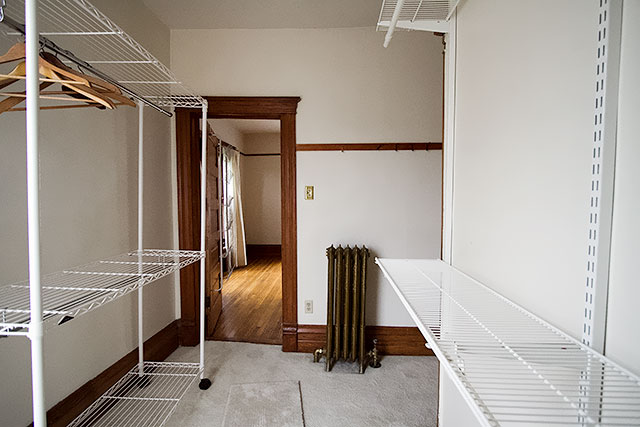
Our Closet, Before
This is what we were working with (and it has worked pretty well). At its widest, it is 8'8", and…November 12, 2015
Closet Plans and Layout
Being surrounded by all of your clothes as you drift off to a peaceful slumber really kicks up that urge to pare down, especially with…
15 Stylish Garment and Coat Racks
Garment racks. Coat racks. Oh, the multitude of racks I have looked at! Here’s what happened. The bedroom closet had an Intermetro rolling garment rack…
Status: Closet, Hallway, and Electrical Work
The sheet mirror above the sink in the closet is gone. I was so nervous for it to come down! I watched a few ‘how…
Repairing and Replacing the Closet Floor
This post is sponsored by Floor & Decor. Our bedroom floor had some give to it, right by the door to the closet. The floor…
The Next Few Days
Finishing up the wood flooring in the closet, looking forward to Thanksgiving dinner with family, and then I’ll be back to work on the closet…
Our Closet, Before
This is what we were working with (and it has worked pretty well). At its widest, it is 8’8″, and 9’6″ at its deepest. By…