
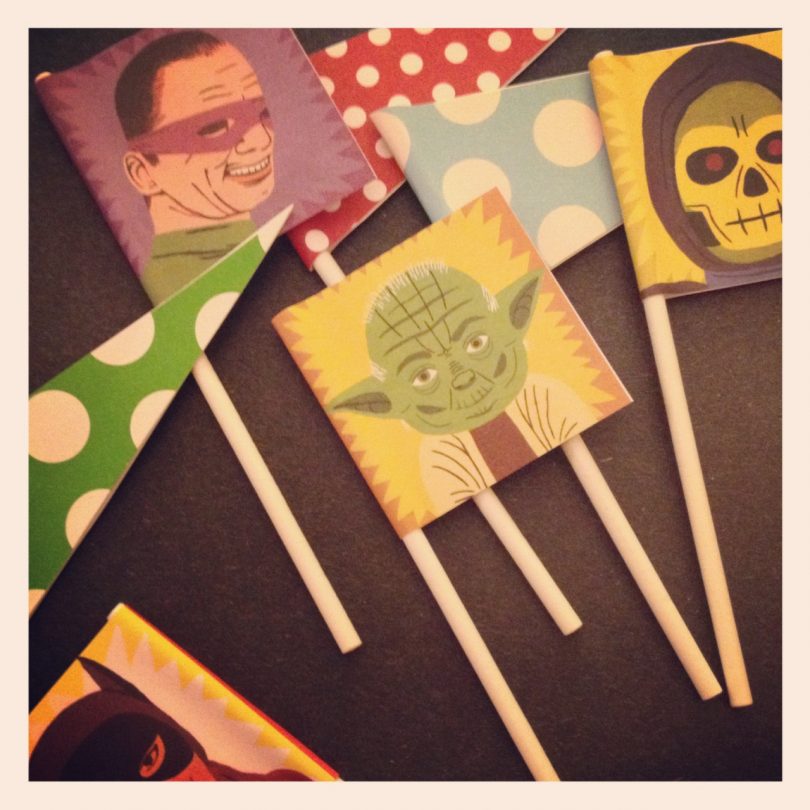
Comic Mishap
Enjoy the complete awesomeness of this paper while you can, because apparently you cannot use those faces in commercial photo…August 16, 2012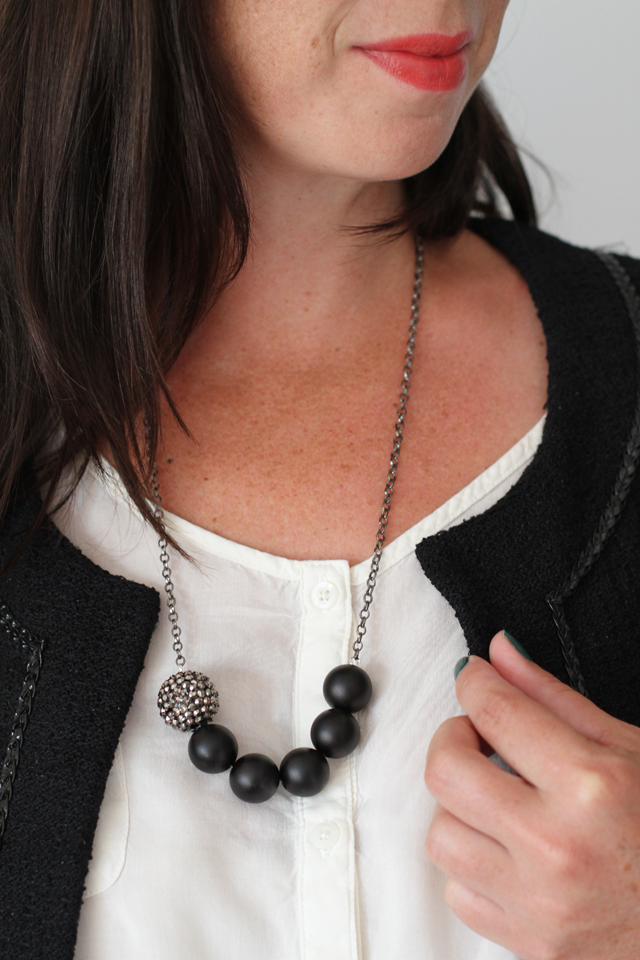
How To Make A Simple Bauble Necklace
post by Andrea I come across beads and baubles that I love on a constant basis, and in fact need…July 31, 2012
How To Make a Statement Necklace
post by Andrea I'm quite enamored with just about everything craft related, but I get especially excited when I get…May 23, 2012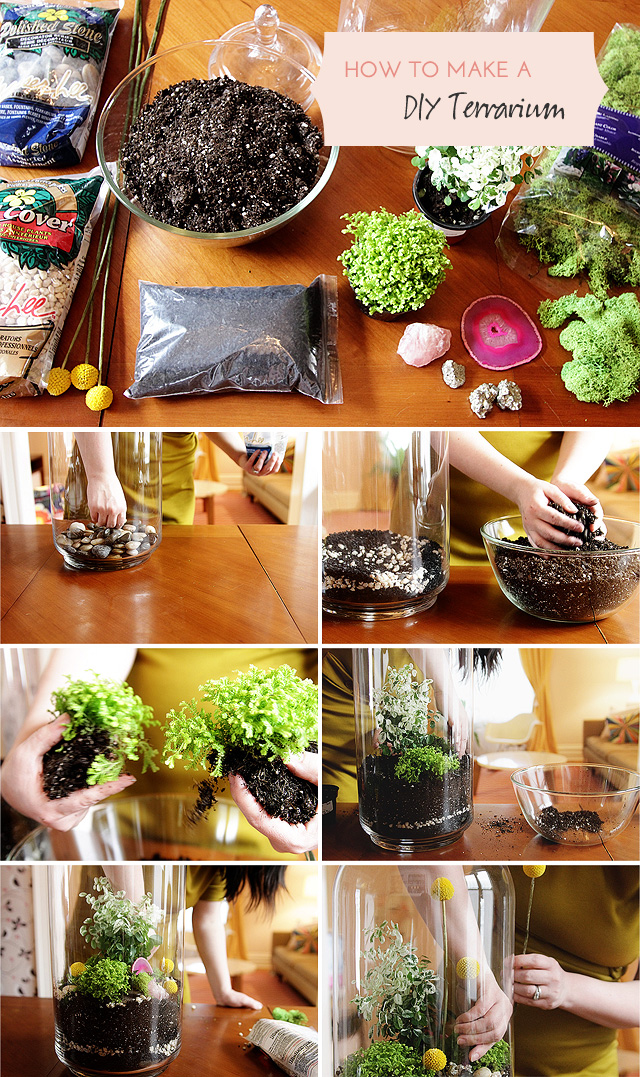
How to Make a DIY Terrarium
I had been meaning to make a terrarium for a while now, but I finally got to it last week.…April 17, 2012
Eleanor
My sister snapped that picture of us at the zoo. "I do it!" Pretty soon she will be doing it,…April 5, 2012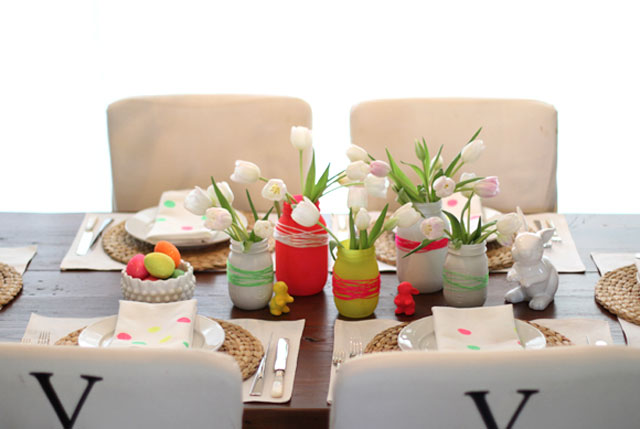
An Easter Table With a Neon Twist
Today's post is by a new contributor to Making it Lovely, Andrea Howe. I met and roomed with her at…April 4, 2012
Comic Mishap
Enjoy the complete awesomeness of this paper while you can, because apparently you cannot use those faces in commercial photo shoots. I thought they were…
How To Make A Simple Bauble Necklace
post by Andrea I come across beads and baubles that I love on a constant basis, and in fact need to stop buying beads at…
How To Make a Statement Necklace
post by Andrea I’m quite enamored with just about everything craft related, but I get especially excited when I get to create a piece of…
How to Make a DIY Terrarium
I had been meaning to make a terrarium for a while now, but I finally got to it last week. I put together a post…
Eleanor
My sister snapped that picture of us at the zoo. “I do it!” Pretty soon she will be doing it, all by herself. She’s really…
An Easter Table With a Neon Twist
Today’s post is by a new contributor to Making it Lovely, Andrea Howe. I met and roomed with her at Camp Mighty last year, and…