

Making it Yours 13C: Möckelby Dining Table
Time for the last of three looks around IKEA's new Möckelby dining table! The first let wallpaper be the star…August 27, 2015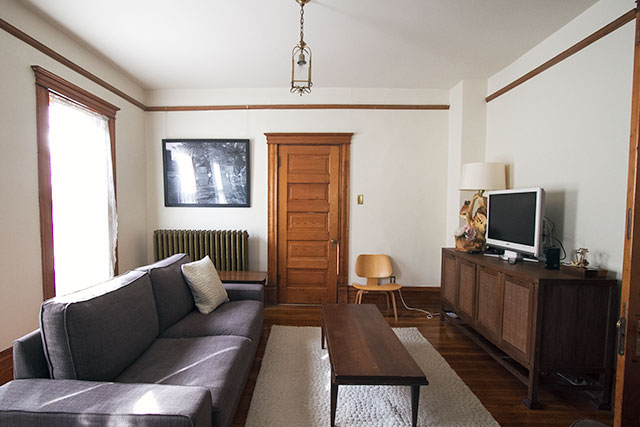
Welcome to the Brown Room
Where everything is a lovely shade of brown! Or cream! This room is very much in progress, and it has…February 26, 2014
IKEA KIVIK vs. KARLSTAD
Brandon and I moved our TV from the first floor up to the second a couple of months ago, but…February 20, 2014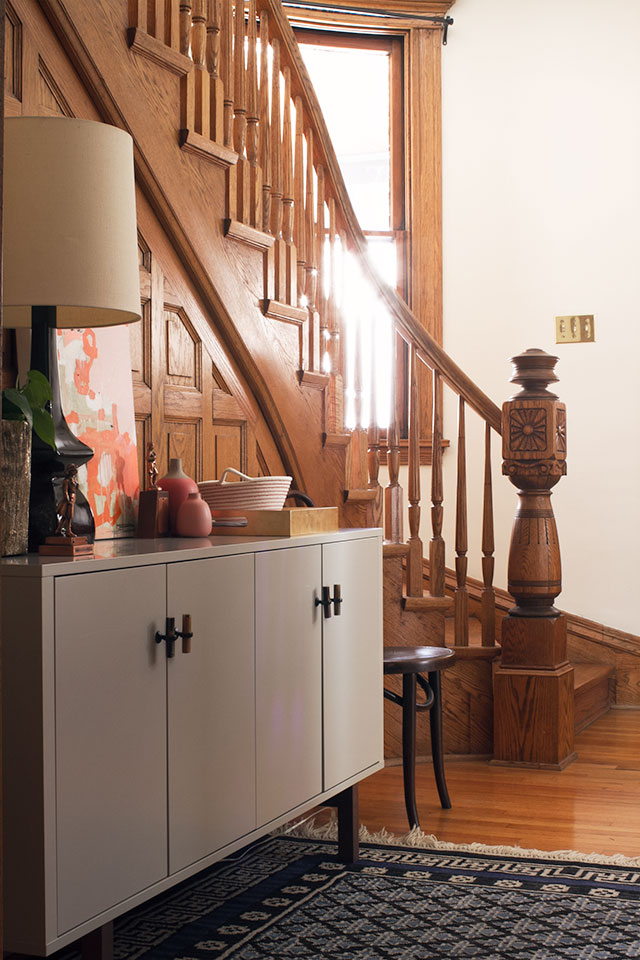
The Entryway with its New Sideboard
Hey now! The entryway is looking like a real, finished space! We do a lot of walking in this neighborhood,…December 9, 2013
The Spruce Upholstery Book, and Plans for August’s Bed
I know how to upholster a simple chair seat. Years of Trading Spaces viewings taught me to start with a…November 12, 2013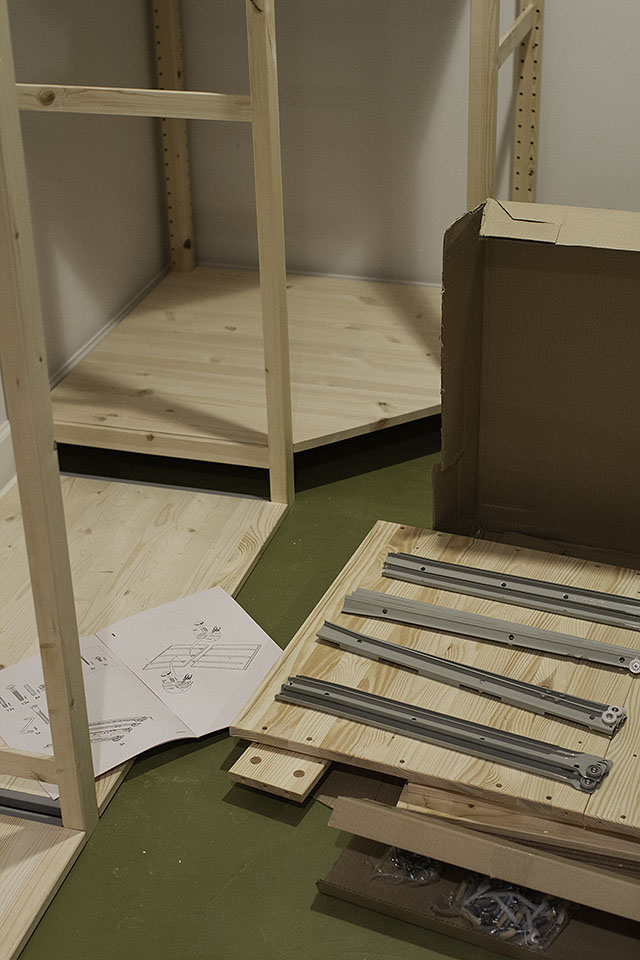
IVAR!
Remember this floor plan sketch for the basement, with the storage units labeled GORM (which is either a really unfortunate…April 1, 2013
Making it Yours 13C: Möckelby Dining Table
Time for the last of three looks around IKEA’s new Möckelby dining table! The first let wallpaper be the star with everything else playing supporting…
Welcome to the Brown Room
Where everything is a lovely shade of brown! Or cream! This room is very much in progress, and it has a long way to go…
IKEA KIVIK vs. KARLSTAD
Brandon and I moved our TV from the first floor up to the second a couple of months ago, but the seating had not followed…
The Entryway with its New Sideboard
Hey now! The entryway is looking like a real, finished space! We do a lot of walking in this neighborhood, so we use the front…
The Spruce Upholstery Book, and Plans for August’s Bed
I know how to upholster a simple chair seat. Years of Trading Spaces viewings taught me to start with a staple in the center, pull…
IVAR!
Remember this floor plan sketch for the basement, with the storage units labeled GORM (which is either a really unfortunate name or an IKEA product)?…