
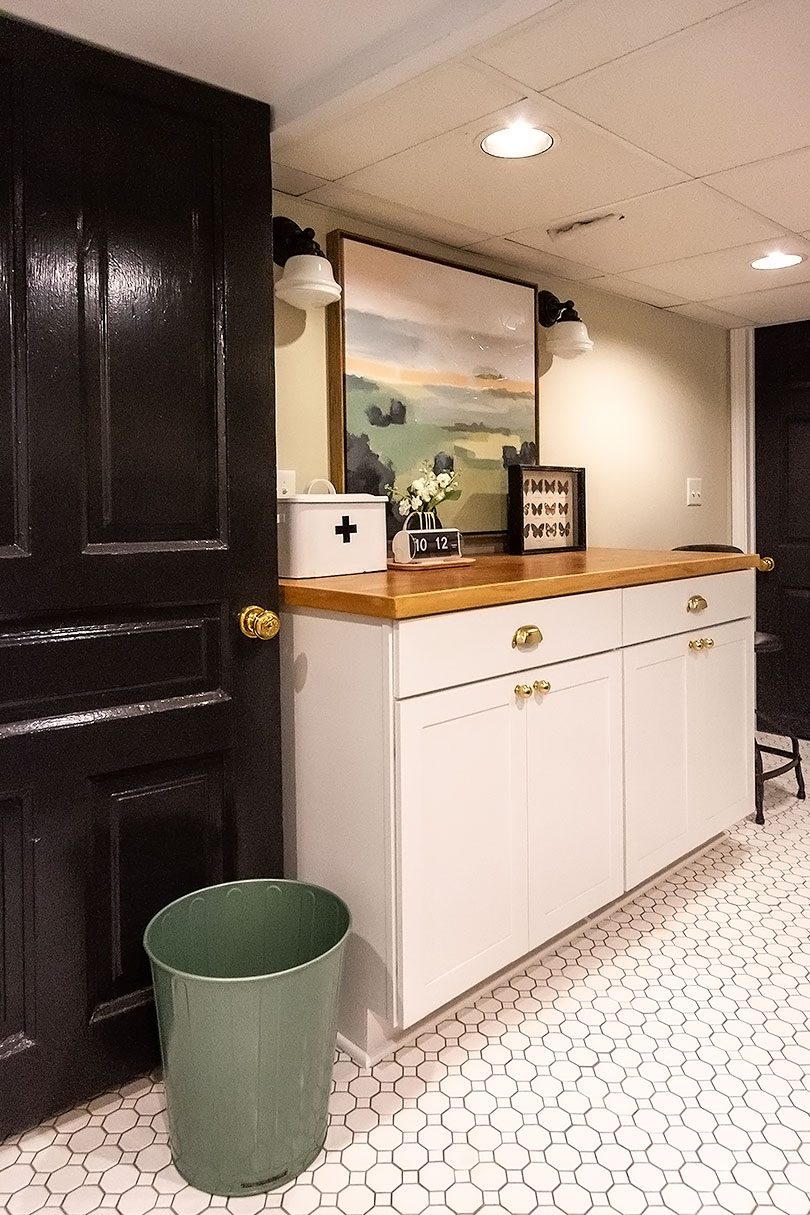
Our Basement Laundry Room Makeover
This post is sponsored by Lowe's. Thank you for making this renovation possible! The laundry room in our Victorian is…November 28, 2018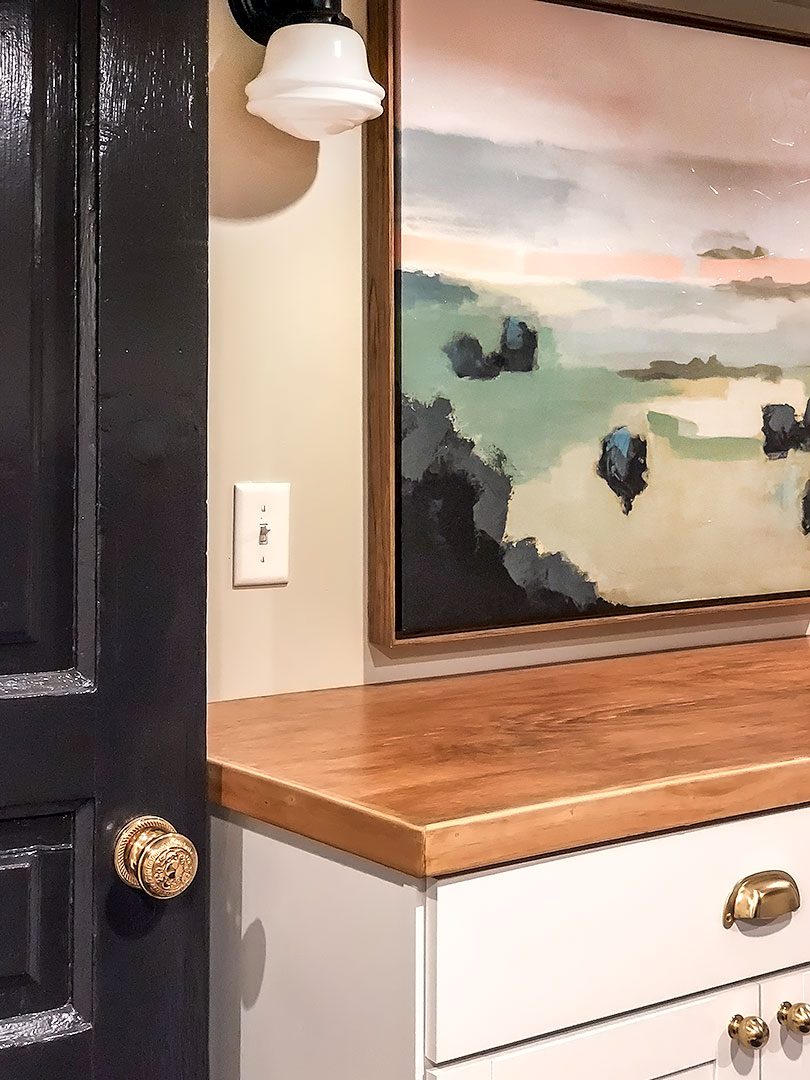
Making DIY Plywood Countertops
There are a few options when it comes to wooden counters. Let me just say right now that I’m not…November 8, 2018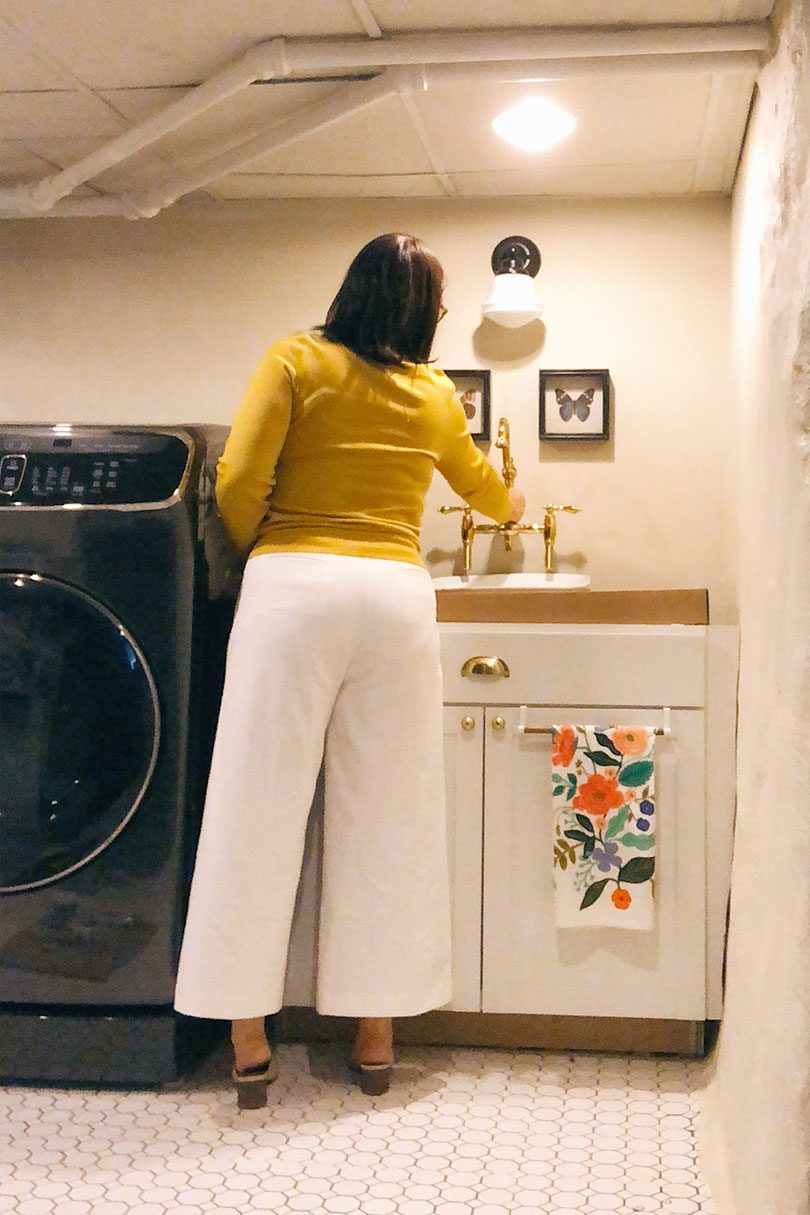
Laundry Room Mockups and Floor Plan
Imagine the cardboard box is a wooden counter. Imagine I've installed the sink and faucet, caulked the gaps along the…September 26, 2018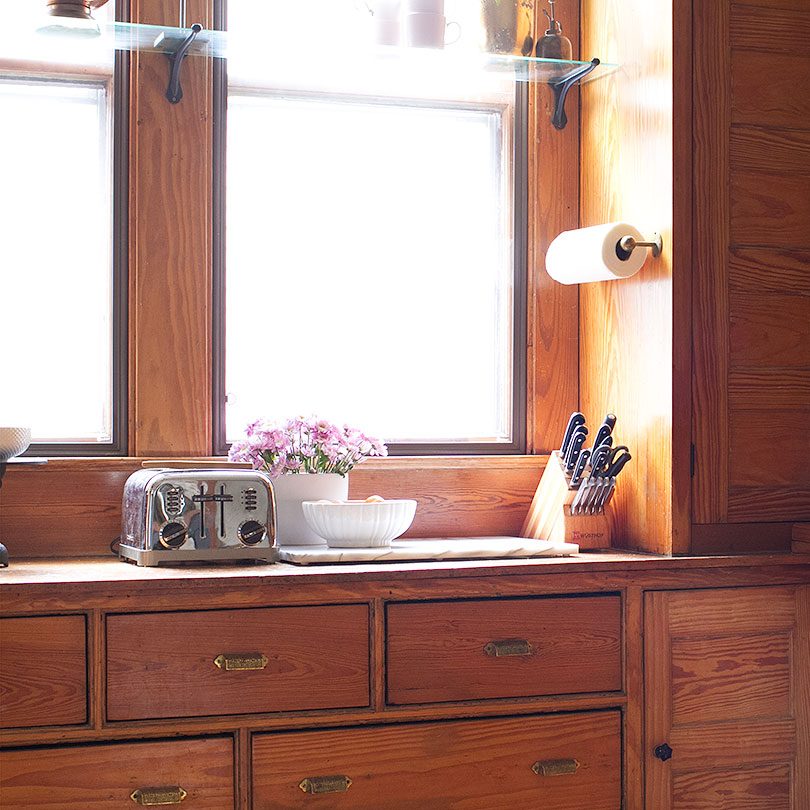
Choosing Countertops for the Laundry Room
The laundry room is so close to being done! I just need to sew a shade for the window, and…September 10, 2018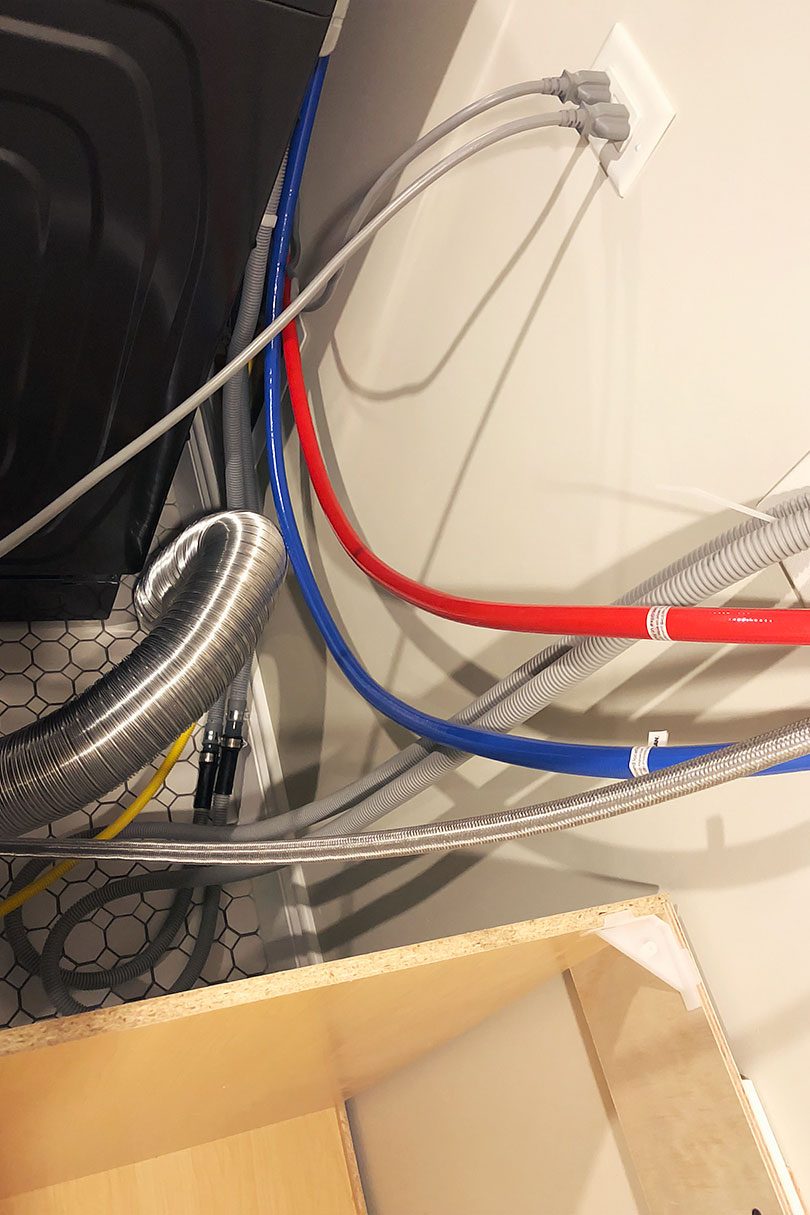
The Accidental Geyser
We washed a load of laundry last night! In our own house! Oh, function. How I've missed you. The sink…July 27, 2018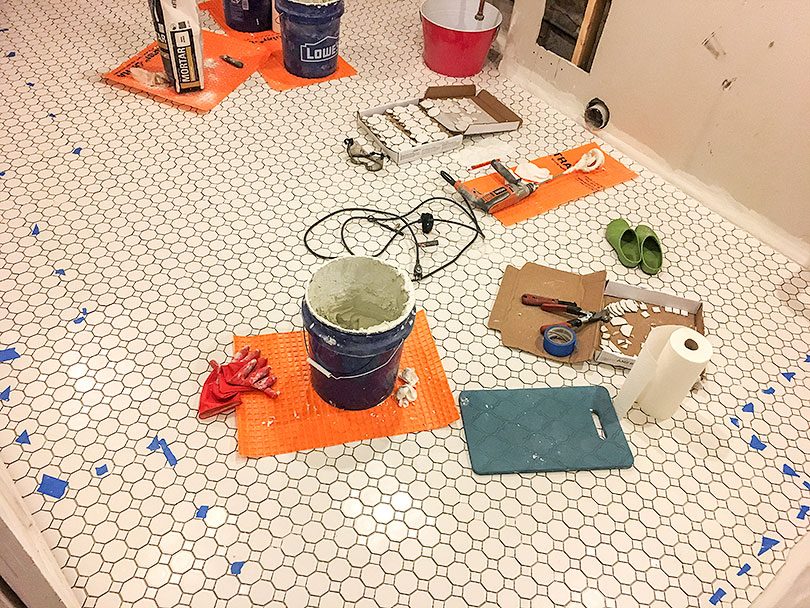
Tiling the Basement Laundry Room
Today, I grout! But first, let’s take a look at the tiling progress I’ve made. I started by finding the…July 11, 2018
Our Basement Laundry Room Makeover
This post is sponsored by Lowe’s. Thank you for making this renovation possible! The laundry room in our Victorian is in the basement, and the…
Making DIY Plywood Countertops
There are a few options when it comes to wooden counters. Let me just say right now that I’m not sure I picked the best…
Laundry Room Mockups and Floor Plan
Imagine the cardboard box is a wooden counter. Imagine I’ve installed the sink and faucet, caulked the gaps along the foundation wall, and faced the…
Choosing Countertops for the Laundry Room
The laundry room is so close to being done! I just need to sew a shade for the window, and the sink installation is being…
The Accidental Geyser
We washed a load of laundry last night! In our own house! Oh, function. How I’ve missed you. The sink cabinet is in place, and…
Tiling the Basement Laundry Room
Today, I grout! But first, let’s take a look at the tiling progress I’ve made. I started by finding the center of the room, then…