
Photo Skillz
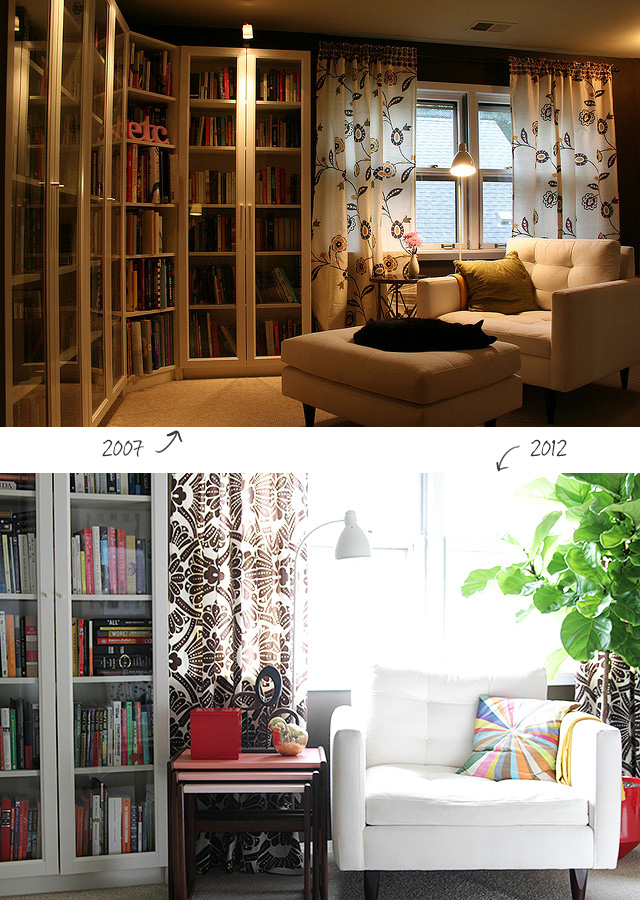
I often see my old photos pop up on Pinterest, and I'm amazed at how much my photography has improved.…December 19, 2012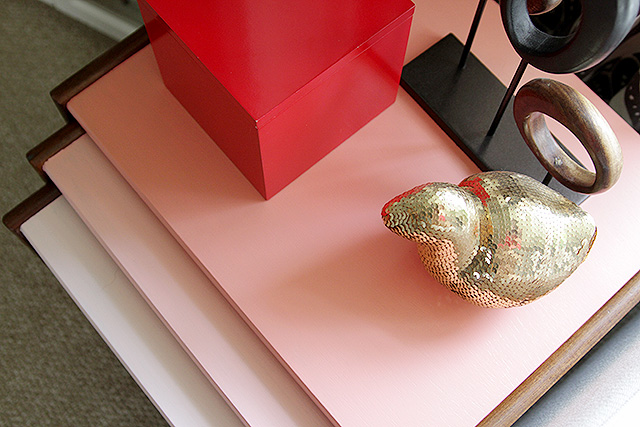
Ombré Nesting Tables (With a How-to Video)
Brought to you by 3M DIY. I found these vintage wooden nesting tables at the Renegade Craft Fair, here in…November 1, 2012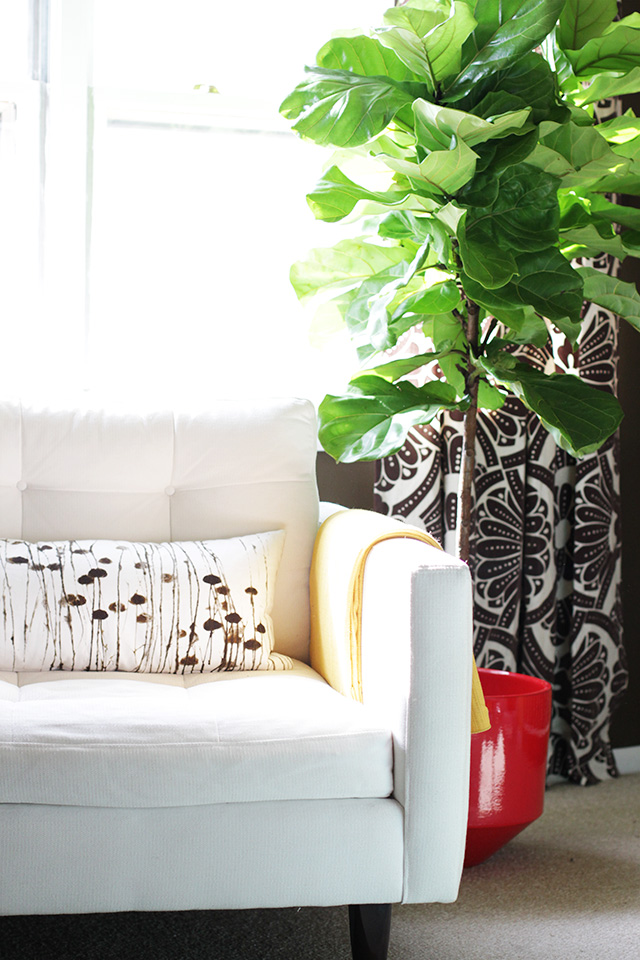
The Fiddle-Leaf Fig Tree
My friend Michelle was in town, so I met up with her yesterday we went to Sprout Home. I bought…October 24, 2012
Five Important Tips for Photographing Your Home
This post on photography tips is brought to you by your fellow photo lovers at Shutterfly. They encourage you to…May 31, 2011
Planning August’s Monthly Photos
I took a photo of August in Eleanor's usual spot yesterday. I'm going to start photographing him monthly too, but…February 23, 2011
MiY 5d: Reading Nook
James and Eugenia, our fictional couple with exceptionally good taste in furniture, have just moved to Chicago! They have a…July 19, 2010
Photo Skillz
I often see my old photos pop up on Pinterest, and I’m amazed at how much my photography has improved. I still have a lot…
Ombré Nesting Tables (With a How-to Video)
Brought to you by 3M DIY. I found these vintage wooden nesting tables at the Renegade Craft Fair, here in Chicago, a couple of months…
The Fiddle-Leaf Fig Tree
My friend Michelle was in town, so I met up with her yesterday we went to Sprout Home. I bought a couple of air plants…
Five Important Tips for Photographing Your Home
This post on photography tips is brought to you by your fellow photo lovers at Shutterfly. They encourage you to capture your memories and share…
Planning August’s Monthly Photos
I took a photo of August in Eleanor’s usual spot yesterday. I’m going to start photographing him monthly too, but I’m considering a change of…
MiY 5d: Reading Nook
James and Eugenia, our fictional couple with exceptionally good taste in furniture, have just moved to Chicago! They have a long but wide hallway in…