
Tiling the Basement Laundry Room
Today, I grout! But first, let’s take a look at the tiling progress I’ve made. I started by finding the…July 11, 2018
It’s Electric!
Our Victorian had been converted to multiple apartments decades ago (during the Depression, I believe), and was only converted back…October 1, 2014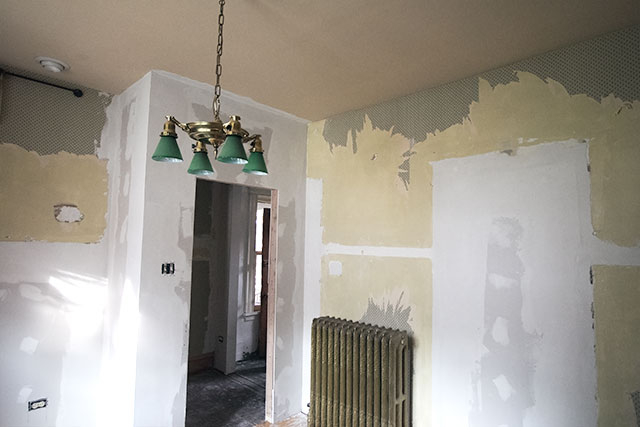
The Second Floor is Taking Shape
Hey, no more visible lathe! We have walls! That's the door we're going to reuse for the new nursery, casually…August 4, 2014
The (Mostly) Finished Basement
Ta da! Does it suddenly feel like December again? Because that's when all of this was supposed to be finished.…March 15, 2011
The Basement Drywall is Done
Remember the drywall photos from last week? Here's what the walls are looking like today. So much more finished! The…January 11, 2011
We Have Drywall!
Well, some drywall. And it hasn't been taped and mudded yet. But hey, it's progress!January 3, 2011
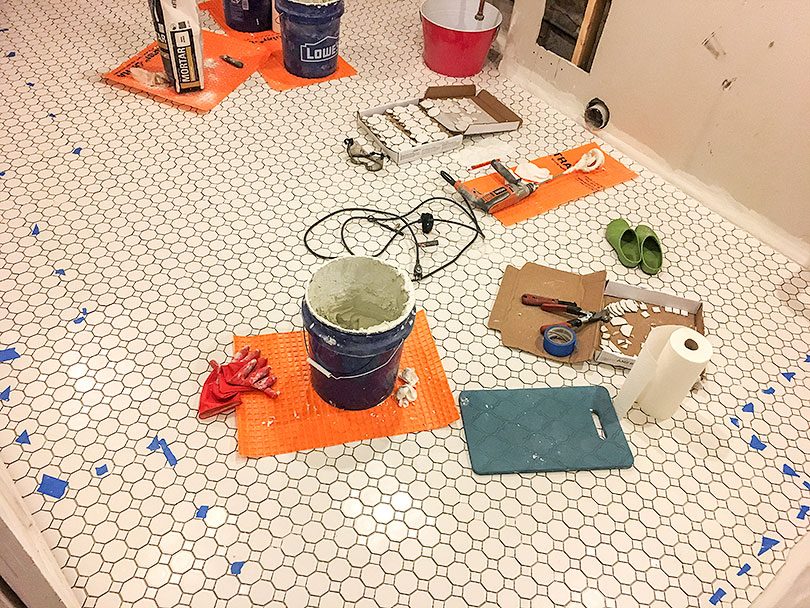
Tiling the Basement Laundry Room
Today, I grout! But first, let’s take a look at the tiling progress I’ve made. I started by finding the center of the room, then…
It’s Electric!
Our Victorian had been converted to multiple apartments decades ago (during the Depression, I believe), and was only converted back to a single-family home shortly…
The Second Floor is Taking Shape
Hey, no more visible lathe! We have walls! That’s the door we’re going to reuse for the new nursery, casually hanging out all akimbo at…
The (Mostly) Finished Basement
Ta da! Does it suddenly feel like December again? Because that’s when all of this was supposed to be finished. Here’s the floor plan: Let’s…
The Basement Drywall is Done
Remember the drywall photos from last week? Here’s what the walls are looking like today. So much more finished! The trim is starting to go…
We Have Drywall!
Well, some drywall. And it hasn’t been taped and mudded yet. But hey, it’s progress!