
Moving the Door Over
We're still a ways off from finishing the conversion of the kitchen on the second floor into a bedroom and…July 21, 2014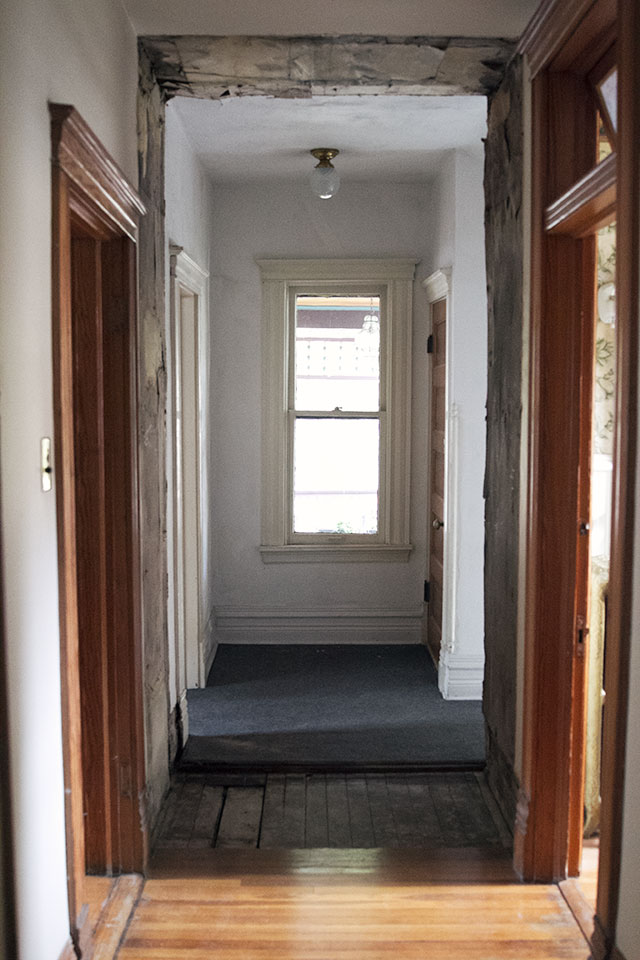
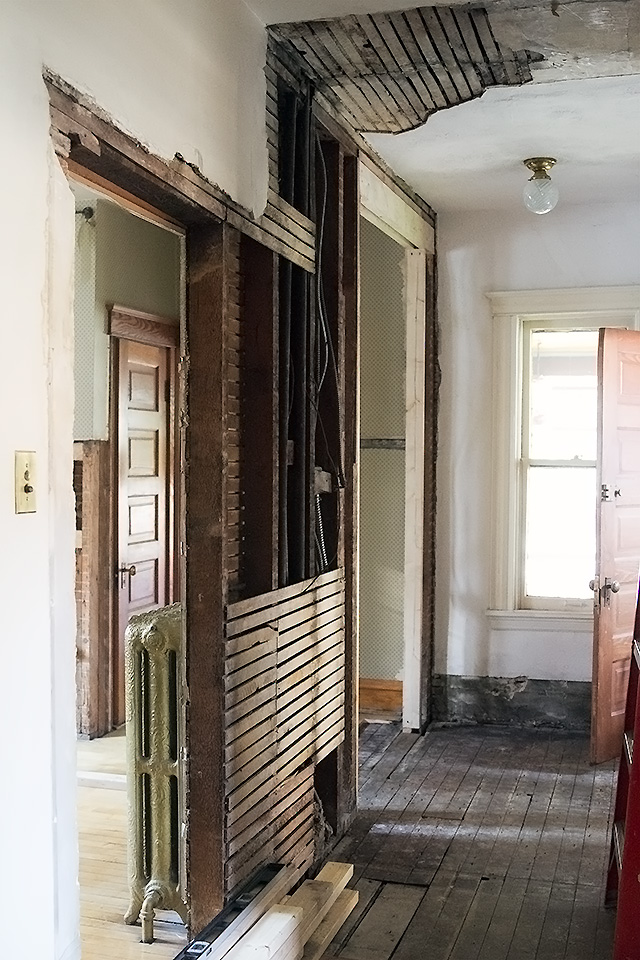
The Hallway, Opened Up
Our contractor got started last week on our second floor remodeling project. After just two days, the built-in was removed…July 15, 2014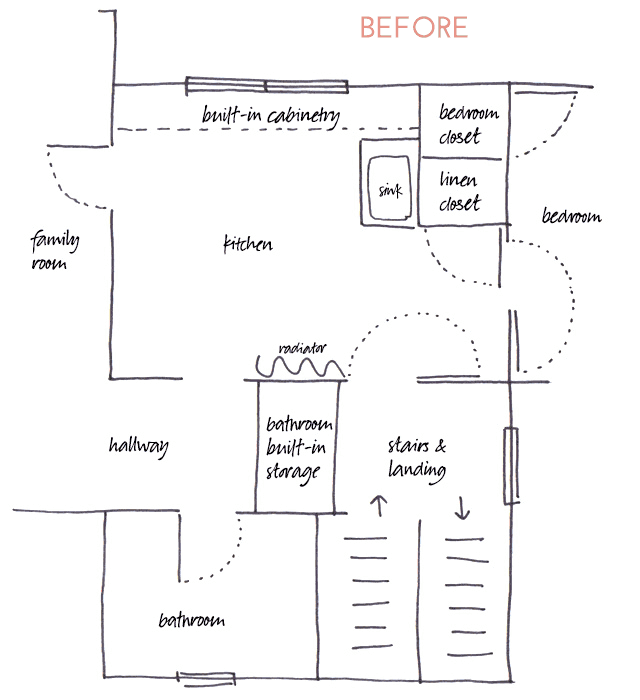
Demolition Ahead
We're about to start on some big changes to the second floor of the Victorian! Thank you so much for…July 10, 2014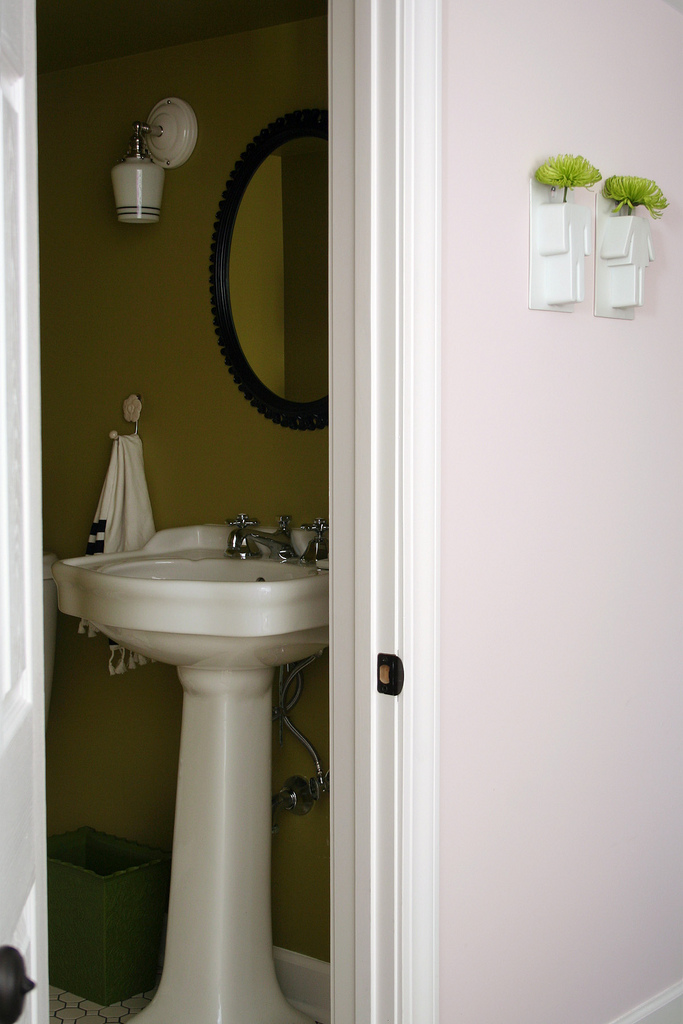
Improvements Made to the House
Brandon and I have done a lot to the house in our six years of ownership, and we did much…May 29, 2013
Boost Your Roost $20,000 Contest
We're fond of major before and afters around here. Brandon and I have taken on some big projects, like redoing…June 20, 2012
How to Find a Wall Stud (Video)
I put up my almost Hang-it-All in the basement stairwell yesterday. To make sure it would stay put, I needed…October 24, 2011
Moving the Door Over
We’re still a ways off from finishing the conversion of the kitchen on the second floor into a bedroom and finishing the hall, but it’s…
The Hallway, Opened Up
Our contractor got started last week on our second floor remodeling project. After just two days, the built-in was removed and the hallway was opened…
Demolition Ahead
We’re about to start on some big changes to the second floor of the Victorian! Thank you so much for all of the input and…
Improvements Made to the House
Brandon and I have done a lot to the house in our six years of ownership, and we did much of the work ourselves. We’re…
Boost Your Roost $20,000 Contest
We’re fond of major before and afters around here. Brandon and I have taken on some big projects, like redoing our kitchen, making over our…
How to Find a Wall Stud (Video)
I put up my almost Hang-it-All in the basement stairwell yesterday. To make sure it would stay put, I needed to be sure I hit…