
Tiling the Basement Laundry Room
Today, I grout! But first, let’s take a look at the tiling progress I’ve made. I started by finding the…July 11, 2018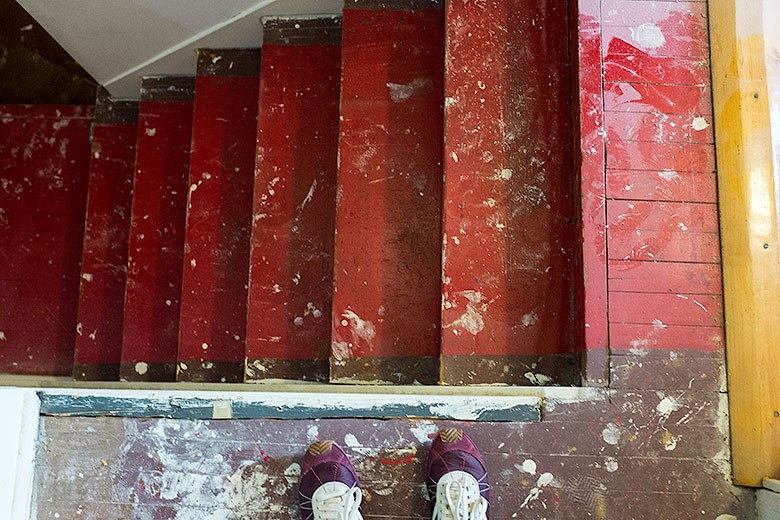
One Room Challenge: Week 4 (Those Stairs, That Hall)
Some things look better (the ceiling and the third floor doors), most things look worse (everything else). It's gotta get…October 26, 2016
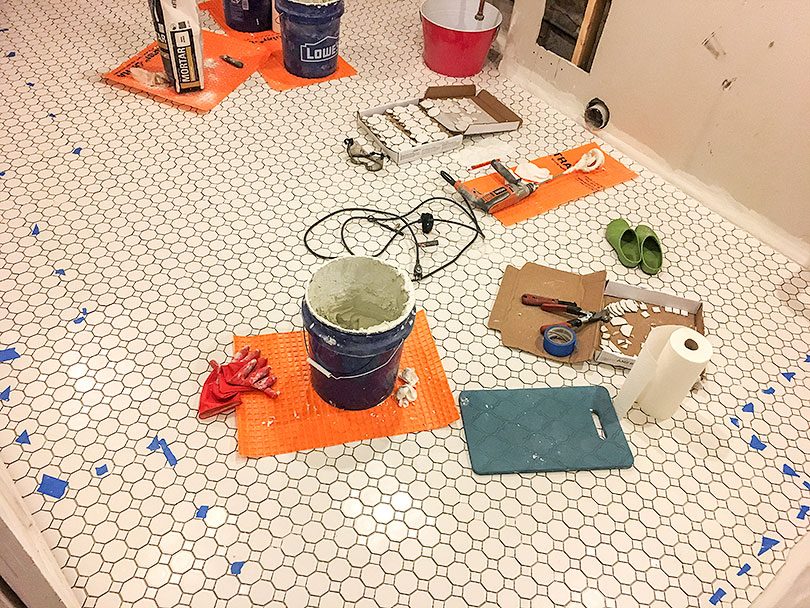
Tiling the Basement Laundry Room
Today, I grout! But first, let’s take a look at the tiling progress I’ve made. I started by finding the center of the room, then…
One Room Challenge: Week 4 (Those Stairs, That Hall)
Some things look better (the ceiling and the third floor doors), most things look worse (everything else). It’s gotta get worse before it gets better!…