
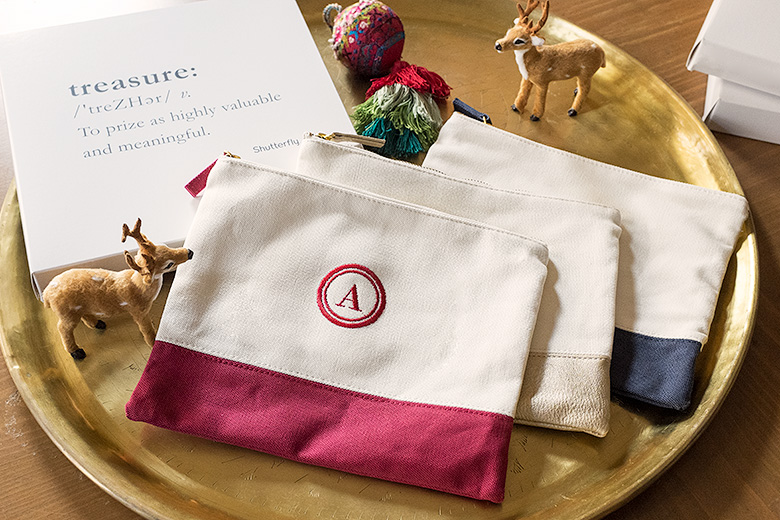
Personalized Holiday Gifts, and “Wheel Cars!”
This post is sponsored by Shutterfly. A while back, I took a few quick pictures of the kids while we…December 1, 2016
Decorating for Both Christmas and New Year’s Eve
This post is sponsored by Lowe's. While this was a paid opportunity from Lowe's, all content and opinions expressed here…November 29, 2016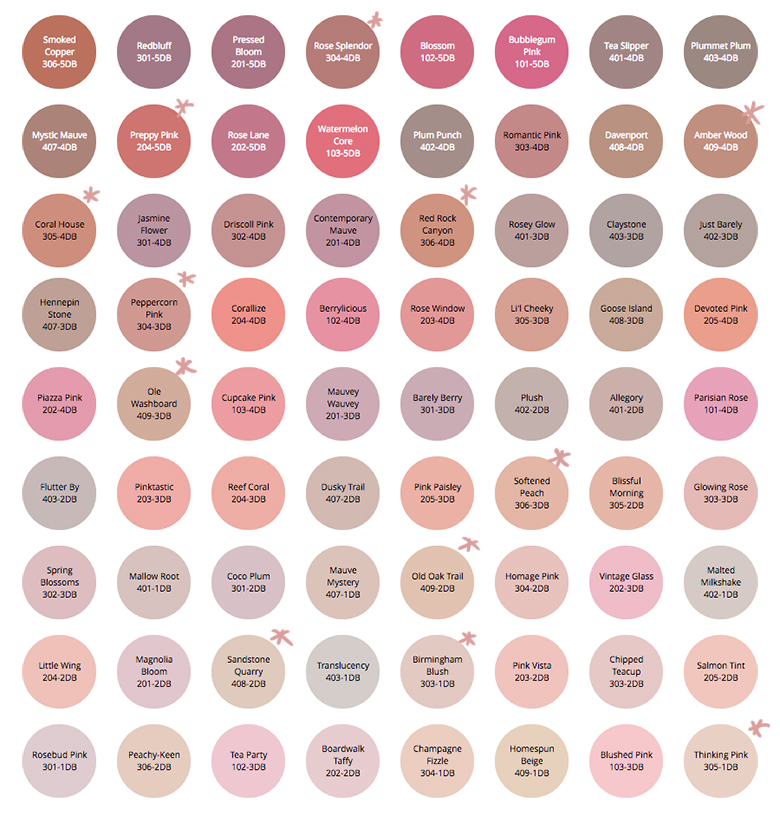
Planning Our Paint Color Palette with the Simply Yours Tool
This post is sponsored by Dutch Boy Paint. We took on several spaces for the latest round of the One…November 21, 2016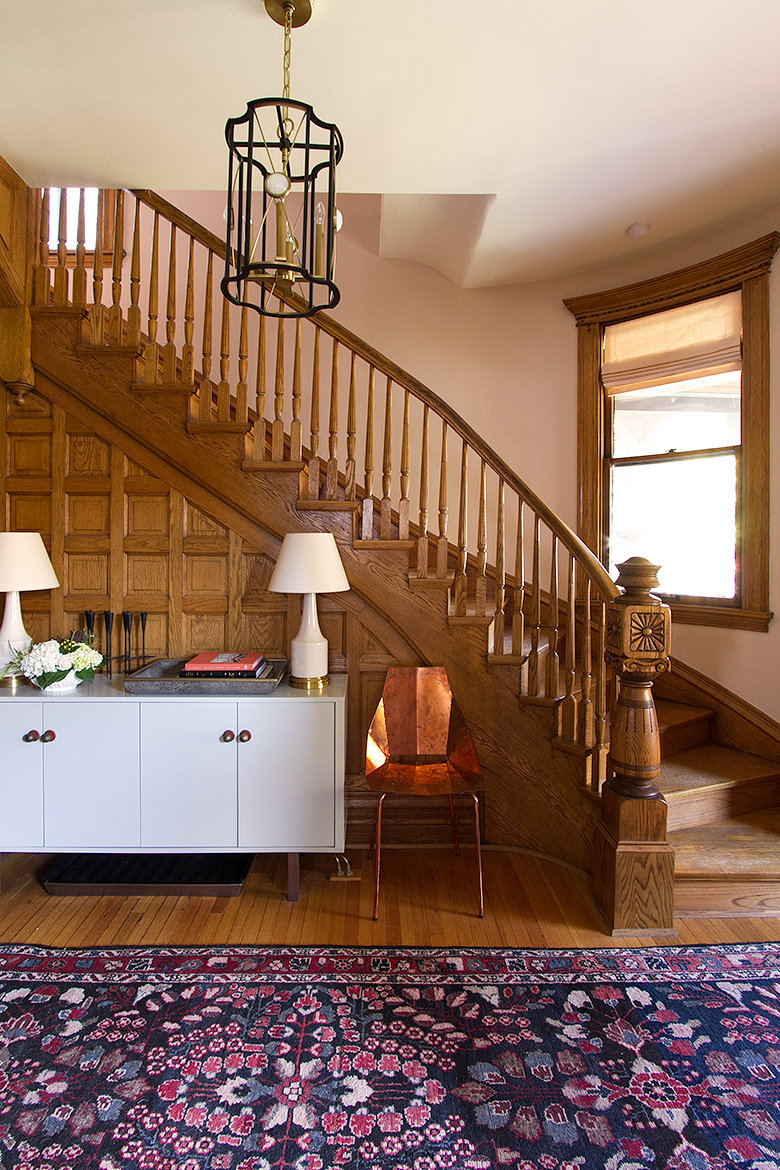
One Room Challenge: Week 6 (Front and Back Entry, Stairs, and Hallways – Final Reveal!)
Hey, who needs a distraction right now? Today is reveal day for the Fall 2016 One Room Challenge! Let's get…November 9, 2016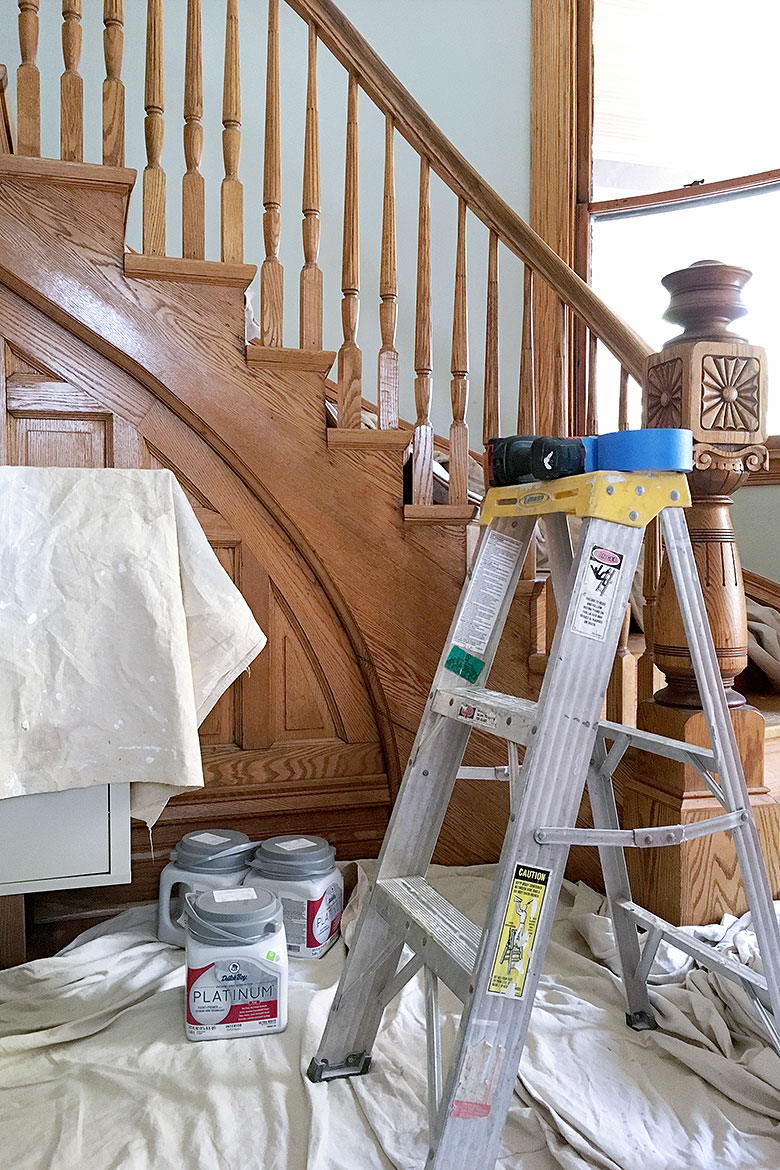
One Room Challenge: Week 5 (When it Rains, it Pours)
I had planned to finish — completely finish — two flights of stairs over the weekend. The old paint beneath…November 2, 2016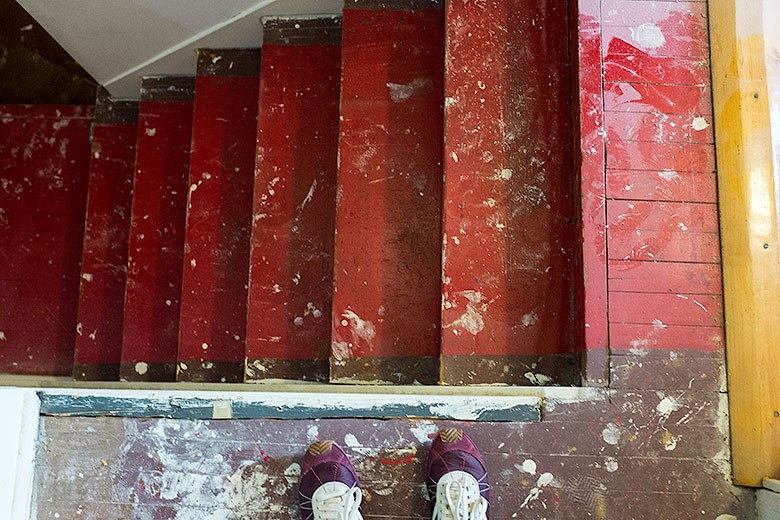
One Room Challenge: Week 4 (Those Stairs, That Hall)
Some things look better (the ceiling and the third floor doors), most things look worse (everything else). It's gotta get…October 26, 2016
Personalized Holiday Gifts, and “Wheel Cars!”
This post is sponsored by Shutterfly. A while back, I took a few quick pictures of the kids while we were waiting for a table…
Decorating for Both Christmas and New Year’s Eve
This post is sponsored by Lowe’s. While this was a paid opportunity from Lowe’s, all content and opinions expressed here are my own. The Christmas…
Planning Our Paint Color Palette with the Simply Yours Tool
This post is sponsored by Dutch Boy Paint. We took on several spaces for the latest round of the One Room Challenge. The work spanned…
One Room Challenge: Week 6 (Front and Back Entry, Stairs, and Hallways – Final Reveal!)
Hey, who needs a distraction right now? Today is reveal day for the Fall 2016 One Room Challenge! Let’s get into it. I have been…
One Room Challenge: Week 5 (When it Rains, it Pours)
I had planned to finish — completely finish — two flights of stairs over the weekend. The old paint beneath the carpet we ripped up…
One Room Challenge: Week 4 (Those Stairs, That Hall)
Some things look better (the ceiling and the third floor doors), most things look worse (everything else). It’s gotta get worse before it gets better!…