
How To Make A Polka Dot Tray
I've yet to meet a serving tray I didn't like. From small to big, simple and understated to bright and…June 27, 2012
Working With Digital Paint Swatches
Here's a question from my recent FAQ post. Nicole wrote: Maybe this is a silly question, but how did you…July 23, 2009
FAQ: Product Photography (Part Two)
In part one, I discussed a few different options for product photography. Here, I'll focus on taking a good photo…October 16, 2008
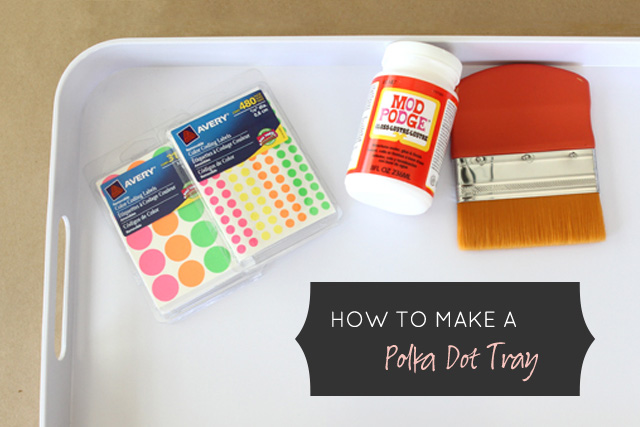
How To Make A Polka Dot Tray
I’ve yet to meet a serving tray I didn’t like. From small to big, simple and understated to bright and fun, I love the diverse…
Working With Digital Paint Swatches
Here’s a question from my recent FAQ post. Nicole wrote: Maybe this is a silly question, but how did you get the paint colors off…
FAQ: Product Photography (Part Two)
In part one, I discussed a few different options for product photography. Here, I’ll focus on taking a good photo against a white background. That’s…