
Tiling the Basement Laundry Room
Today, I grout! But first, let’s take a look at the tiling progress I’ve made. I started by finding the…July 11, 2018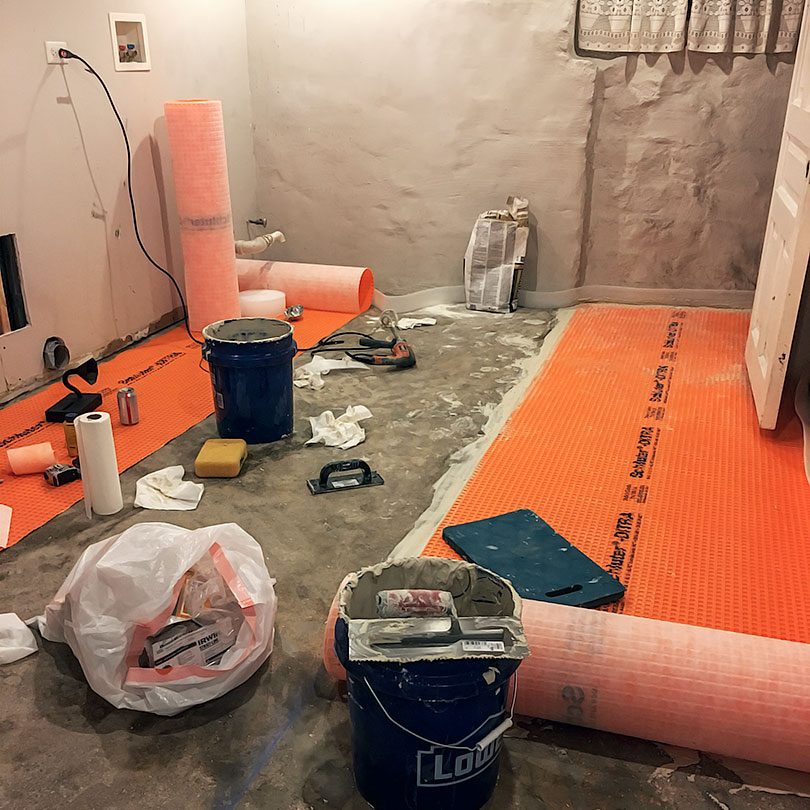
Laying Ditra to Prep for Tile
Still prepping for tile! I underestimated the amount of work it would take to DIY this install. I imagined it…July 2, 2018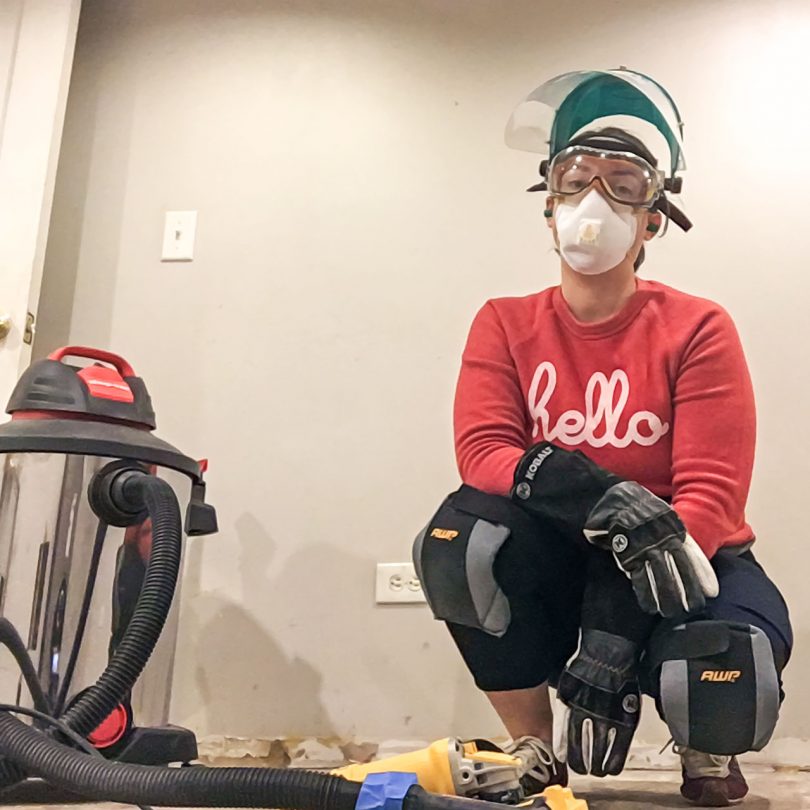
Removing Paint from Concrete with an Angle Grinder
Did you know that you aren't supposed to lay tile over painted concrete? I sure didn't when I was planning…June 11, 2018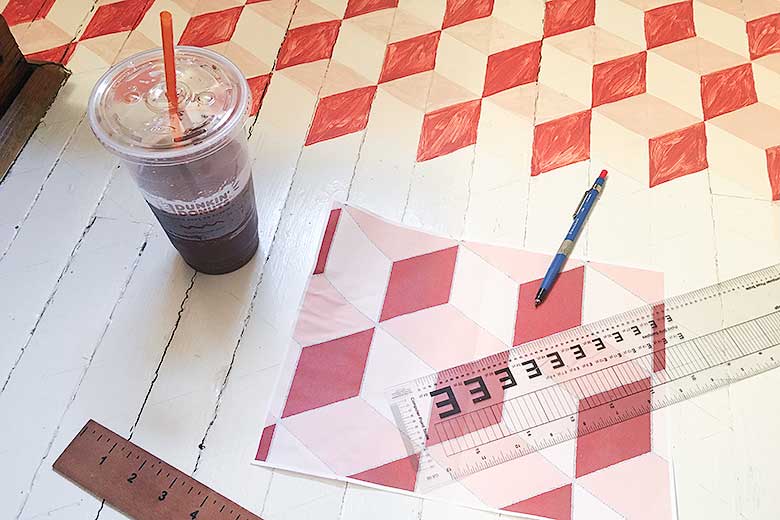
DIY Tumbling Blocks Hand-Painted Floor
This post is sponsored by Dunkin' Donuts. The painted floor in the bathroom is done! It only took a million…July 7, 2016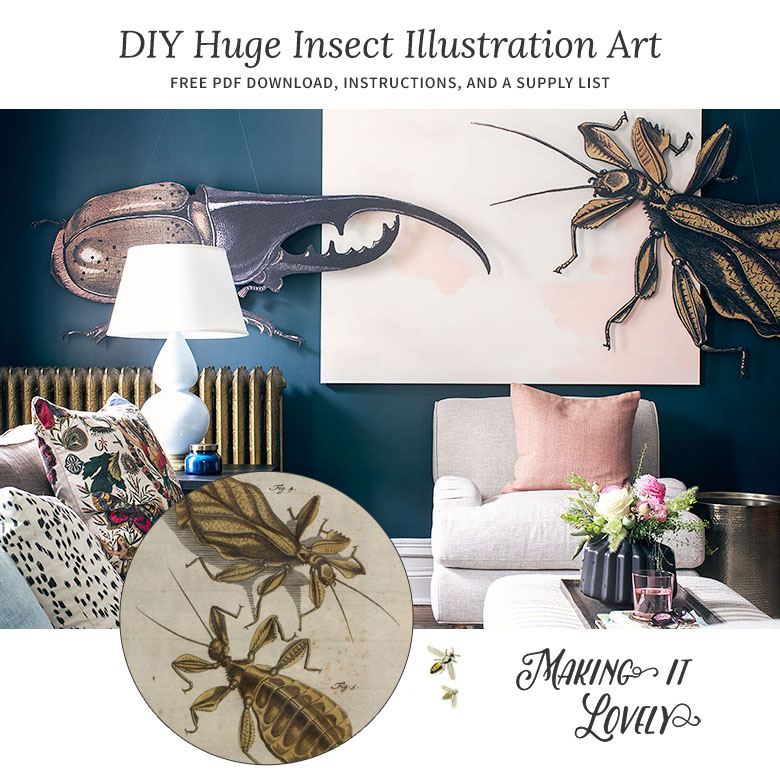
DIY Huge Insect Illustration Art (Free Download)
I had a very large blank wall to fill in my den for the One Room Challenge. Naturally, I made…May 19, 2016
Protecting Our Upholstery
I am a compensated Scotchgard Brand blogger ambassador. Opinions are my own and additional products used in the project were…January 27, 2016
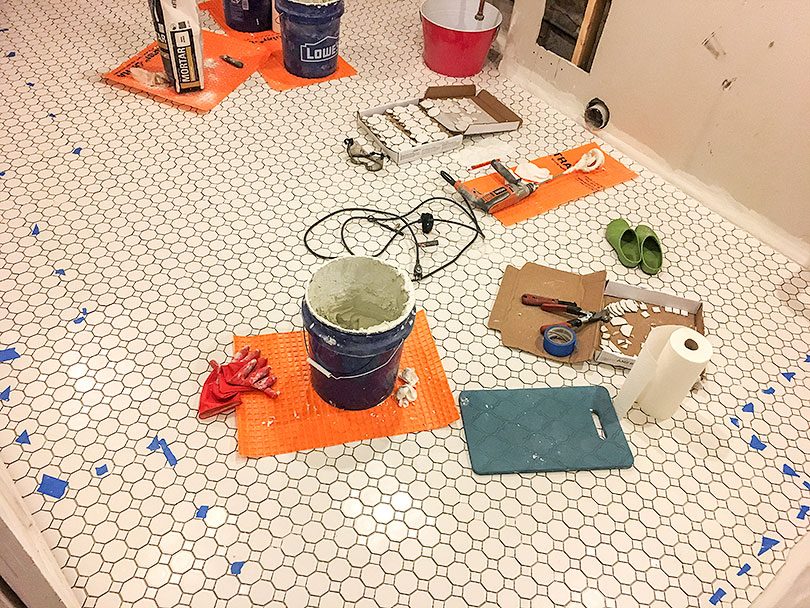
Tiling the Basement Laundry Room
Today, I grout! But first, let’s take a look at the tiling progress I’ve made. I started by finding the center of the room, then…
Laying Ditra to Prep for Tile
Still prepping for tile! I underestimated the amount of work it would take to DIY this install. I imagined it like this. Bring tile home,…
Removing Paint from Concrete with an Angle Grinder
Did you know that you aren’t supposed to lay tile over painted concrete? I sure didn’t when I was planning our laundry room! (I also…
DIY Tumbling Blocks Hand-Painted Floor
This post is sponsored by Dunkin’ Donuts. The painted floor in the bathroom is done! It only took a million hours! ‘Tumbling blocks’ is a…
DIY Huge Insect Illustration Art (Free Download)
I had a very large blank wall to fill in my den for the One Room Challenge. Naturally, I made some giant bugs for it.…
Protecting Our Upholstery
I am a compensated Scotchgard Brand blogger ambassador. Opinions are my own and additional products used in the project were selected by me. Remember the…