
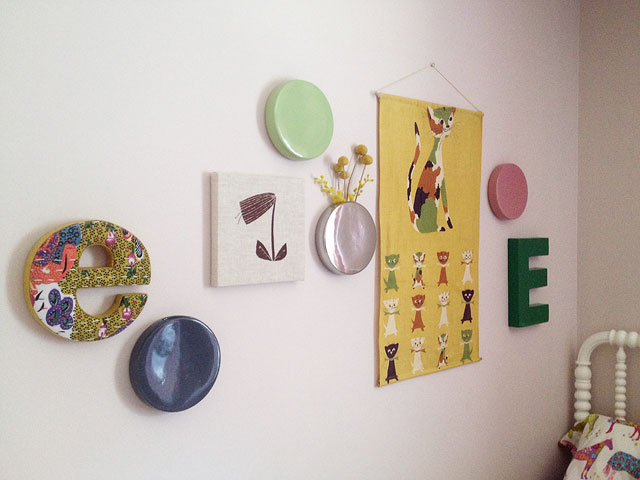
New Art Above Eleanor’s Bed
I planned a mini-makeover for Eleanor's room a while back. It took a while for her polka dot wall vases…June 19, 2012
Country Fare Vintage Dishes
Today is our last day in the Wisconsin family cabin, and we'll be driving back to Chicago soon. The surroundings…June 11, 2012
How To Make A DIY Leather Crossbody Bag
post by Andrea They say necessity is the mother of invention, and I'd have to agree with them when it…June 6, 2012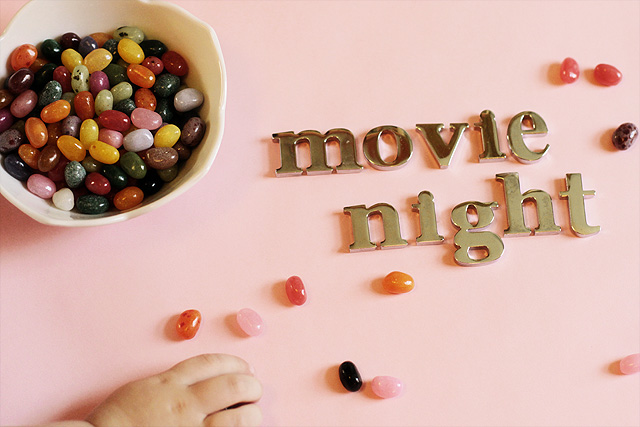
Family Movie Night (at Home)
Thank you, COOL WHIP, for sponsoring this post. Join us on Facebook for inspiration and recipes for everyday treats. What…June 5, 2012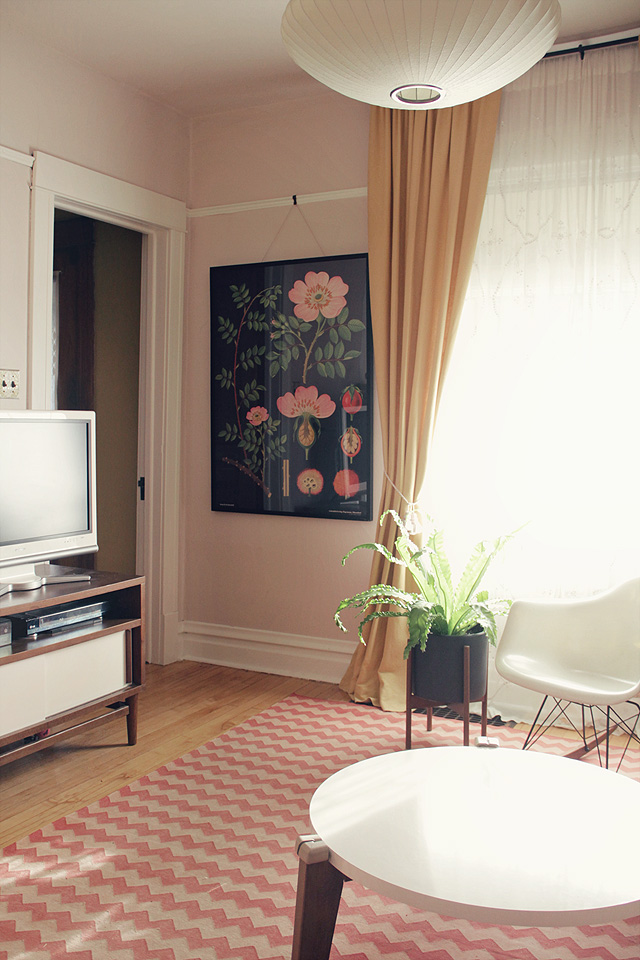
Scientific Botanical Prints
Would it really be surprising that someone as fond of pink as I am would also be fond of flowers?…June 4, 2012
How To Make a Statement Necklace
post by Andrea I'm quite enamored with just about everything craft related, but I get especially excited when I get…May 23, 2012
New Art Above Eleanor’s Bed
I planned a mini-makeover for Eleanor’s room a while back. It took a while for her polka dot wall vases to get here, and then…
Country Fare Vintage Dishes
Today is our last day in the Wisconsin family cabin, and we’ll be driving back to Chicago soon. The surroundings are beautiful, but there is…
How To Make A DIY Leather Crossbody Bag
post by Andrea They say necessity is the mother of invention, and I’d have to agree with them when it comes to most of my…
Family Movie Night (at Home)
Thank you, COOL WHIP, for sponsoring this post. Join us on Facebook for inspiration and recipes for everyday treats. What you add makes it. #coolwhipmoms…
Scientific Botanical Prints
Would it really be surprising that someone as fond of pink as I am would also be fond of flowers? Even the less girly among…
How To Make a Statement Necklace
post by Andrea I’m quite enamored with just about everything craft related, but I get especially excited when I get to create a piece of…