
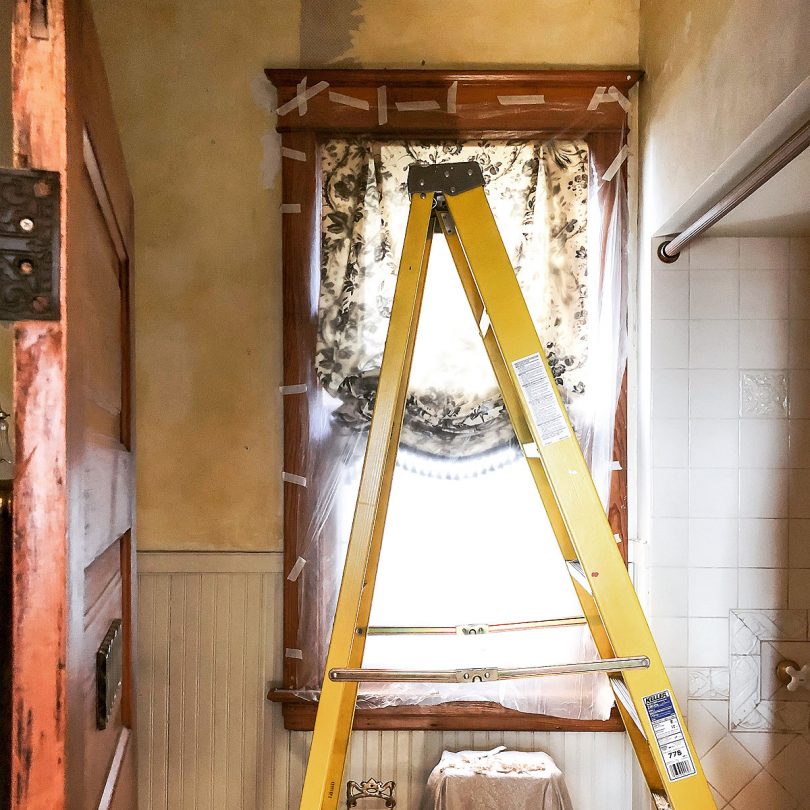
Stripping Wallpaper in the Bathroom
I wanted to do a little refresh of the bathroom on the first floor. The shower is fine. The antique…January 11, 2021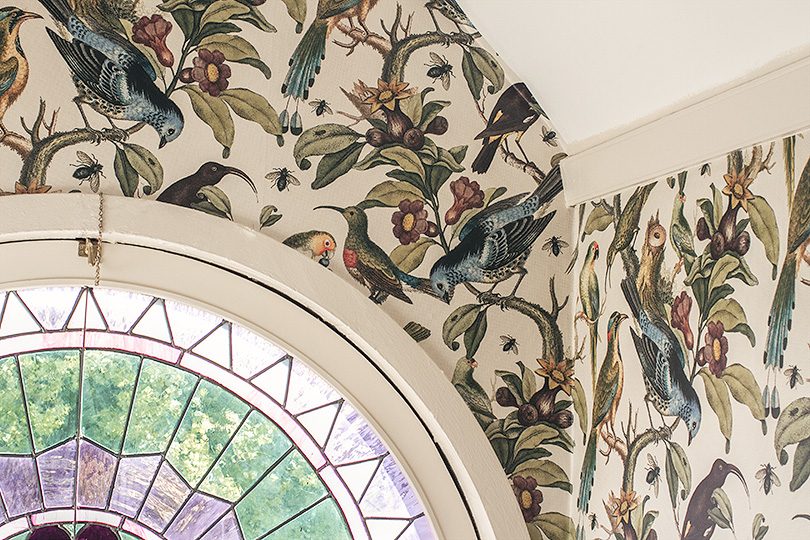
One Room Challenge: Week 6 (So Close!)
Normally we'd be at the end of the One Room Challenge, but we have all been granted a one-week extension…November 8, 2017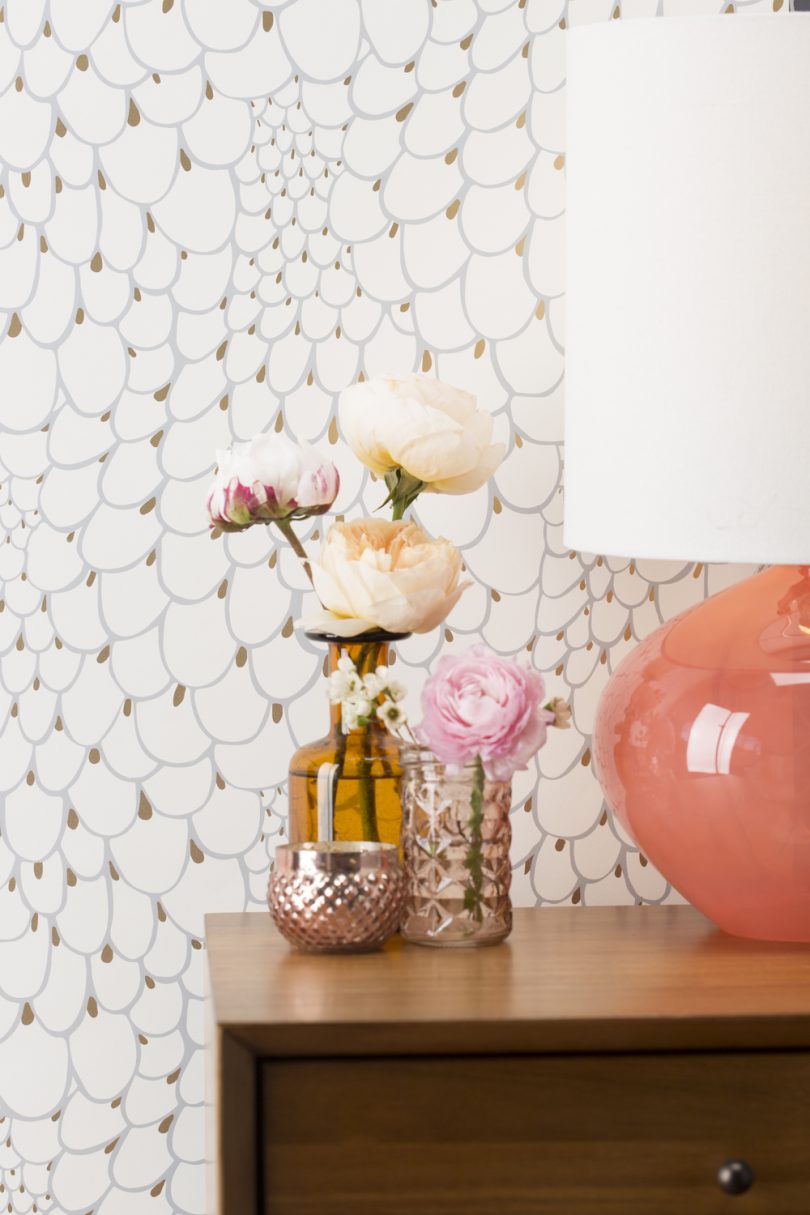
Lovely Small Scale Wallpapers
I'm 90% sure that I'm just going to repaint the attic bedroom. Maybe someday when I have less pressing projects…June 23, 2017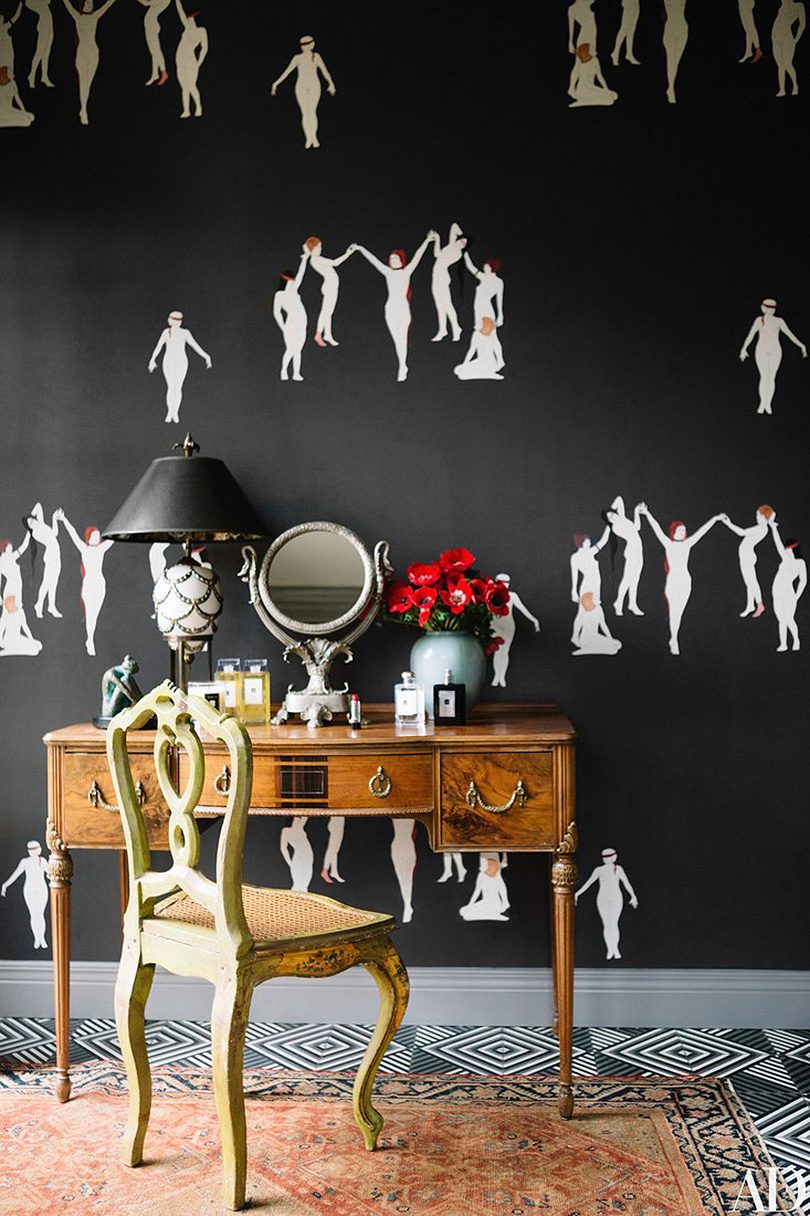
Ladies to Grace Your Walls
Architectural Digest recently featured Maison C's Coven wallpaper in Karen Elson's home, and I was smitten. (Also, do watch the…June 1, 2017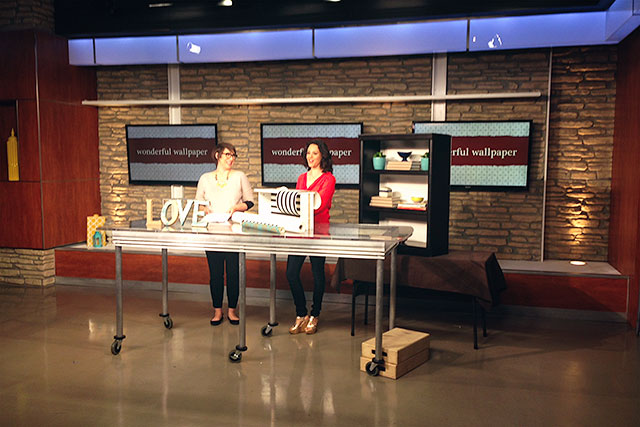
Three Easy Wallpaper Projects
This post is sponsored by Lowe's. I flew out to New York a couple of weeks ago to film a…July 31, 2014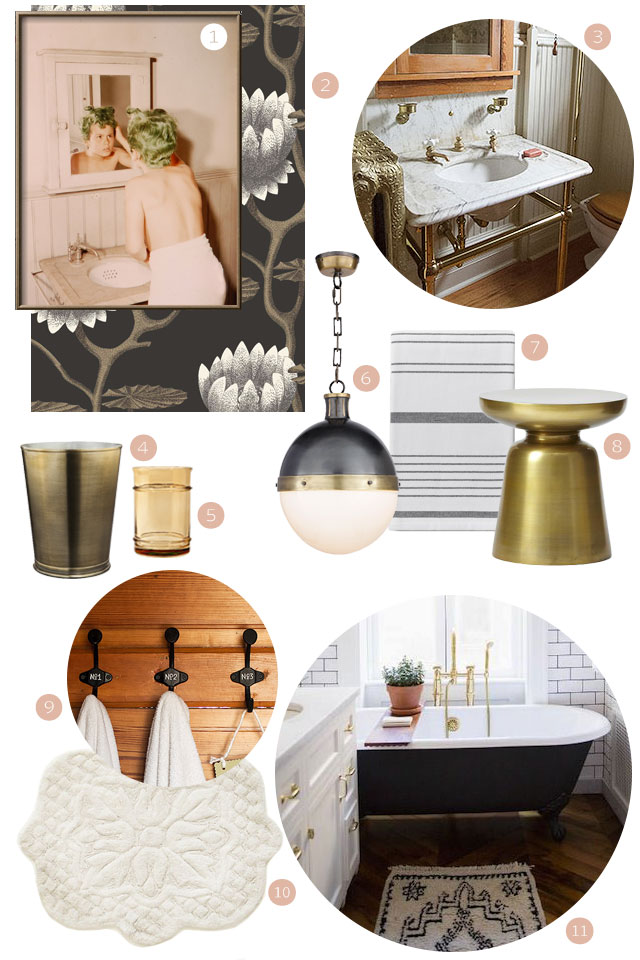
Further Plans for the Bathroom
As opposed to the guess I made a couple of months ago. I got so excited when I heard about…June 5, 2014
Stripping Wallpaper in the Bathroom
I wanted to do a little refresh of the bathroom on the first floor. The shower is fine. The antique console sink with separate hot…
One Room Challenge: Week 6 (So Close!)
Normally we’d be at the end of the One Room Challenge, but we have all been granted a one-week extension for the first time in…
Lovely Small Scale Wallpapers
I’m 90% sure that I’m just going to repaint the attic bedroom. Maybe someday when I have less pressing projects and I feel like skimcoating…
Ladies to Grace Your Walls
Architectural Digest recently featured Maison C’s Coven wallpaper in Karen Elson’s home, and I was smitten. (Also, do watch the video tour calling out some…
Three Easy Wallpaper Projects
This post is sponsored by Lowe’s. I flew out to New York a couple of weeks ago to film a segment at the Meredith studio…
Further Plans for the Bathroom
As opposed to the guess I made a couple of months ago. I got so excited when I heard about the Rifle Paper Co. wallpaper…