

Our Pipes Burst
The good news is that the pipe in the ceiling of the laundry room burst while we were awake and…January 8, 2014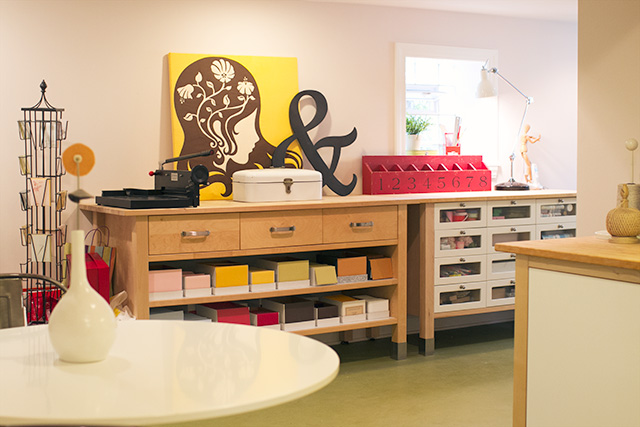
The Finished Basement Studio and Play Room
I know, I know. I never really showed the basement after I finished it. You're already seen the laundry room…June 7, 2013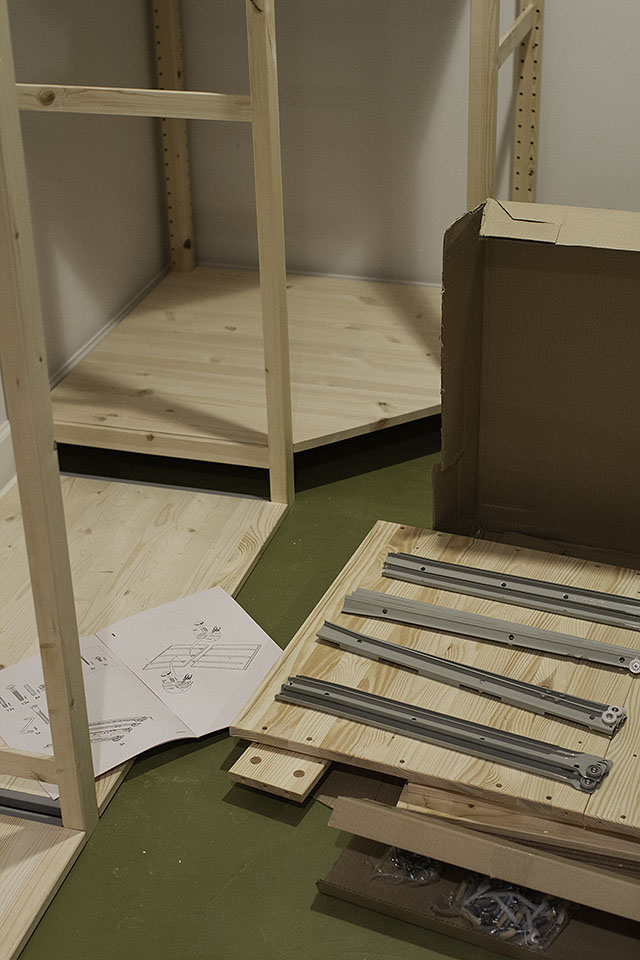
IVAR!
Remember this floor plan sketch for the basement, with the storage units labeled GORM (which is either a really unfortunate…April 1, 2013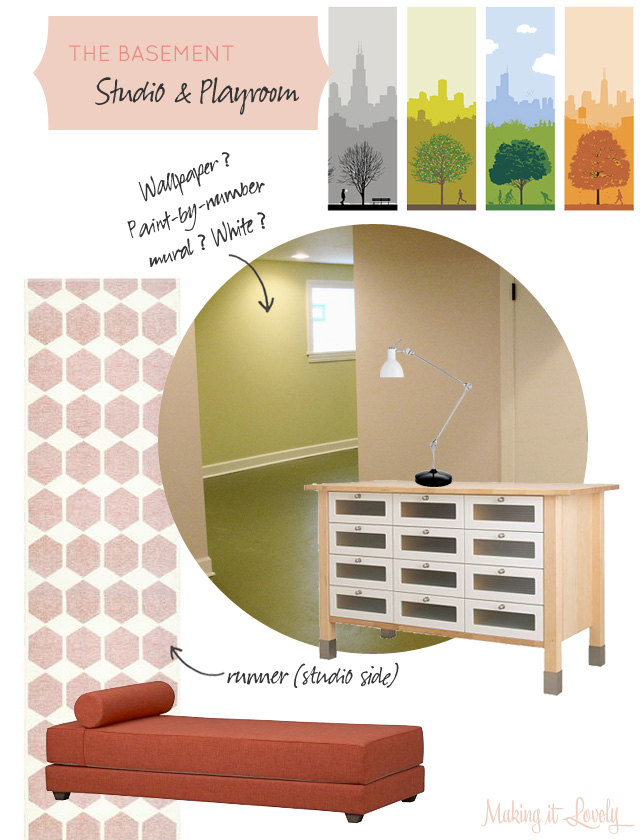
The Basement Studio and Playroom Plan
All right, I've decided on a rug. I had to turn to my good friend Photoshop to help me figure…May 22, 2012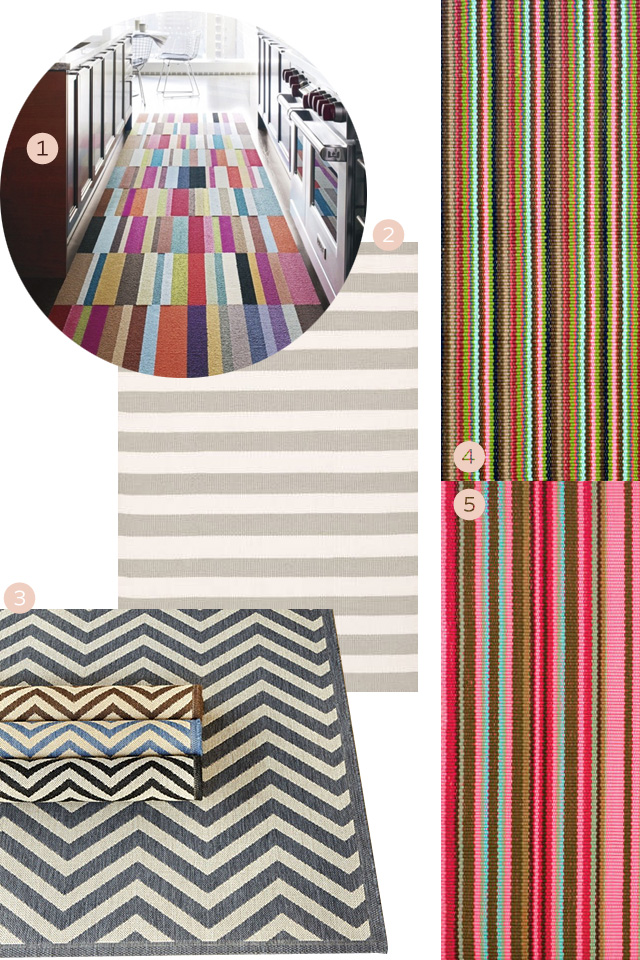
Possible Rugs for the Basement
Our cats are jerks. They've destroyed the black and white striped rugs in the basement. Violet pees on them, Mabel…May 14, 2012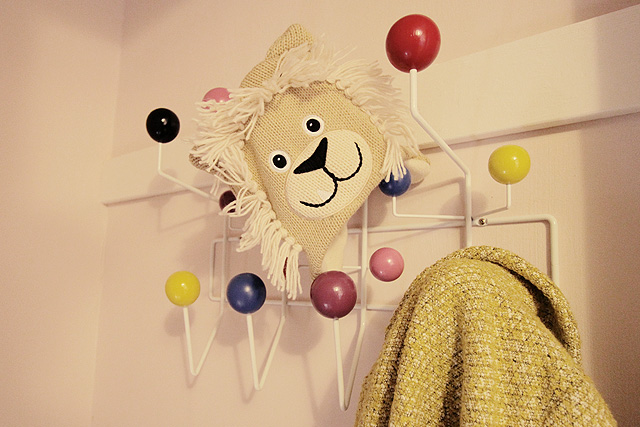
Hang-it-All Up
The stairs to the basement are looking cute. Finally. The stairway is right next to the back door in the…October 24, 2011
Our Pipes Burst
The good news is that the pipe in the ceiling of the laundry room burst while we were awake and right above it in the…
The Finished Basement Studio and Play Room
I know, I know. I never really showed the basement after I finished it. You’re already seen the laundry room and half-bathroom. The storage area…
IVAR!
Remember this floor plan sketch for the basement, with the storage units labeled GORM (which is either a really unfortunate name or an IKEA product)?…
The Basement Studio and Playroom Plan
All right, I’ve decided on a rug. I had to turn to my good friend Photoshop to help me figure out which would be the…
Possible Rugs for the Basement
Our cats are jerks. They’ve destroyed the black and white striped rugs in the basement. Violet pees on them, Mabel poops, and Kili throws up.…
Hang-it-All Up
The stairs to the basement are looking cute. Finally. The stairway is right next to the back door in the kitchen, which is the entrance…