
Up to the Highest Heights
Sponsored by Kiwi Crate. We do plenty of open-ended art projects around here. "Here are some watercolors; let's paint!" Or…August 26, 2014
Wood Valentines Craft Night (and a How To)
Last week, I hosted a craft workshop at Anthropologie. There were two sessions, with twenty five people in each. We…February 12, 2013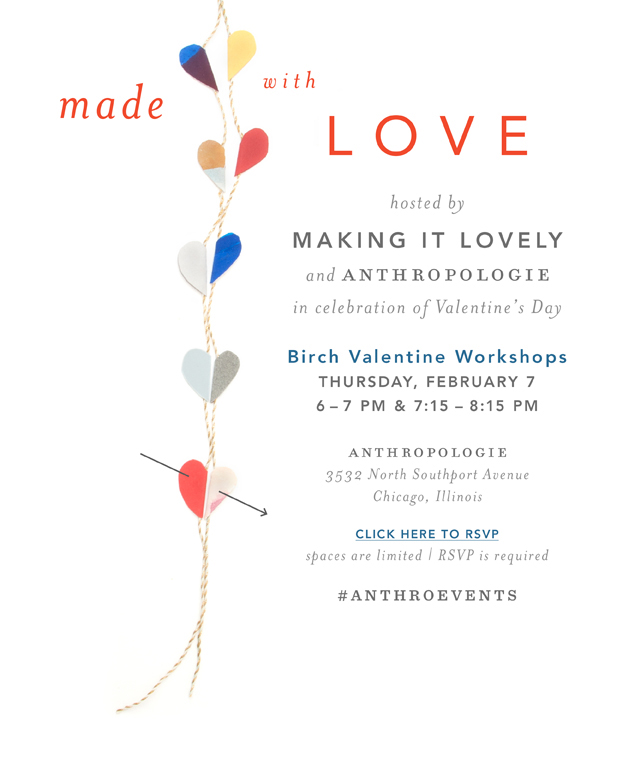
Craft Night at Anthropologie
I'll be hosting a Valentine craft night at Anthropologie in Chicago next week! Come help me check off a Lovely…January 29, 2013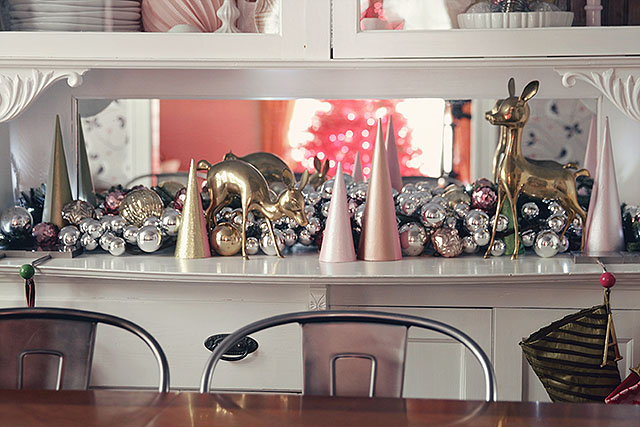
DIY Colorblock Christmas Trees
Here's a cute DIY project to add a little sparkle and shine to your holiday! These colorblock Christmas trees took…December 18, 2012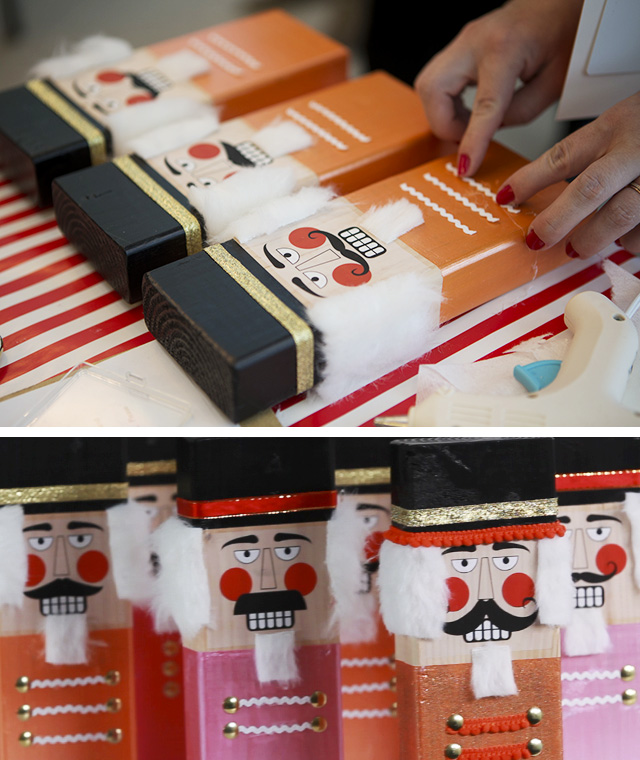
A Hip Handmade Holiday
I was in Salt Lake City last month to meet with Allison Faulkner and Susan Petersen of The Craft Pack,…November 7, 2012
How to Make DIY Monogrammed Trophies
Or mugs, dishes, or vases -- anything ceramic or glass. But I went with trophies. Supplies glass paint or all-purpose…October 25, 2012
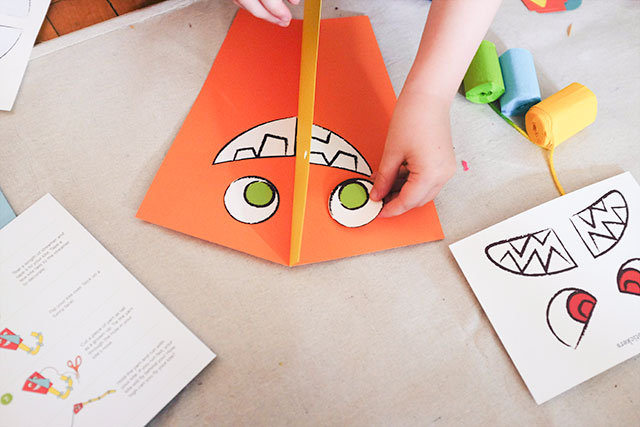
Up to the Highest Heights
Sponsored by Kiwi Crate. We do plenty of open-ended art projects around here. “Here are some watercolors; let’s paint!” Or “I brought home a big…
Wood Valentines Craft Night (and a How To)
Last week, I hosted a craft workshop at Anthropologie. There were two sessions, with twenty five people in each. We braved the slushy Chicago snow,…
Craft Night at Anthropologie
I’ll be hosting a Valentine craft night at Anthropologie in Chicago next week! Come help me check off a Lovely Life List item (“teach a…
DIY Colorblock Christmas Trees
Here’s a cute DIY project to add a little sparkle and shine to your holiday! These colorblock Christmas trees took a few hours to create,…
A Hip Handmade Holiday
I was in Salt Lake City last month to meet with Allison Faulkner and Susan Petersen of The Craft Pack, along with their fantastic designer…
How to Make DIY Monogrammed Trophies
Or mugs, dishes, or vases — anything ceramic or glass. But I went with trophies. Supplies glass paint or all-purpose craft paint (I like Martha…