
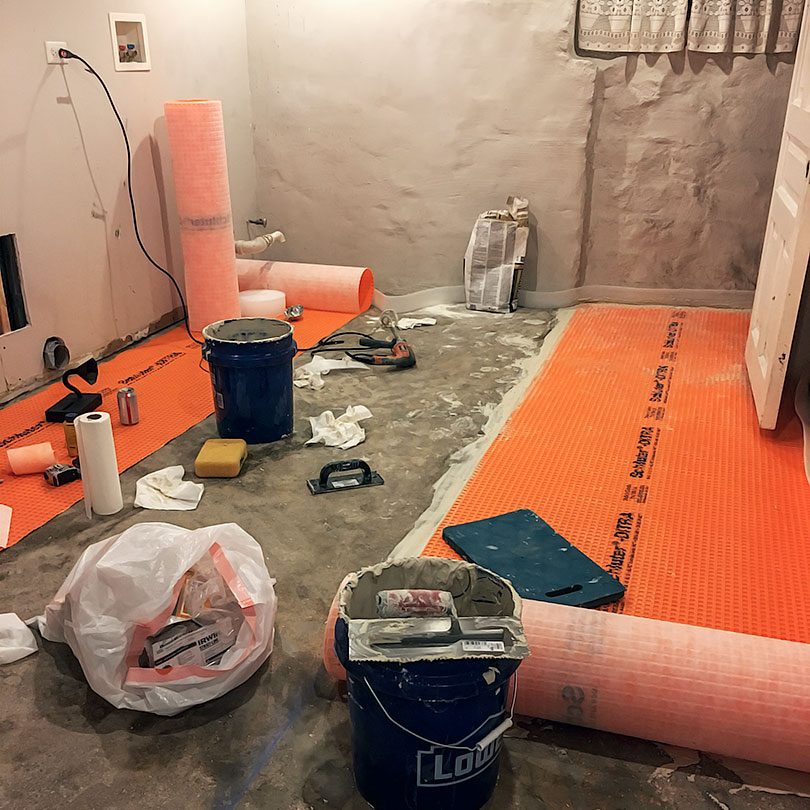
Laying Ditra to Prep for Tile
Still prepping for tile! I underestimated the amount of work it would take to DIY this install. I imagined it…July 2, 2018
Removing Paint from Concrete with an Angle Grinder
Did you know that you aren't supposed to lay tile over painted concrete? I sure didn't when I was planning…June 11, 2018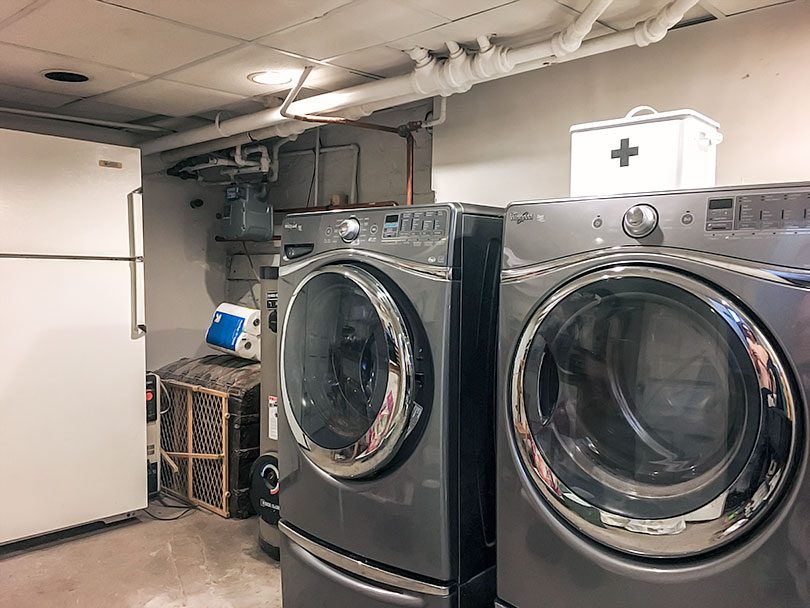
Next Up is the Laundry Room
I've been doing a ton of work outside lately, but it's time to move on to the interior again. Hey…May 16, 2018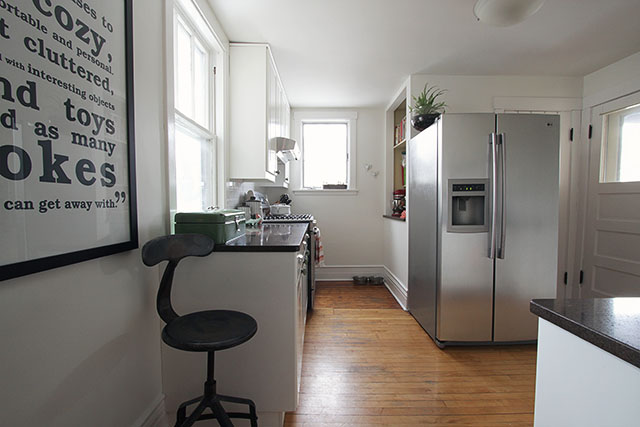
A Colorful Door, Colorful Appliances
(And a Big Goal) I was thinking some more about lighting, and the plan for finishing the kitchen's minor update.…March 6, 2013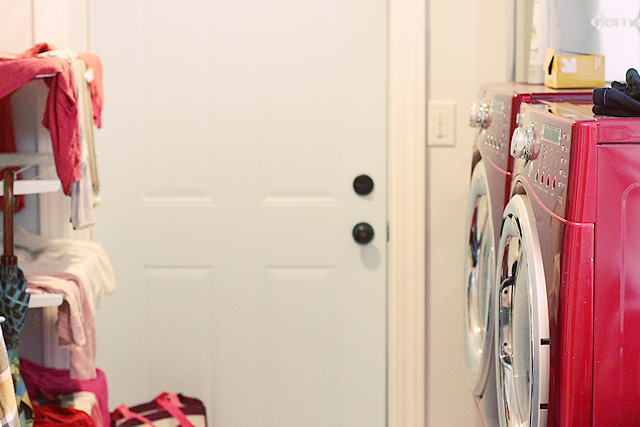
The Laundry Room, As it Usually Looks
This post is sponsored by Method. I've shown you my laundry room before, all clean and new and shiny. Oh,…May 1, 2012
Our Laundry Room
Sink and faucets provided by Vintage Tub & Bath I showed you the final design plan already, but now I…April 19, 2011
Laying Ditra to Prep for Tile
Still prepping for tile! I underestimated the amount of work it would take to DIY this install. I imagined it like this. Bring tile home,…
Removing Paint from Concrete with an Angle Grinder
Did you know that you aren’t supposed to lay tile over painted concrete? I sure didn’t when I was planning our laundry room! (I also…
Next Up is the Laundry Room
I’ve been doing a ton of work outside lately, but it’s time to move on to the interior again. Hey there, laundry room. Wait, that’s…
A Colorful Door, Colorful Appliances
(And a Big Goal) I was thinking some more about lighting, and the plan for finishing the kitchen’s minor update. OK, really what I was…
The Laundry Room, As it Usually Looks
This post is sponsored by Method. I’ve shown you my laundry room before, all clean and new and shiny. Oh, you cute little joke of…
Our Laundry Room
Sink and faucets provided by Vintage Tub & Bath I showed you the final design plan already, but now I can finally show you the…