
One Room Challenge: Week 3 (Work Very Much in Progress)
We have a ceiling in the hallway! It's all very exciting. I mean, it looks like this, but still. It's…October 19, 2016
One Room Challenge: Week 2 (The Design Plan)
Thank you to Linda at Calling it Home for inviting me to take part in the One Room Challenge again,…October 12, 2016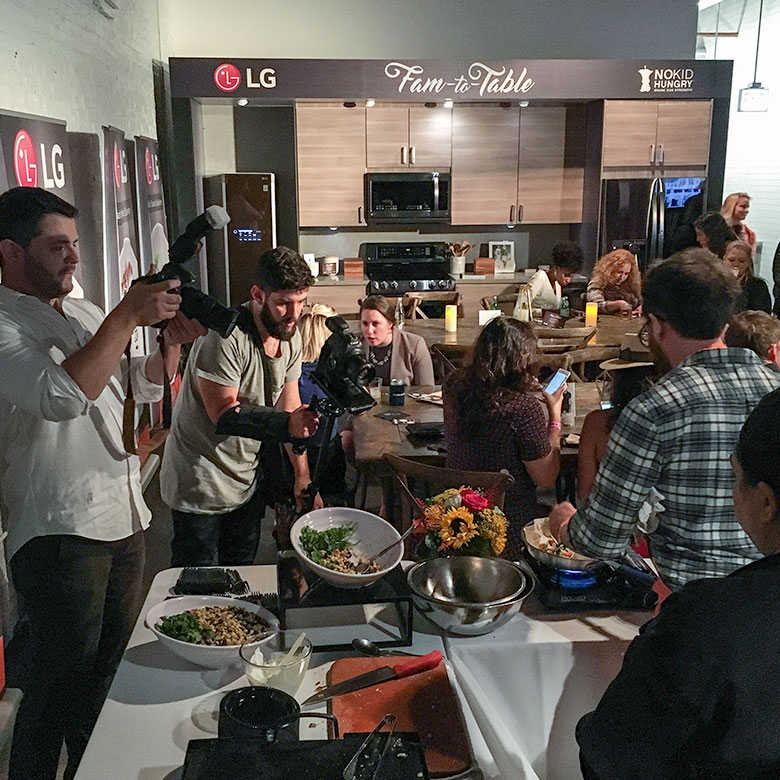
LG at Taste of the Nation Chicago for No Kid Hungry
This post is in partnership with LG Electronics. There are Taste of the Nation events held in cities across America…October 11, 2016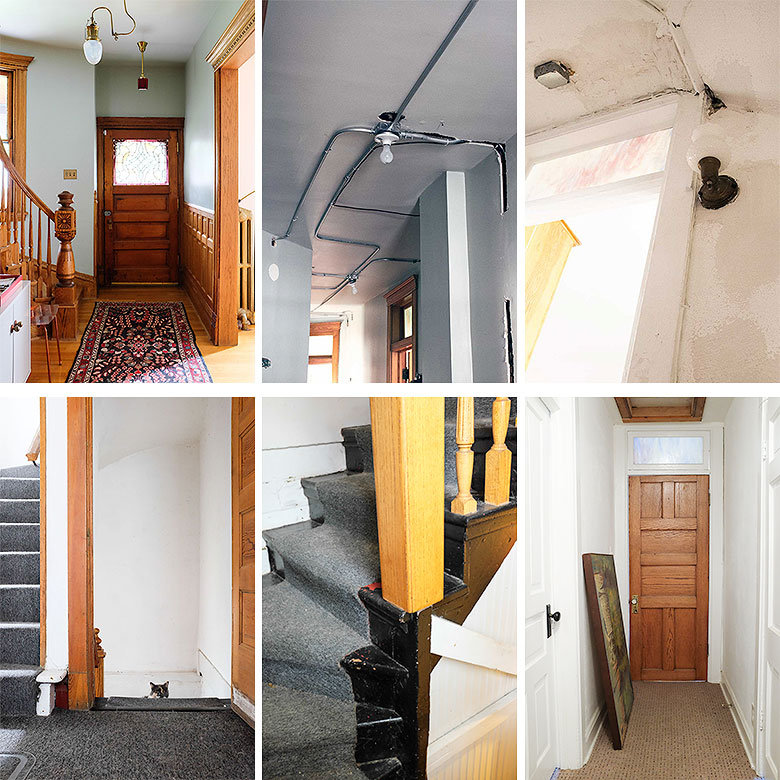
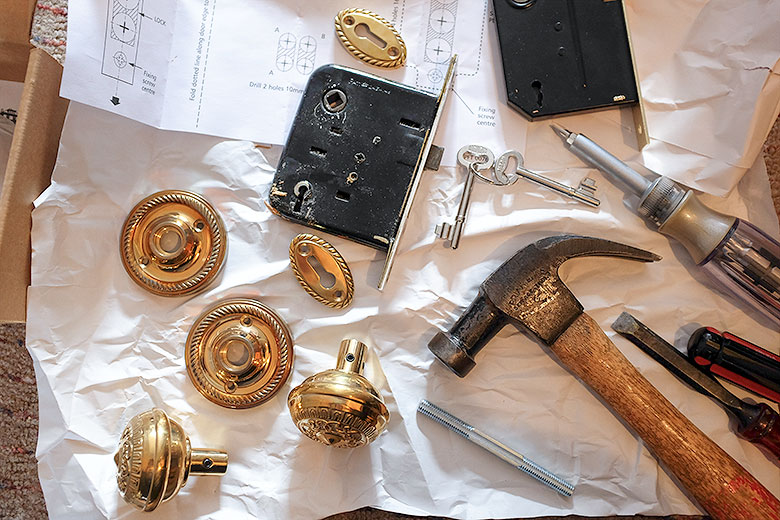
One Room Challenge: Week 1 (the Before Shots)
I'm thrilled to be taking part in the One Room Challenge again! A huge thank you to Linda at Calling…October 5, 2016
MyEyeDr. Launches in Chicagoland
This post is sponsored by MyEyeDr. Join me at their launch event this Wednesday in Evanston! MyEyeDr. has been around…October 3, 2016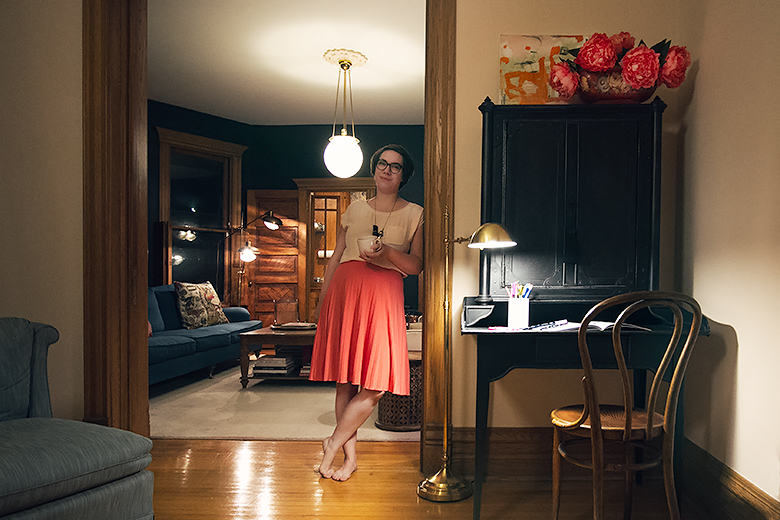
A Night In
I'm not one for all white walls trend, but I am guilty of waiting for maximum daylight to take photos…August 17, 2016
One Room Challenge: Week 3 (Work Very Much in Progress)
We have a ceiling in the hallway! It’s all very exciting. I mean, it looks like this, but still. It’s an improvement. It might be…
One Room Challenge: Week 2 (The Design Plan)
Thank you to Linda at Calling it Home for inviting me to take part in the One Room Challenge again, and thank you to my…
LG at Taste of the Nation Chicago for No Kid Hungry
This post is in partnership with LG Electronics. There are Taste of the Nation events held in cities across America to benefit No Kid Hungry,…
One Room Challenge: Week 1 (the Before Shots)
I’m thrilled to be taking part in the One Room Challenge again! A huge thank you to Linda at Calling it Home for organizing the…
MyEyeDr. Launches in Chicagoland
This post is sponsored by MyEyeDr. Join me at their launch event this Wednesday in Evanston! MyEyeDr. has been around for 15 years and is…
A Night In
I’m not one for all white walls trend, but I am guilty of waiting for maximum daylight to take photos of my home so it’s…