
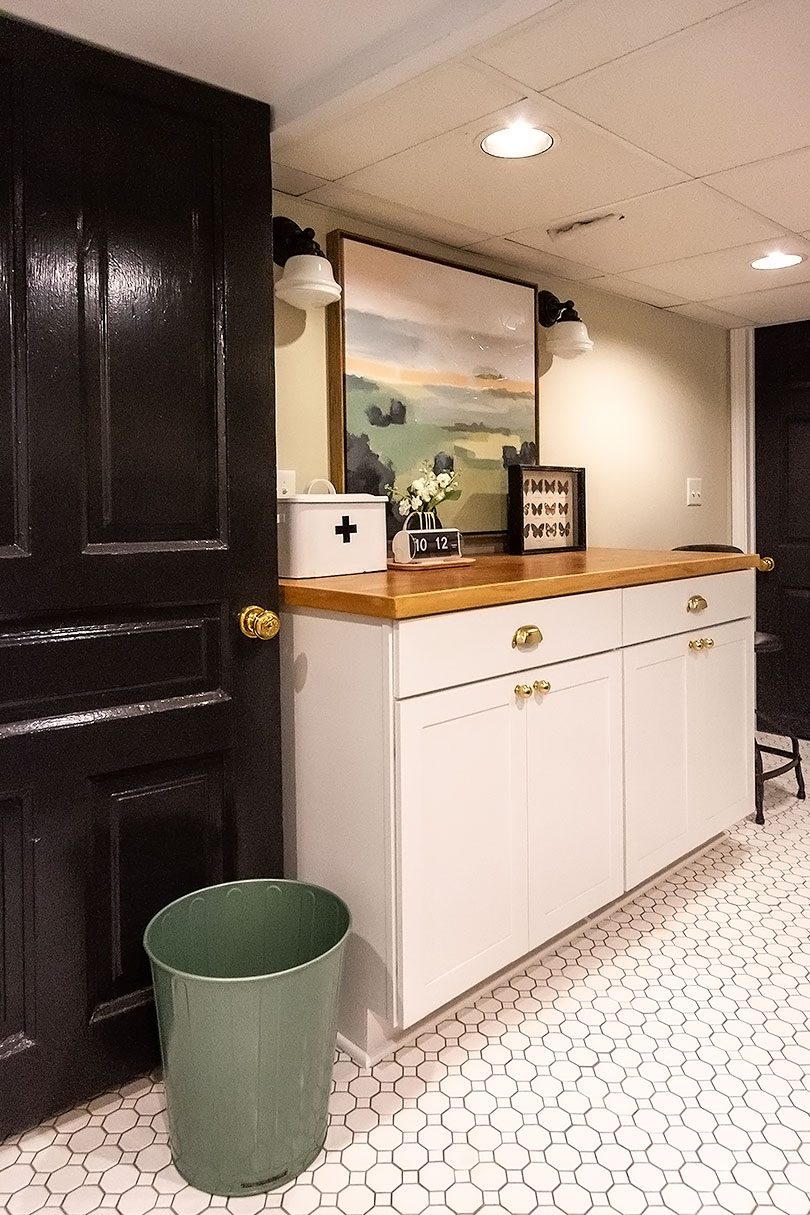
Our Basement Laundry Room Makeover
This post is sponsored by Lowe's. Thank you for making this renovation possible! The laundry room in our Victorian is…November 28, 2018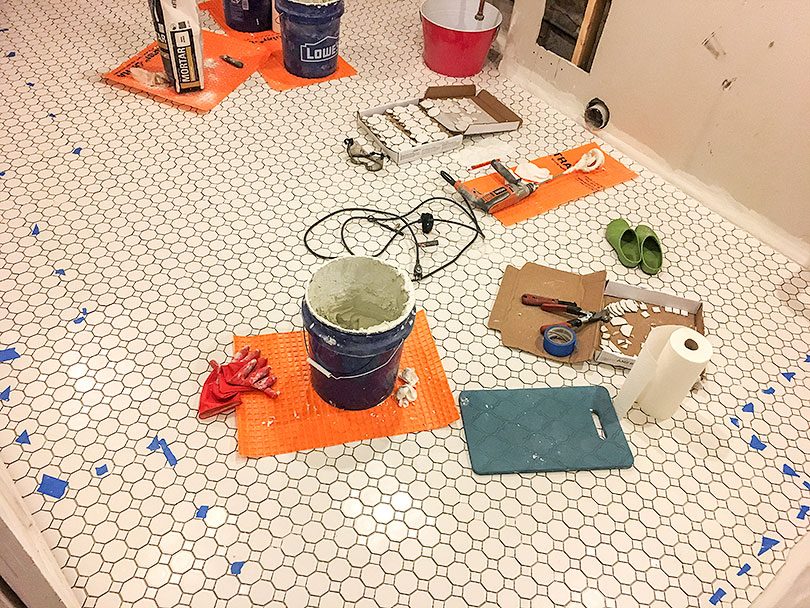
Tiling the Basement Laundry Room
Today, I grout! But first, let’s take a look at the tiling progress I’ve made. I started by finding the…July 11, 2018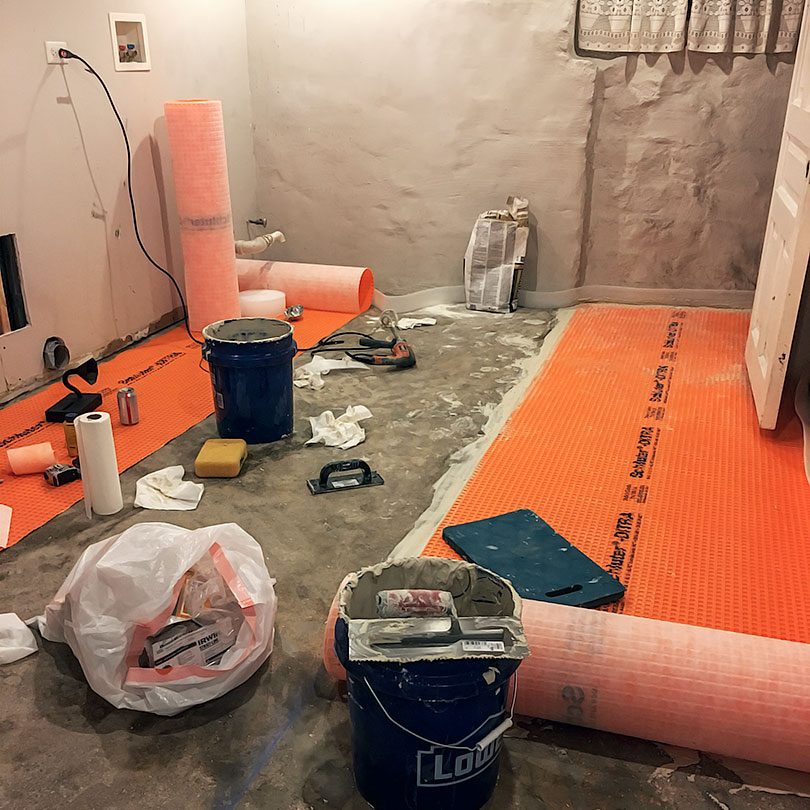
Laying Ditra to Prep for Tile
Still prepping for tile! I underestimated the amount of work it would take to DIY this install. I imagined it…July 2, 2018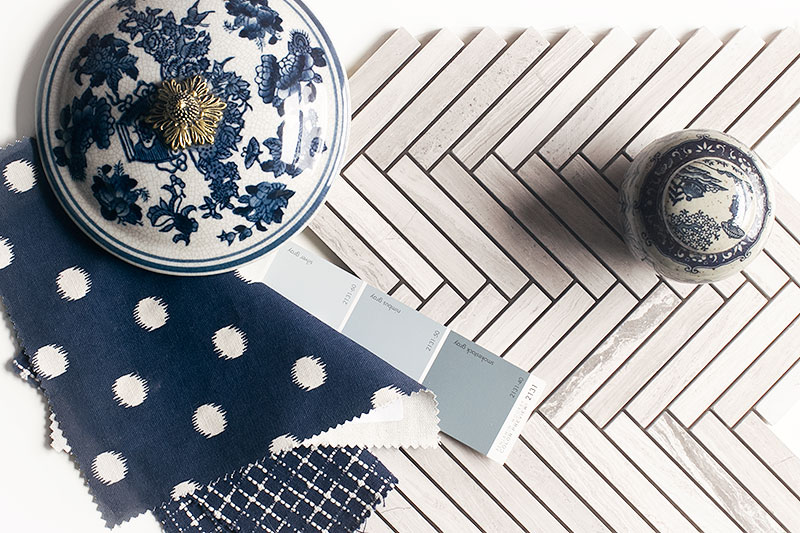
Six Designs Inspired by Stone
This post is sponsored by Floor & Decor. I've been working with Floor & Decor on a few posts for…October 29, 2015
Six Designs Inspired by Tile
This post is sponsored by Floor & Decor. I'm working with Floor & Decor on a few posts for the…August 31, 2015
The Basement Tile
It's in, and it looks fantastic. The bathroom is a different green than the floor, though it's hard to tell…February 4, 2011
Our Basement Laundry Room Makeover
This post is sponsored by Lowe’s. Thank you for making this renovation possible! The laundry room in our Victorian is in the basement, and the…
Tiling the Basement Laundry Room
Today, I grout! But first, let’s take a look at the tiling progress I’ve made. I started by finding the center of the room, then…
Laying Ditra to Prep for Tile
Still prepping for tile! I underestimated the amount of work it would take to DIY this install. I imagined it like this. Bring tile home,…
Six Designs Inspired by Stone
This post is sponsored by Floor & Decor. I’ve been working with Floor & Decor on a few posts for the blog around the three…
Six Designs Inspired by Tile
This post is sponsored by Floor & Decor. I’m working with Floor & Decor on a few posts for the blog around the three main…
The Basement Tile
It’s in, and it looks fantastic. The bathroom is a different green than the floor, though it’s hard to tell in the photos. There’s no…