
Our Basement Laundry Room Makeover
This post is sponsored by Lowe's. Thank you for making this renovation possible! The laundry room in our Victorian is…November 28, 2018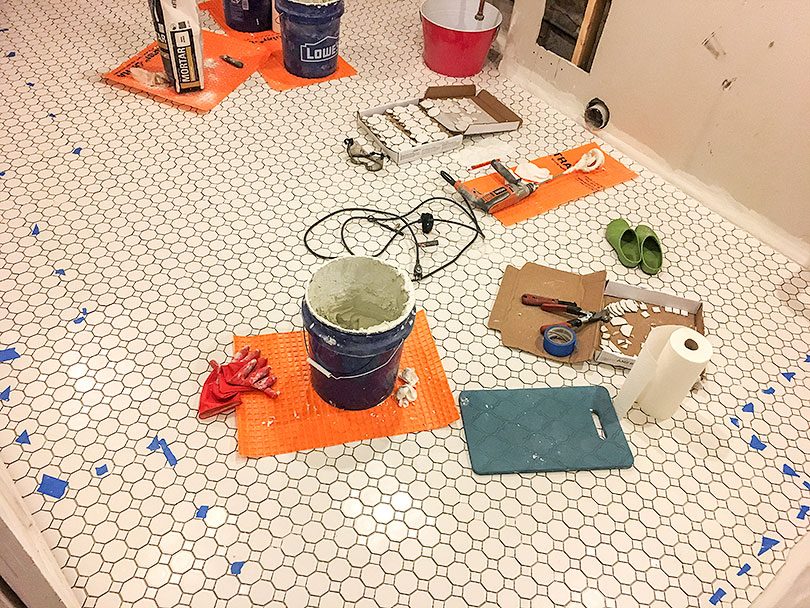
Tiling the Basement Laundry Room
Today, I grout! But first, let’s take a look at the tiling progress I’ve made. I started by finding the…July 11, 2018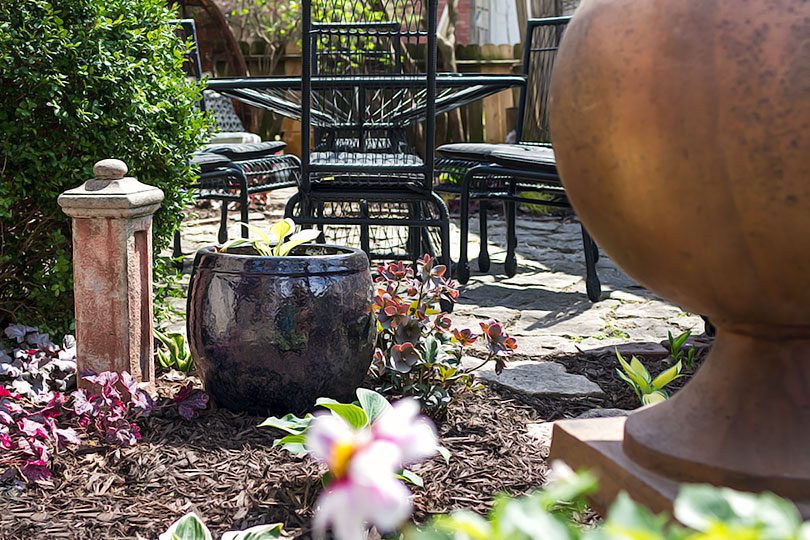
The Newly Planted Backyard
This is the second of three posts sponsored by RISE’s AND not OR home and garden program. All thoughts and…May 4, 2018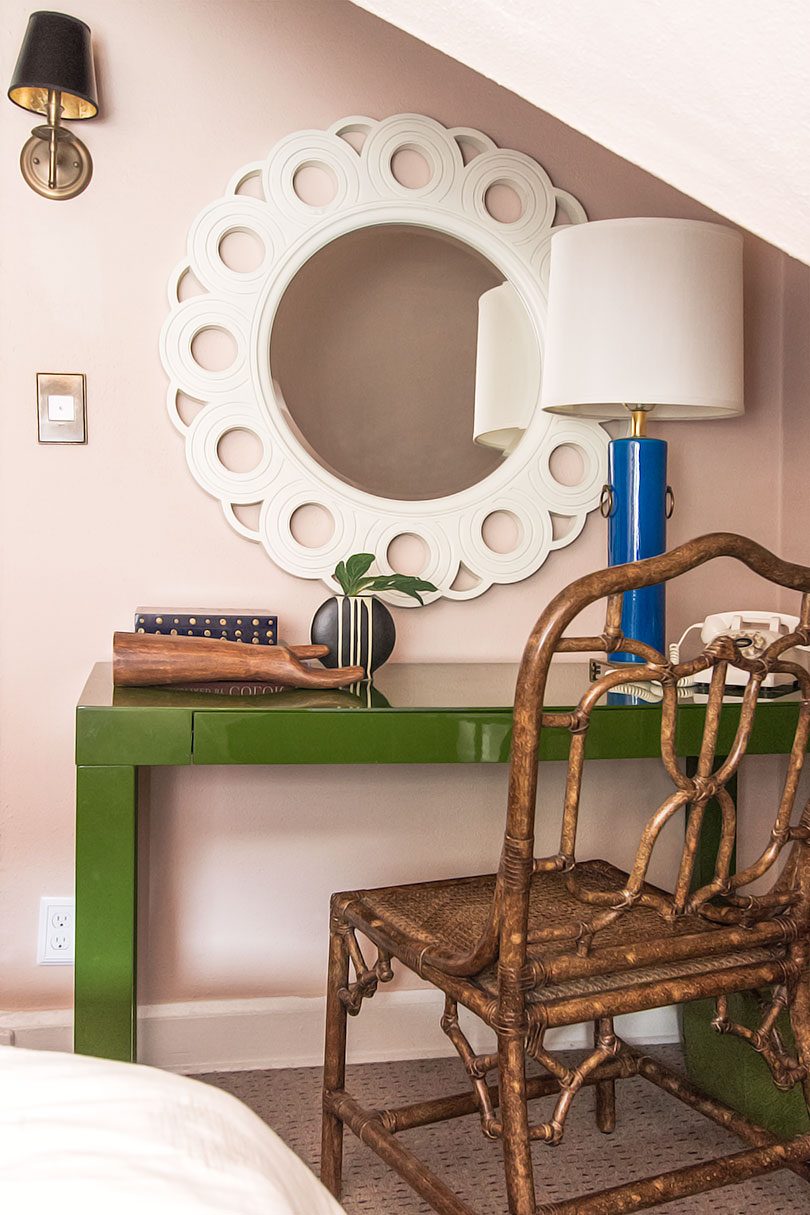
A Look Back at 2017
I've missed you! I took my longest break after Christmas ever, but behind the scenes I have been planning and…January 5, 2018
Life Lately, and Projects
How are you guys? I feel like I've been doing a whole lot behind the scenes, and not putting it…July 26, 2017
Modern Ideas for a Victorian Fireplace
A reader named Kristi wrote in with a question that I thought would be fun to answer on the blog.…April 5, 2017
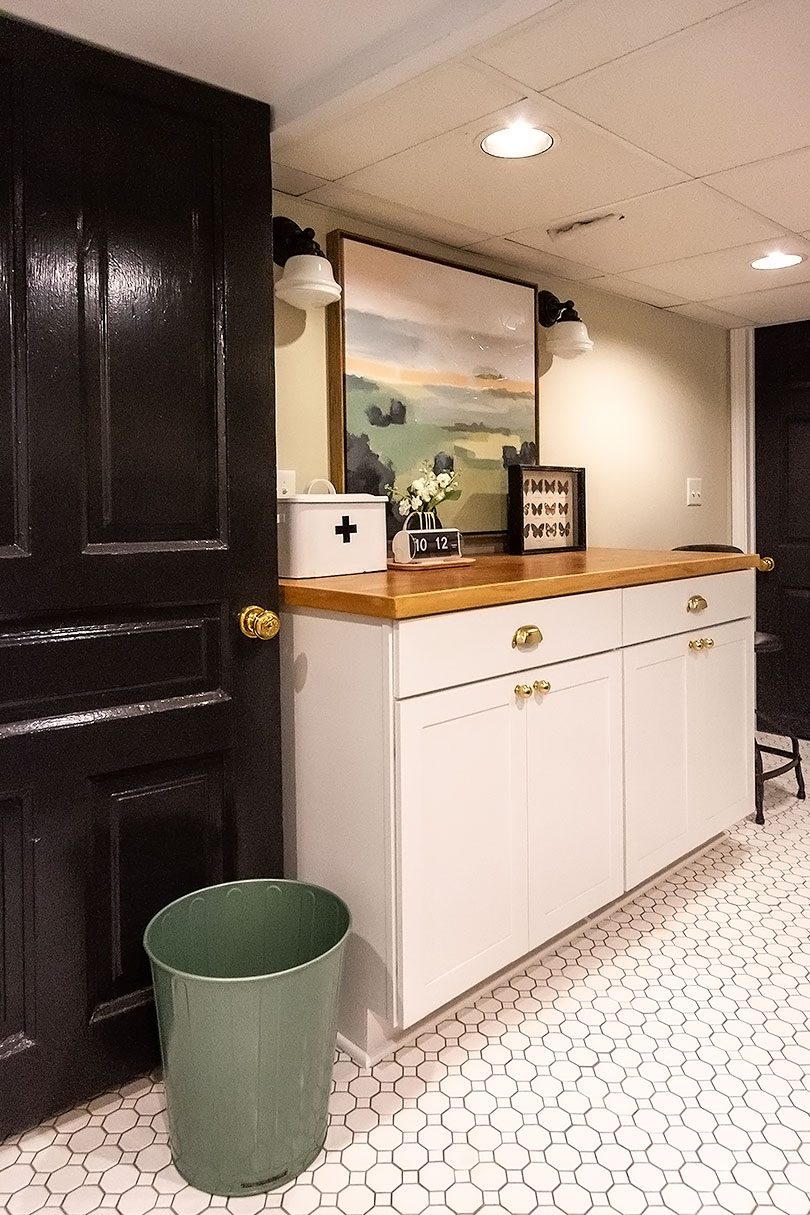
Our Basement Laundry Room Makeover
This post is sponsored by Lowe’s. Thank you for making this renovation possible! The laundry room in our Victorian is in the basement, and the…
Tiling the Basement Laundry Room
Today, I grout! But first, let’s take a look at the tiling progress I’ve made. I started by finding the center of the room, then…
The Newly Planted Backyard
This is the second of three posts sponsored by RISE’s AND not OR home and garden program. All thoughts and opinions are my own. The…
A Look Back at 2017
I’ve missed you! I took my longest break after Christmas ever, but behind the scenes I have been planning and planning, and I’ll have a…
Life Lately, and Projects
How are you guys? I feel like I’ve been doing a whole lot behind the scenes, and not putting it out there as much. Part…
Modern Ideas for a Victorian Fireplace
A reader named Kristi wrote in with a question that I thought would be fun to answer on the blog. “I have been an avid…