
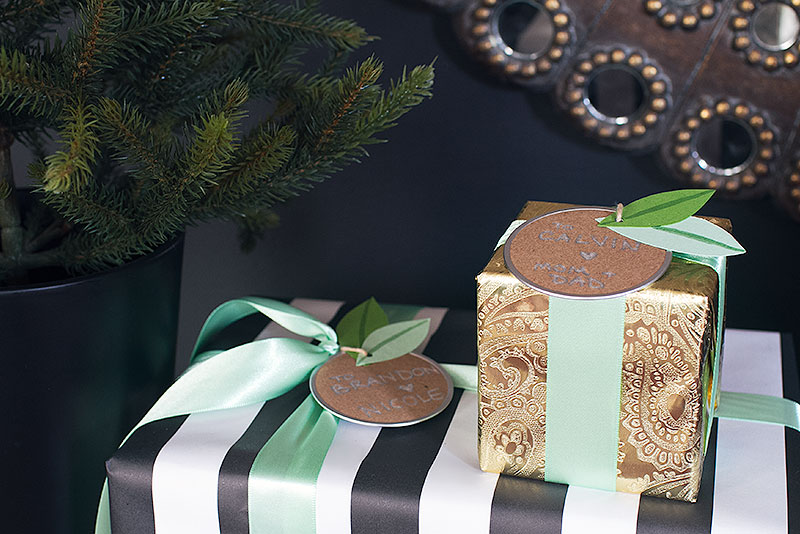
Pretty Packages: DIY Laurel Leaf Gift Tags
Christmas presents go under the tree as soon as we can get around to wrapping them, so they become part…December 1, 2015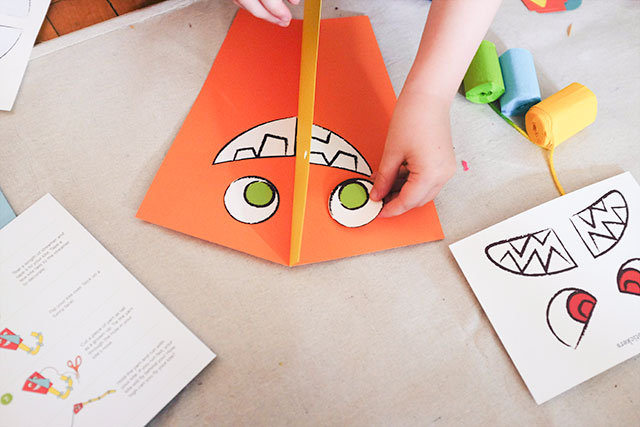
Up to the Highest Heights
Sponsored by Kiwi Crate. We do plenty of open-ended art projects around here. "Here are some watercolors; let's paint!" Or…August 26, 2014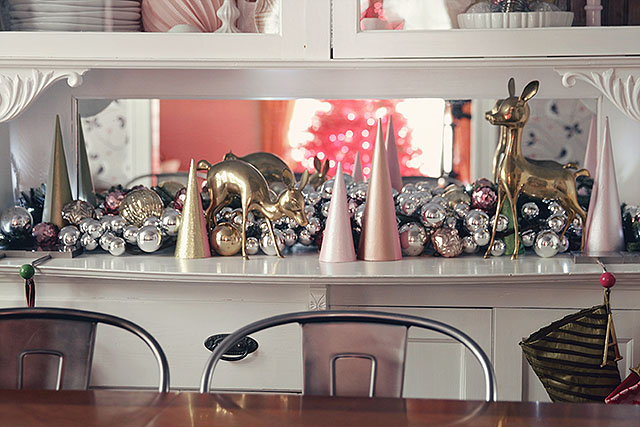
DIY Colorblock Christmas Trees
Here's a cute DIY project to add a little sparkle and shine to your holiday! These colorblock Christmas trees took…December 18, 2012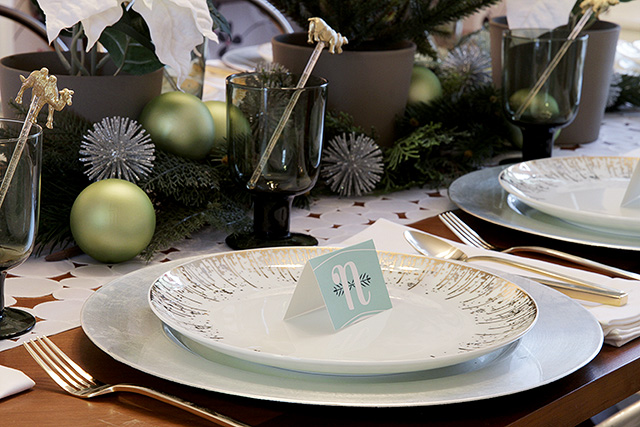
Monogram Place Cards (Free Printable)
These holiday printables are brought to you by HP. Make other easy printable projects at HP's Holiday HQ. Last…December 3, 2012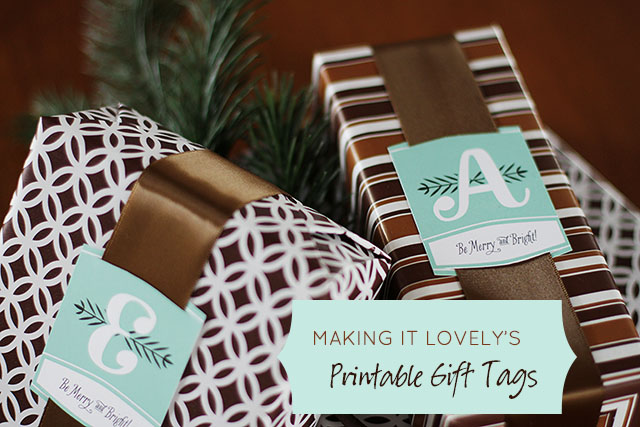
Free Printable Monogram Christmas Gift Tags
These holiday printables are brought to you by HP. Make other easy printable projects at HP's Holiday HQ. I…November 26, 2012
How to Make DIY Monogrammed Trophies
Or mugs, dishes, or vases -- anything ceramic or glass. But I went with trophies. Supplies glass paint or all-purpose…October 25, 2012
Pretty Packages: DIY Laurel Leaf Gift Tags
Christmas presents go under the tree as soon as we can get around to wrapping them, so they become part of the decorations for a…
Up to the Highest Heights
Sponsored by Kiwi Crate. We do plenty of open-ended art projects around here. “Here are some watercolors; let’s paint!” Or “I brought home a big…
DIY Colorblock Christmas Trees
Here’s a cute DIY project to add a little sparkle and shine to your holiday! These colorblock Christmas trees took a few hours to create,…
Monogram Place Cards (Free Printable)
These holiday printables are brought to you by HP. Make other easy printable projects at HP’s Holiday HQ. Last week, I shared my printable…
Free Printable Monogram Christmas Gift Tags
These holiday printables are brought to you by HP. Make other easy printable projects at HP’s Holiday HQ. I like to come up with…
How to Make DIY Monogrammed Trophies
Or mugs, dishes, or vases — anything ceramic or glass. But I went with trophies. Supplies glass paint or all-purpose craft paint (I like Martha…