
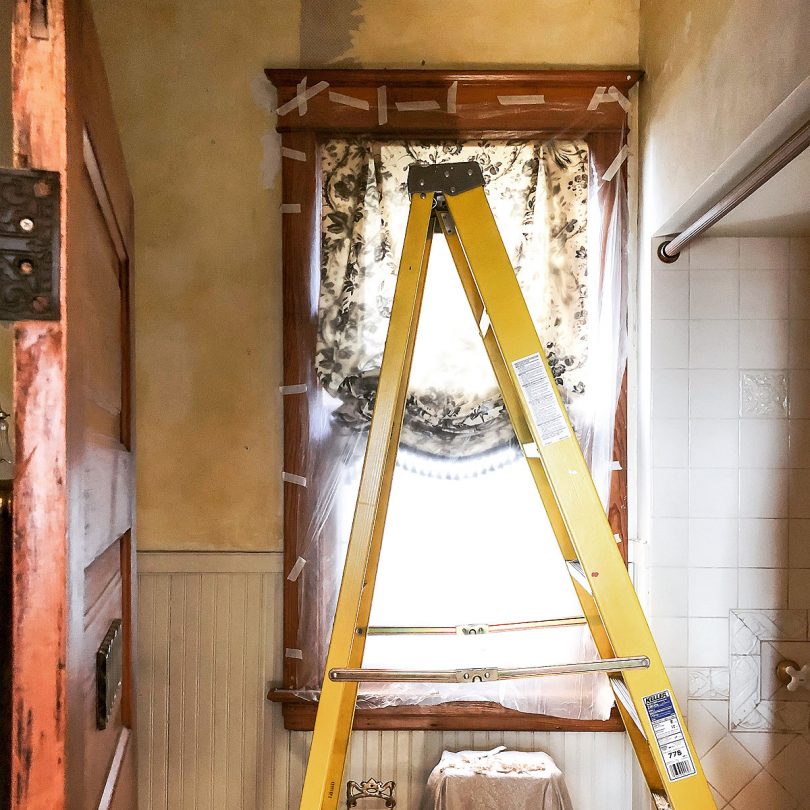
Stripping Wallpaper in the Bathroom
I wanted to do a little refresh of the bathroom on the first floor. The shower is fine. The antique…January 11, 2021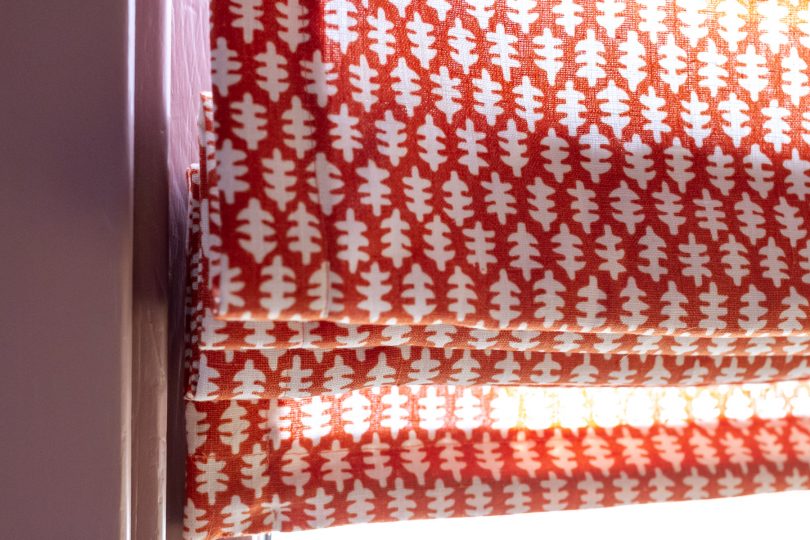
DIY Roman Shades
If you are looking around your home for some projects to keep yourself busy, maybe some Roman shades are in…March 23, 2020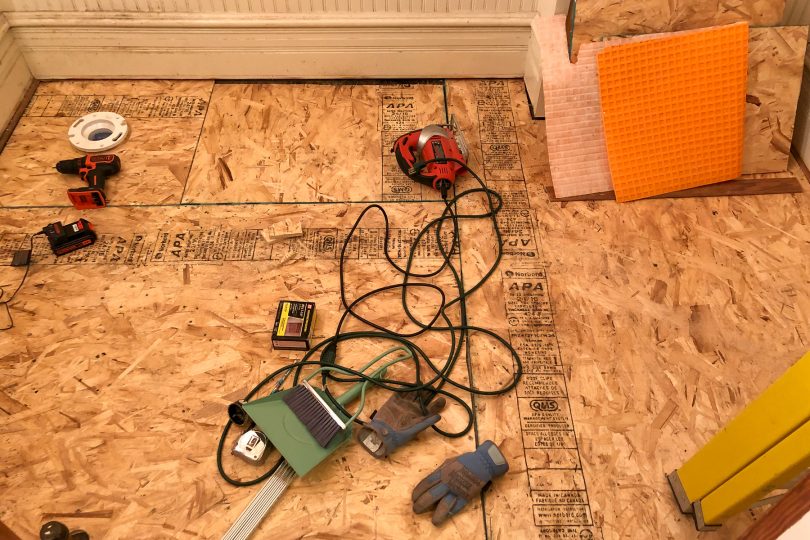
Tiling with Cement Board Instead of Ditra
I want my bathroom tile to have longevity. I’m using porcelain (wonderfully durable), and taking the time to do the…August 29, 2019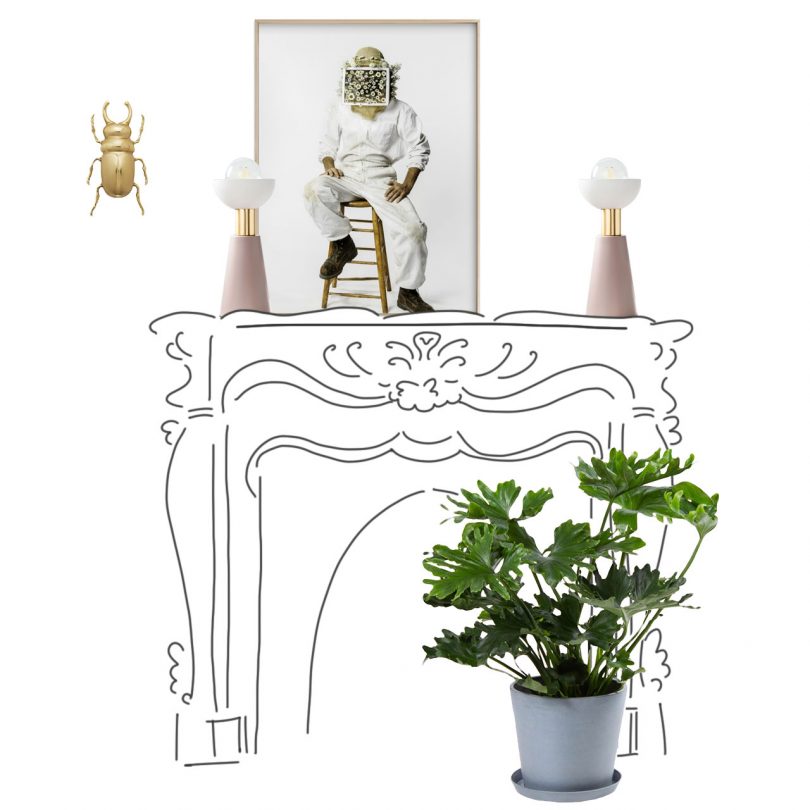
Sketchy
I've been working on the house pretty much nonstop from the time I wake up until it's time to sleep.…July 19, 2019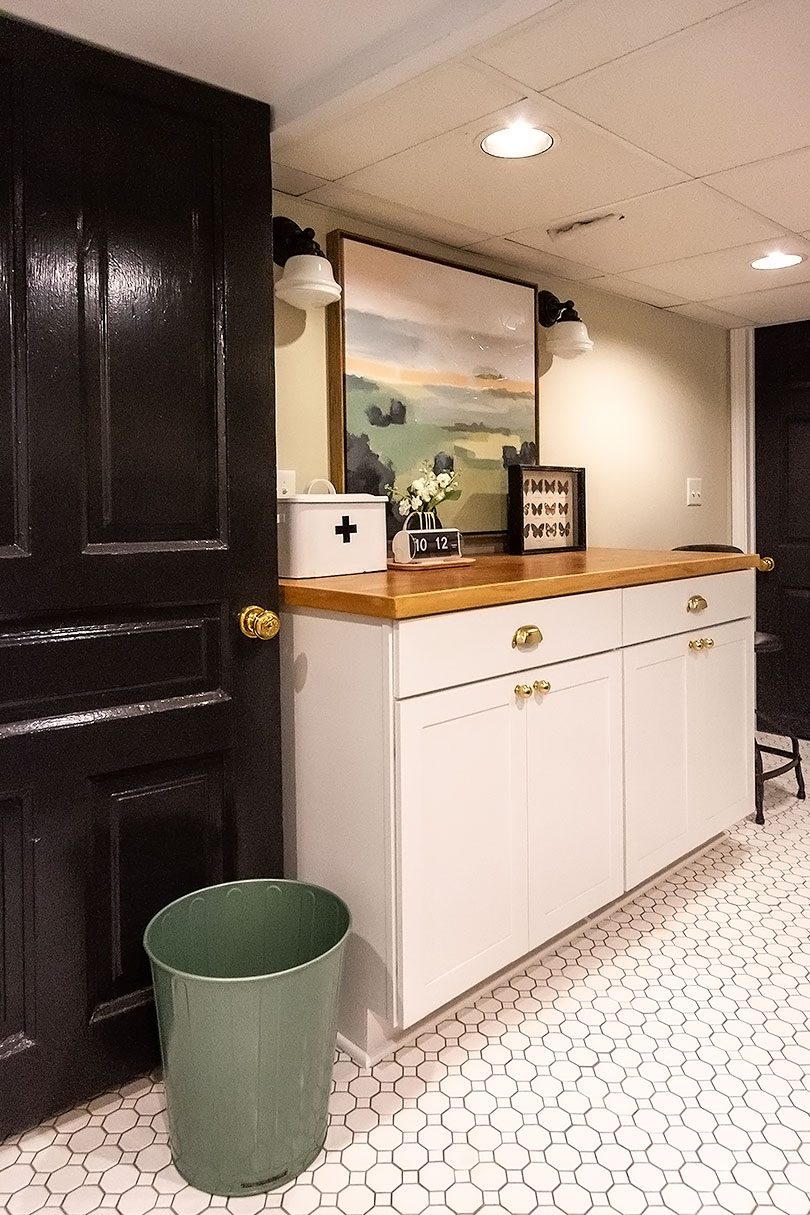
Our Basement Laundry Room Makeover
This post is sponsored by Lowe's. Thank you for making this renovation possible! The laundry room in our Victorian is…November 28, 2018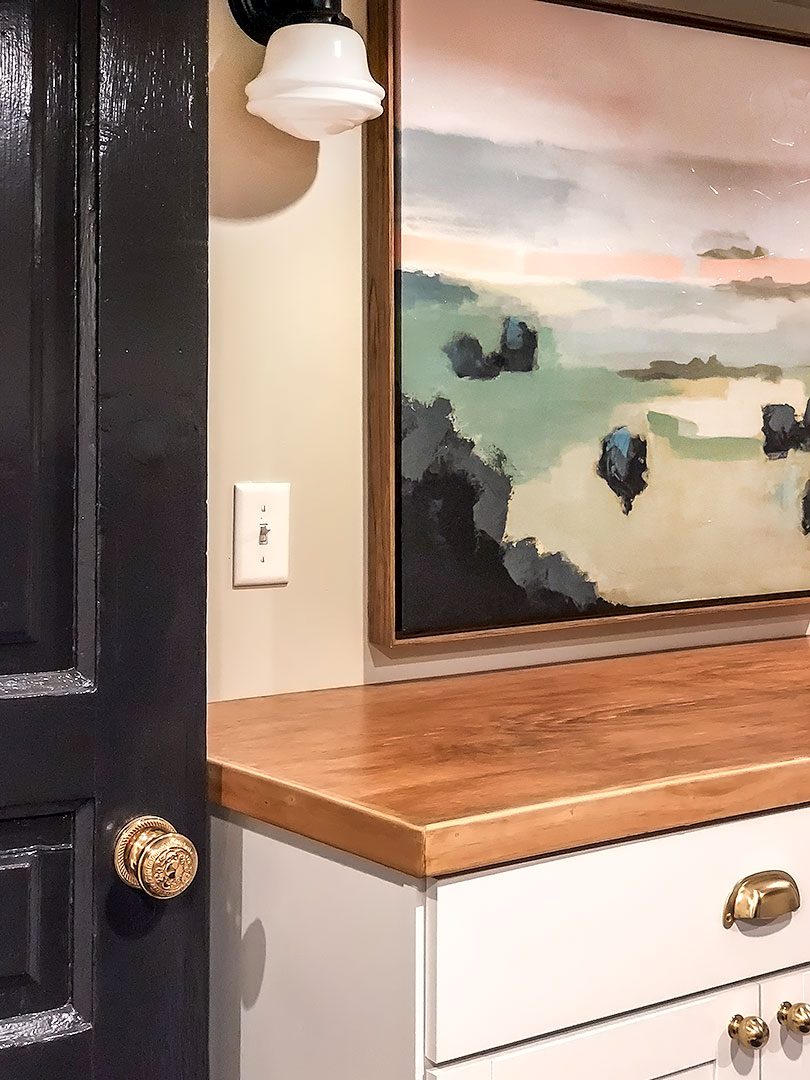
Making DIY Plywood Countertops
There are a few options when it comes to wooden counters. Let me just say right now that I’m not…November 8, 2018
Stripping Wallpaper in the Bathroom
I wanted to do a little refresh of the bathroom on the first floor. The shower is fine. The antique console sink with separate hot…
DIY Roman Shades
If you are looking around your home for some projects to keep yourself busy, maybe some Roman shades are in order? Fully functional Roman shades!…
Tiling with Cement Board Instead of Ditra
I want my bathroom tile to have longevity. I’m using porcelain (wonderfully durable), and taking the time to do the job right from the prep…
Sketchy
I’ve been working on the house pretty much nonstop from the time I wake up until it’s time to sleep. It was too hot to…
Our Basement Laundry Room Makeover
This post is sponsored by Lowe’s. Thank you for making this renovation possible! The laundry room in our Victorian is in the basement, and the…
Making DIY Plywood Countertops
There are a few options when it comes to wooden counters. Let me just say right now that I’m not sure I picked the best…