
Tiling with Cement Board Instead of Ditra
I want my bathroom tile to have longevity. I’m using porcelain (wonderfully durable), and taking the time to do the…August 29, 2019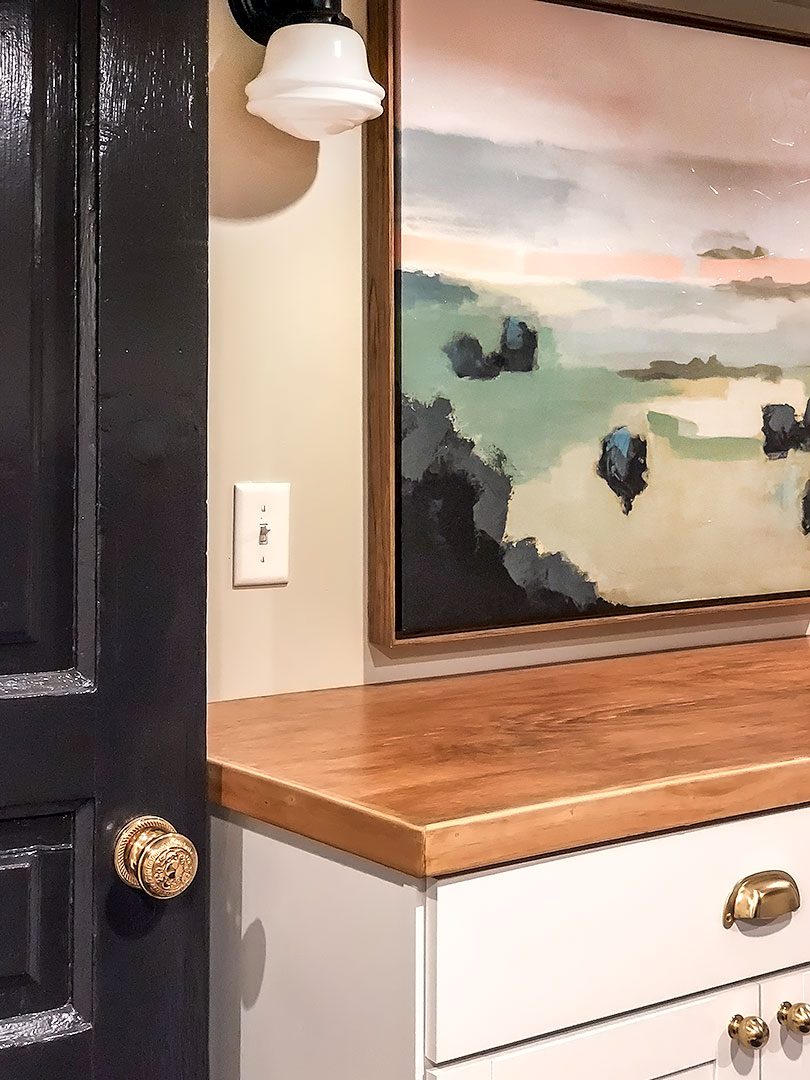
Making DIY Plywood Countertops
There are a few options when it comes to wooden counters. Let me just say right now that I’m not…November 8, 2018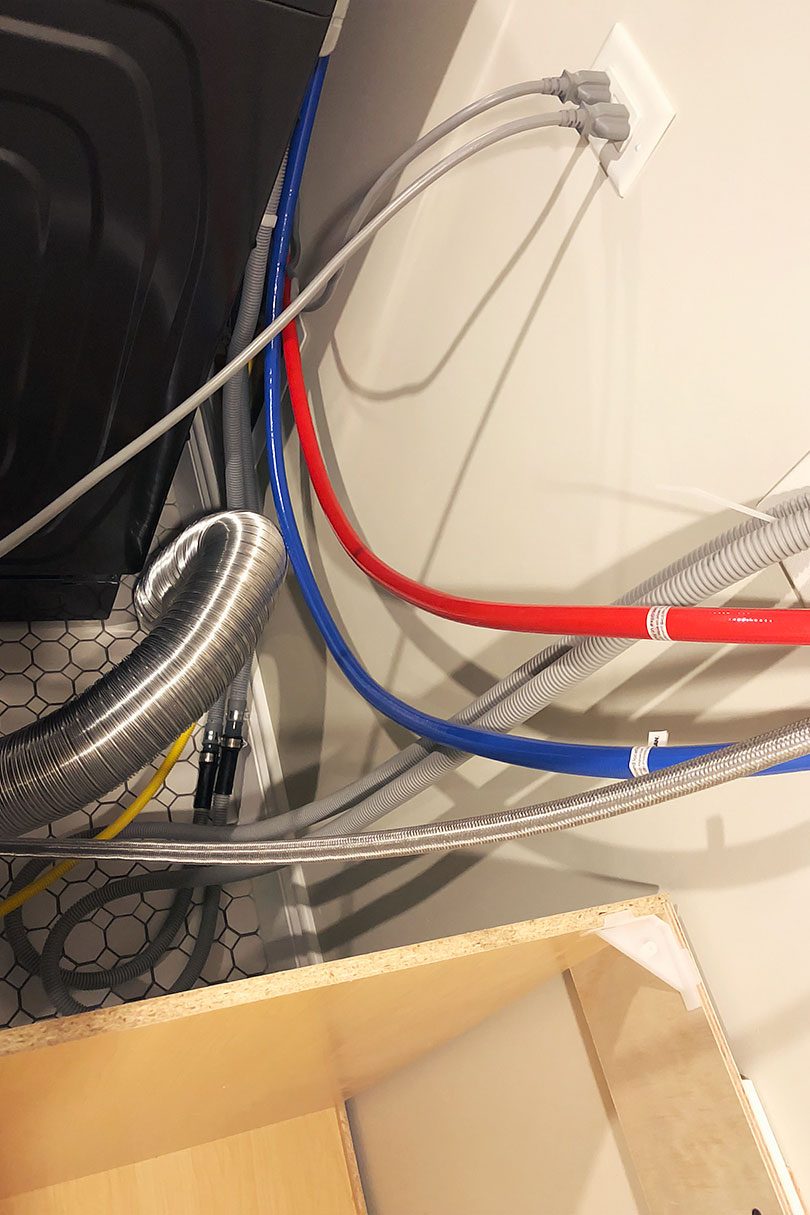
The Accidental Geyser
We washed a load of laundry last night! In our own house! Oh, function. How I've missed you. The sink…July 27, 2018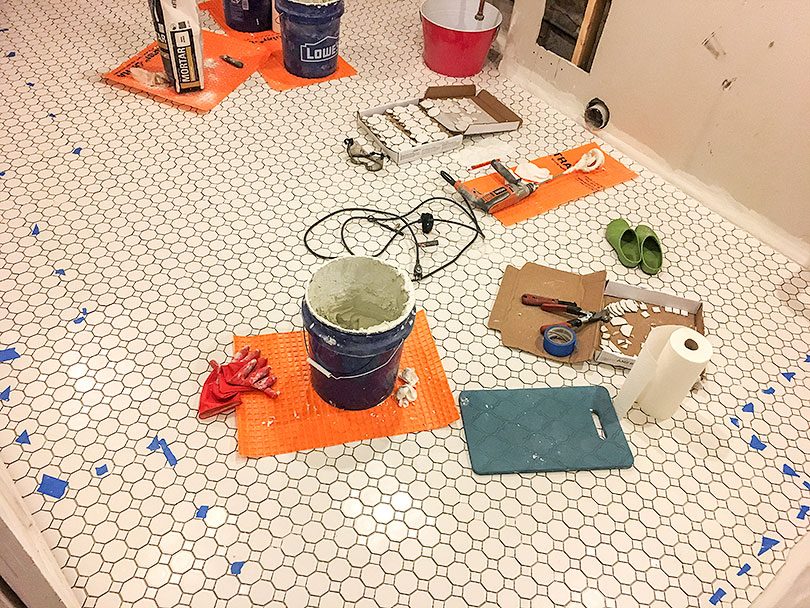
Tiling the Basement Laundry Room
Today, I grout! But first, let’s take a look at the tiling progress I’ve made. I started by finding the…July 11, 2018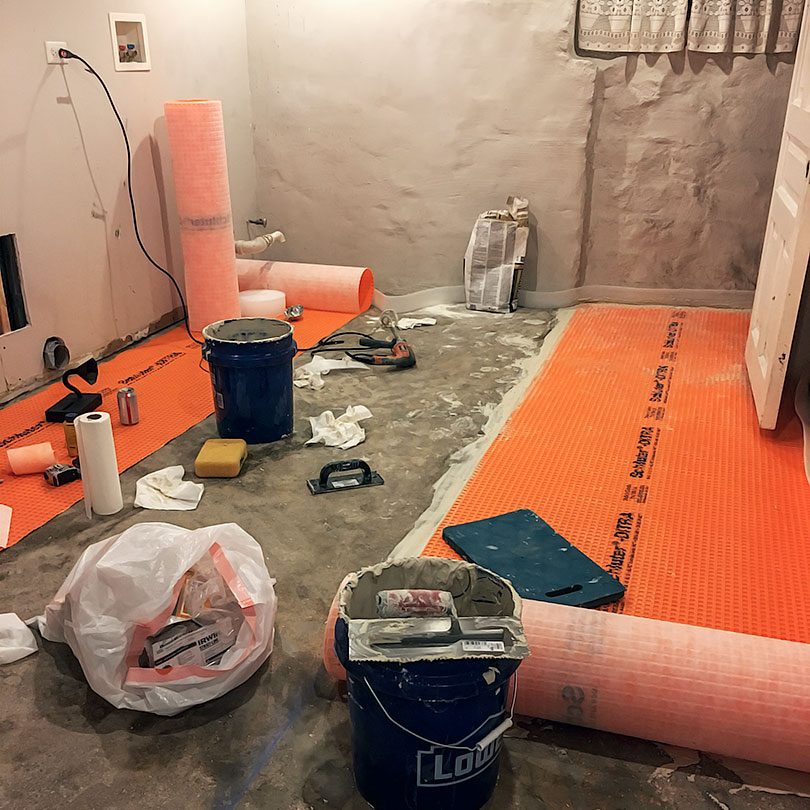
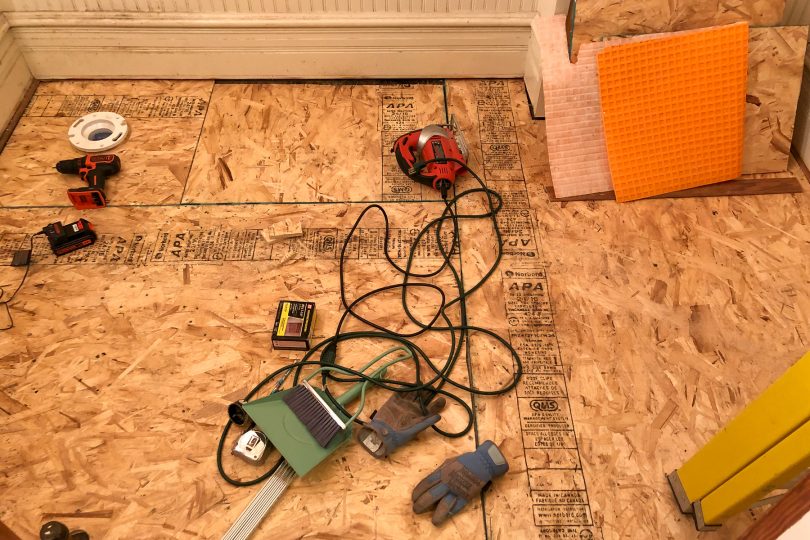
Laying Ditra to Prep for Tile
Still prepping for tile! I underestimated the amount of work it would take to DIY this install. I imagined it…July 2, 2018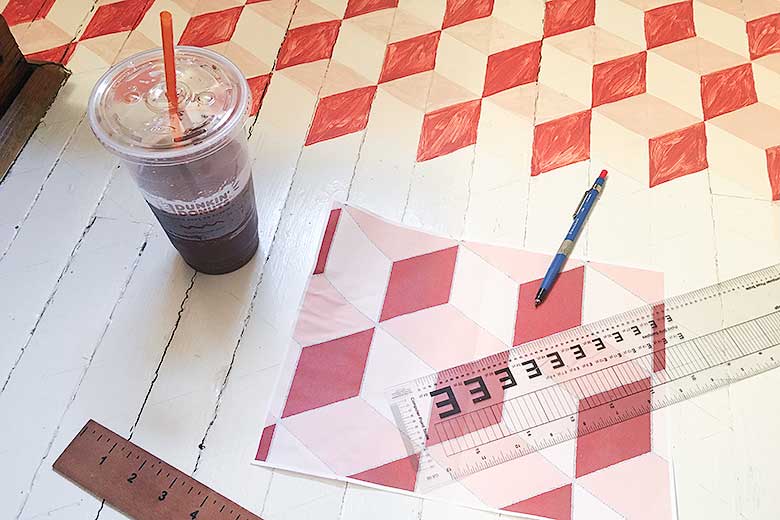
DIY Tumbling Blocks Hand-Painted Floor
This post is sponsored by Dunkin' Donuts. The painted floor in the bathroom is done! It only took a million…July 7, 2016
Tiling with Cement Board Instead of Ditra
I want my bathroom tile to have longevity. I’m using porcelain (wonderfully durable), and taking the time to do the job right from the prep…
Making DIY Plywood Countertops
There are a few options when it comes to wooden counters. Let me just say right now that I’m not sure I picked the best…
The Accidental Geyser
We washed a load of laundry last night! In our own house! Oh, function. How I’ve missed you. The sink cabinet is in place, and…
Tiling the Basement Laundry Room
Today, I grout! But first, let’s take a look at the tiling progress I’ve made. I started by finding the center of the room, then…
Laying Ditra to Prep for Tile
Still prepping for tile! I underestimated the amount of work it would take to DIY this install. I imagined it like this. Bring tile home,…
DIY Tumbling Blocks Hand-Painted Floor
This post is sponsored by Dunkin’ Donuts. The painted floor in the bathroom is done! It only took a million hours! ‘Tumbling blocks’ is a…